AS/NZS1170.2-2021 Appendix B specified the net pressure coefficients for the wind load on canopy areas.
This article shows how it can be applied in Vertex BD.
Step-by-step guide
-
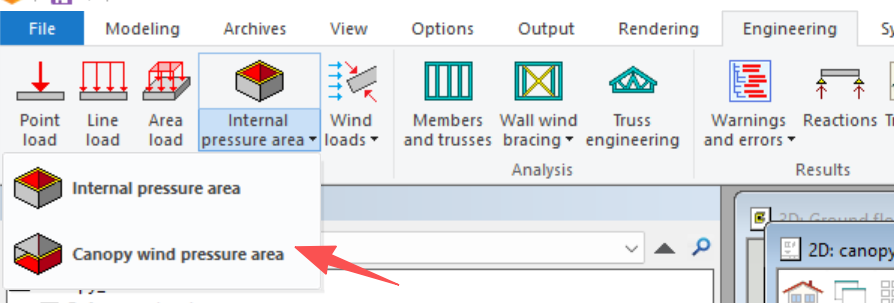
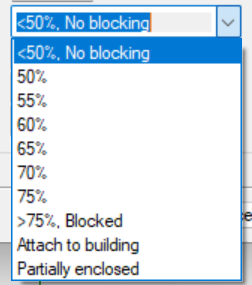
Canopy wind pressure area can be found in the pull-down menu under Internal pressure area.
-
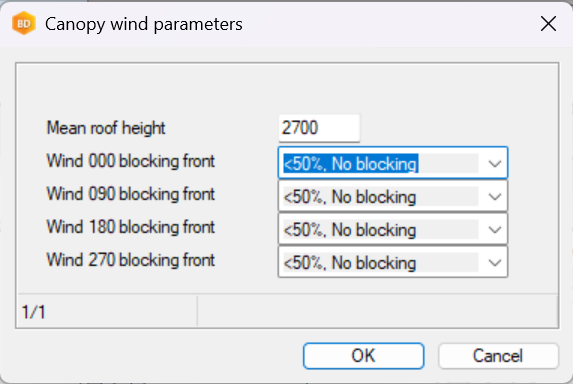
Select the canopy wind parameters according to the condition of the canopy area. The conditions of the canopy area for the 4 directions in related to the main wind direction can be assigned separately.
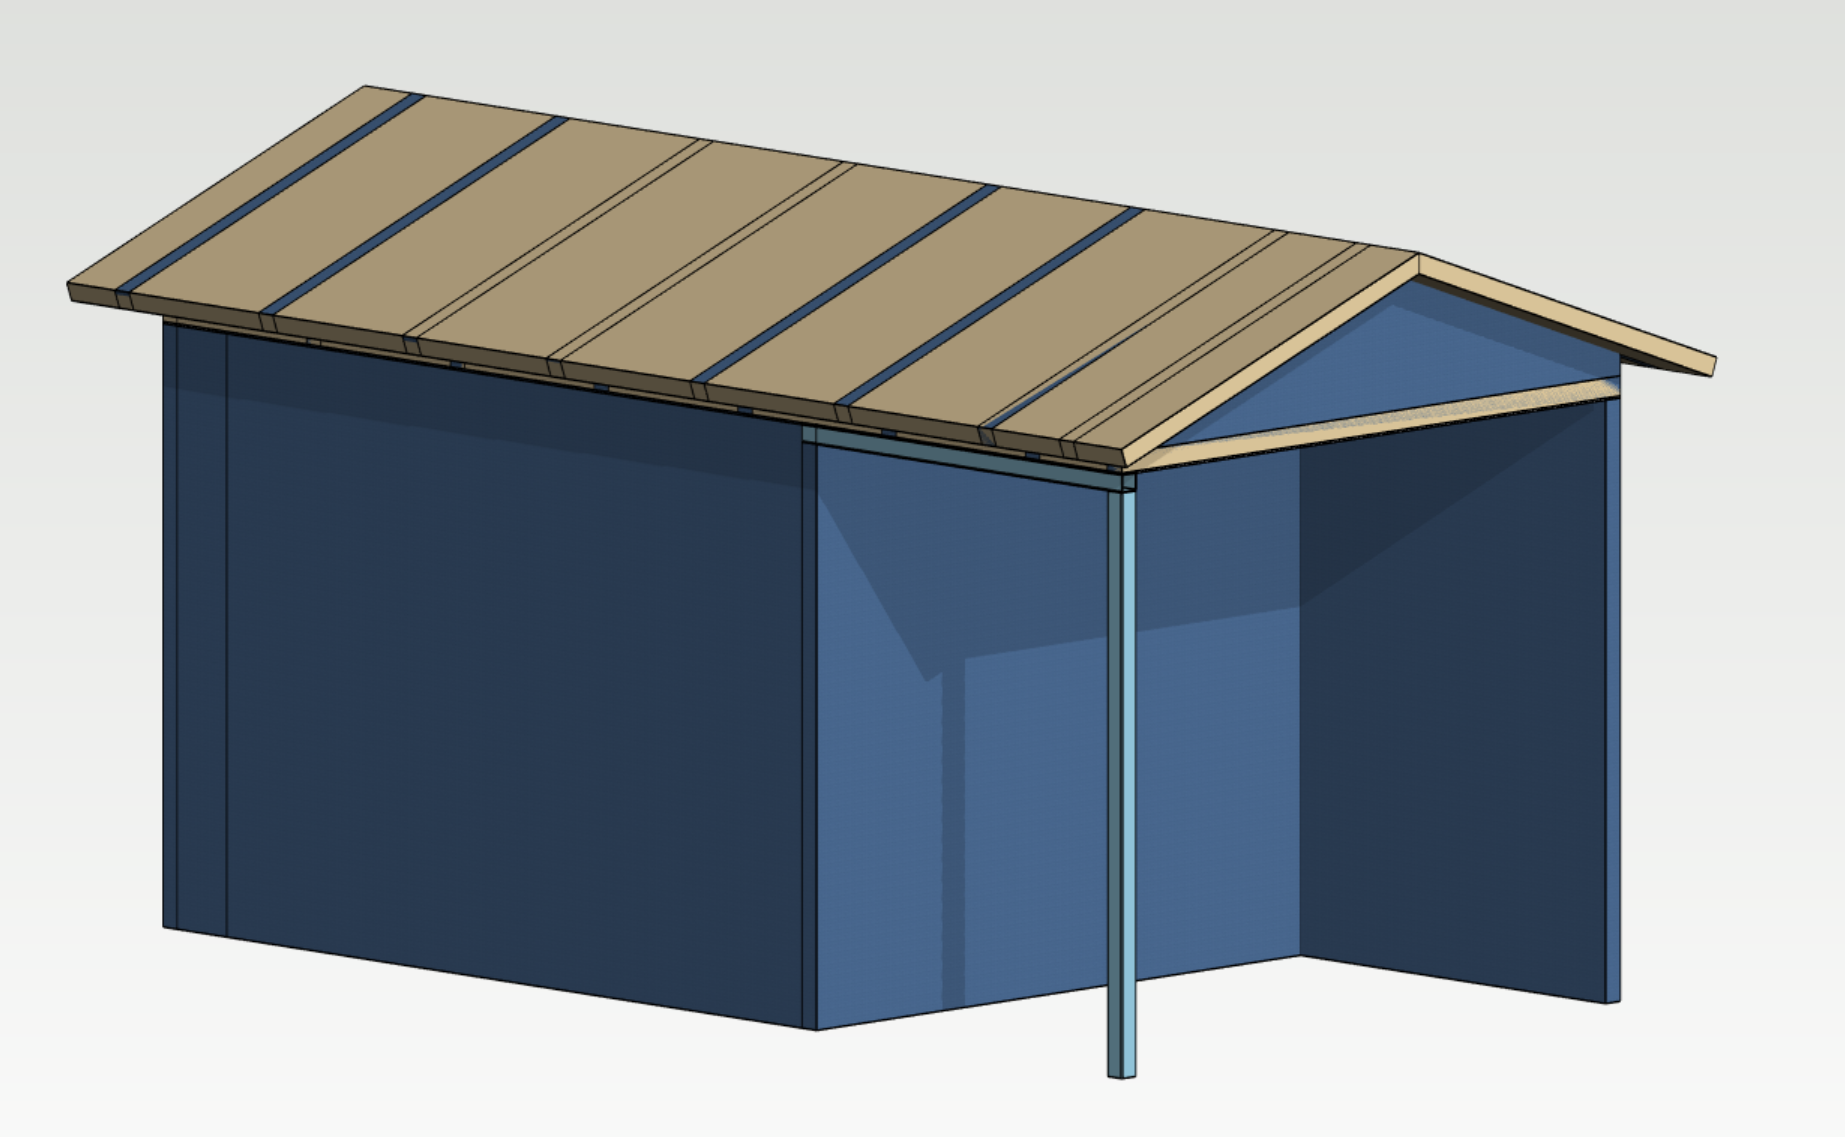
Canopy roof is lowest roof inside canopy area and canopy mean roof height should reflect position of lowest roof.
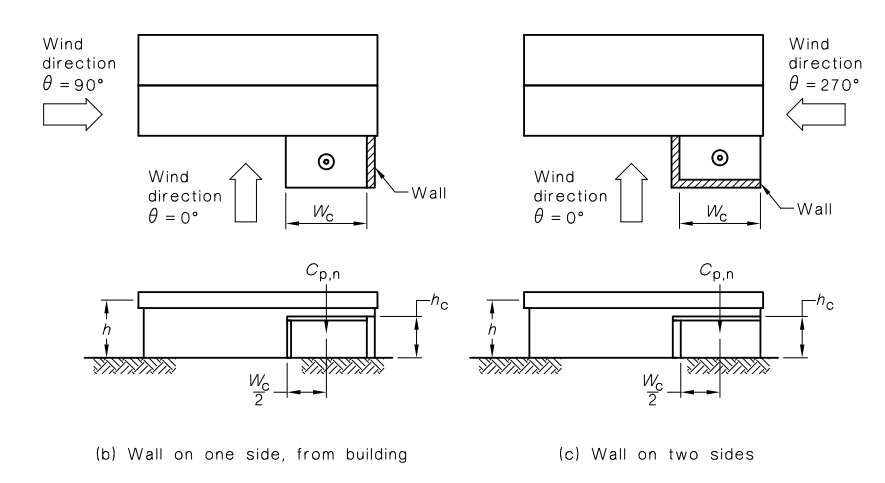
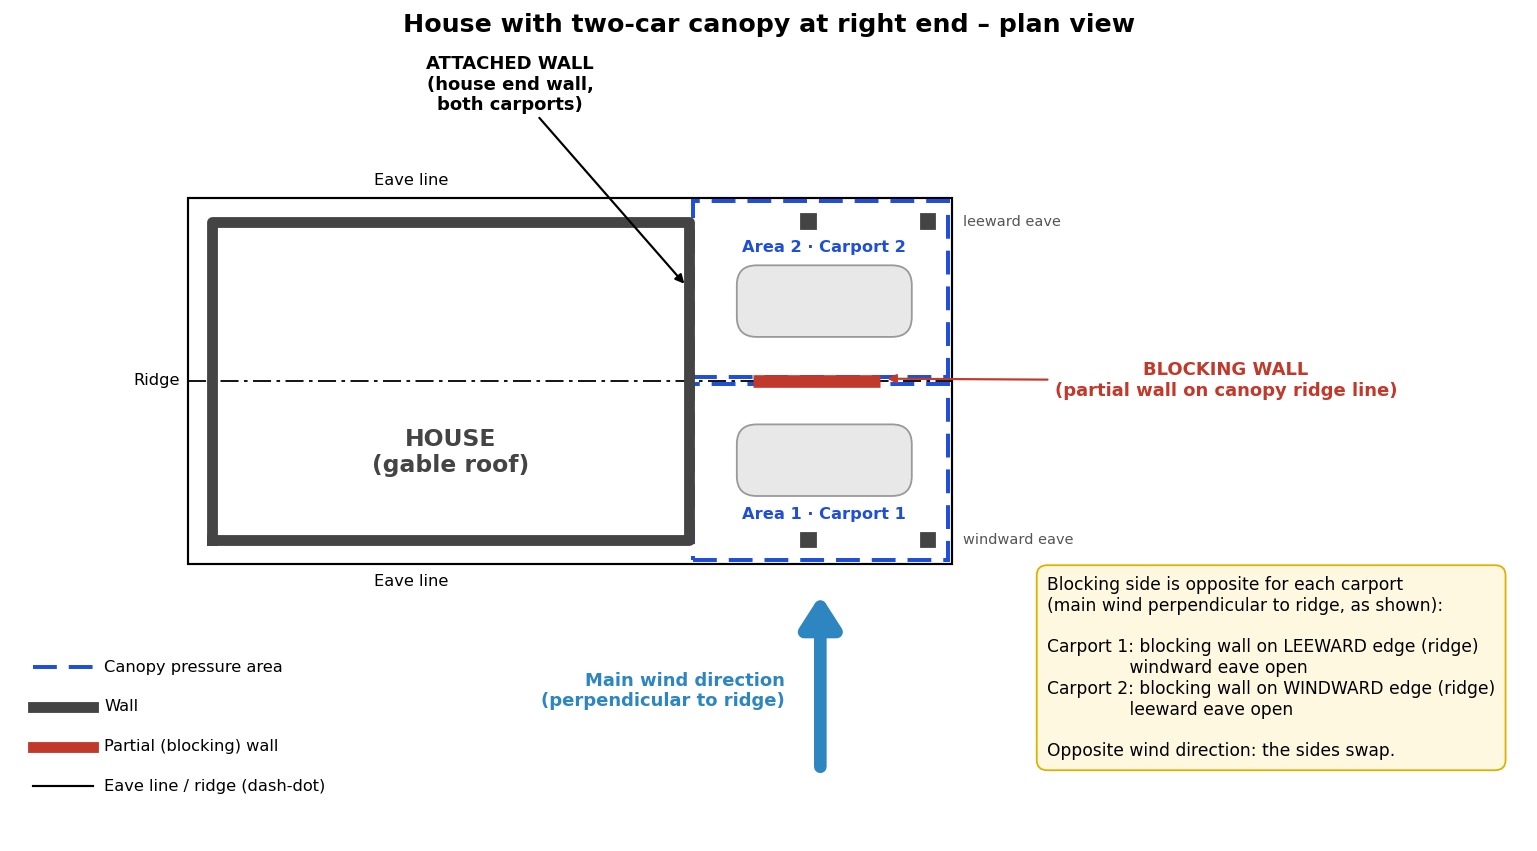
When one blocking condition cannot cover the whole roof, multiple canopy areas should be defined. For example, in the example on the right hand side, the blocking wall is located in the middle, then two separate canopy areas should be defined, because leeward blocking could not be defined otherwise correctly.
-
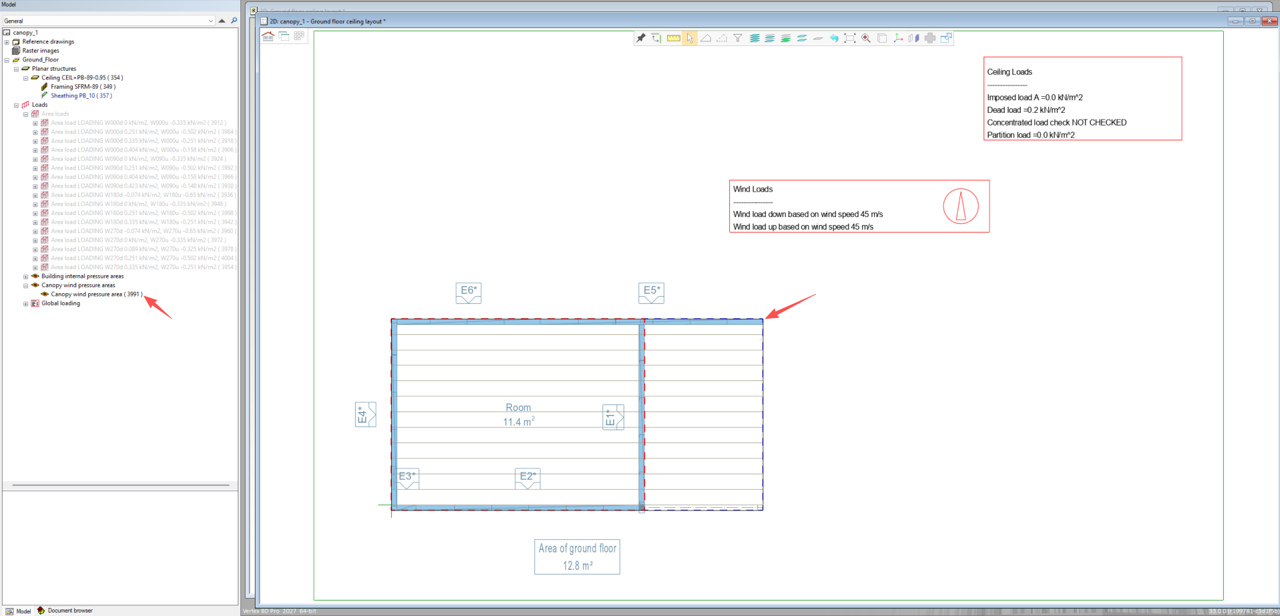
Define the area boundary using point lines. The defined canopy area will be shown with purple dash lines and it can be found in the model tree. The canopy wind prarmeters can still be modified in the property of the area.
Canopy pressure area should not be inside or collide with internal pressure area.
-
Generate wind load.
Net pressure coefficient is used for wind loads on canopy. In Vertex, net pressure coefficients are applied as external pressure coefficients and then internal pressure coefficients equals to zero. Therefore, if a ceiling exists for the canopy area, no wind load is needed.
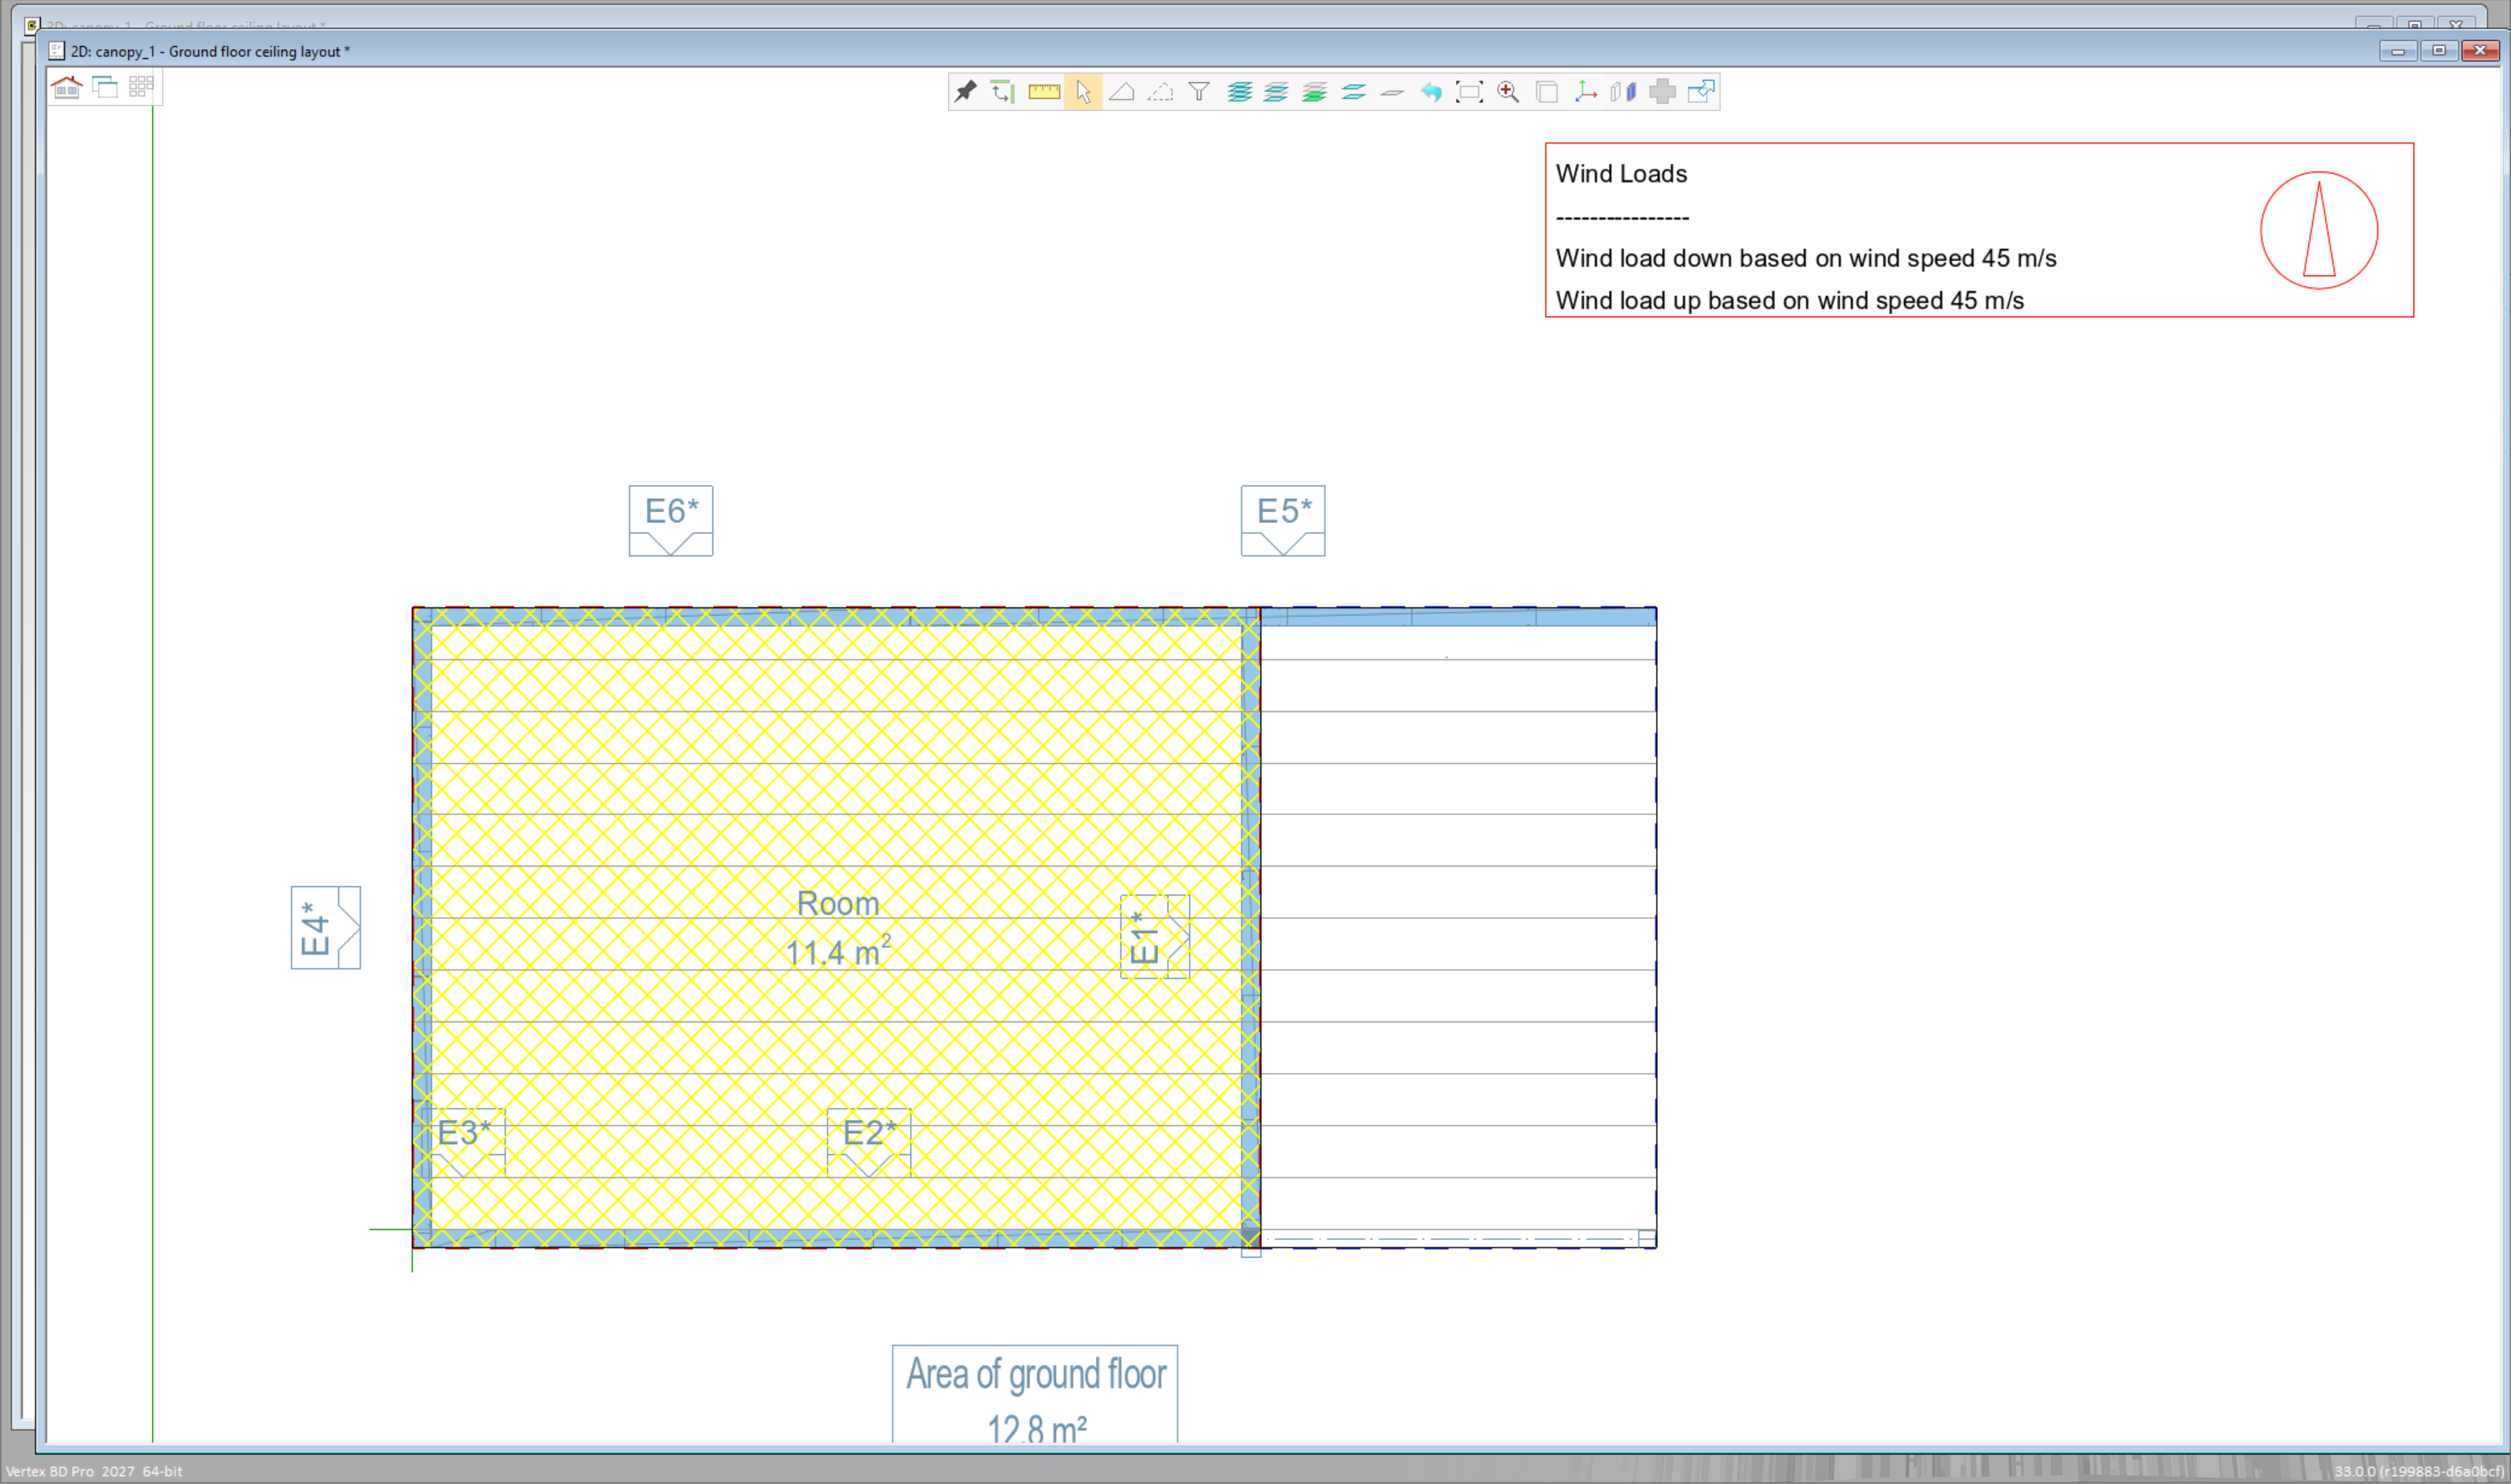
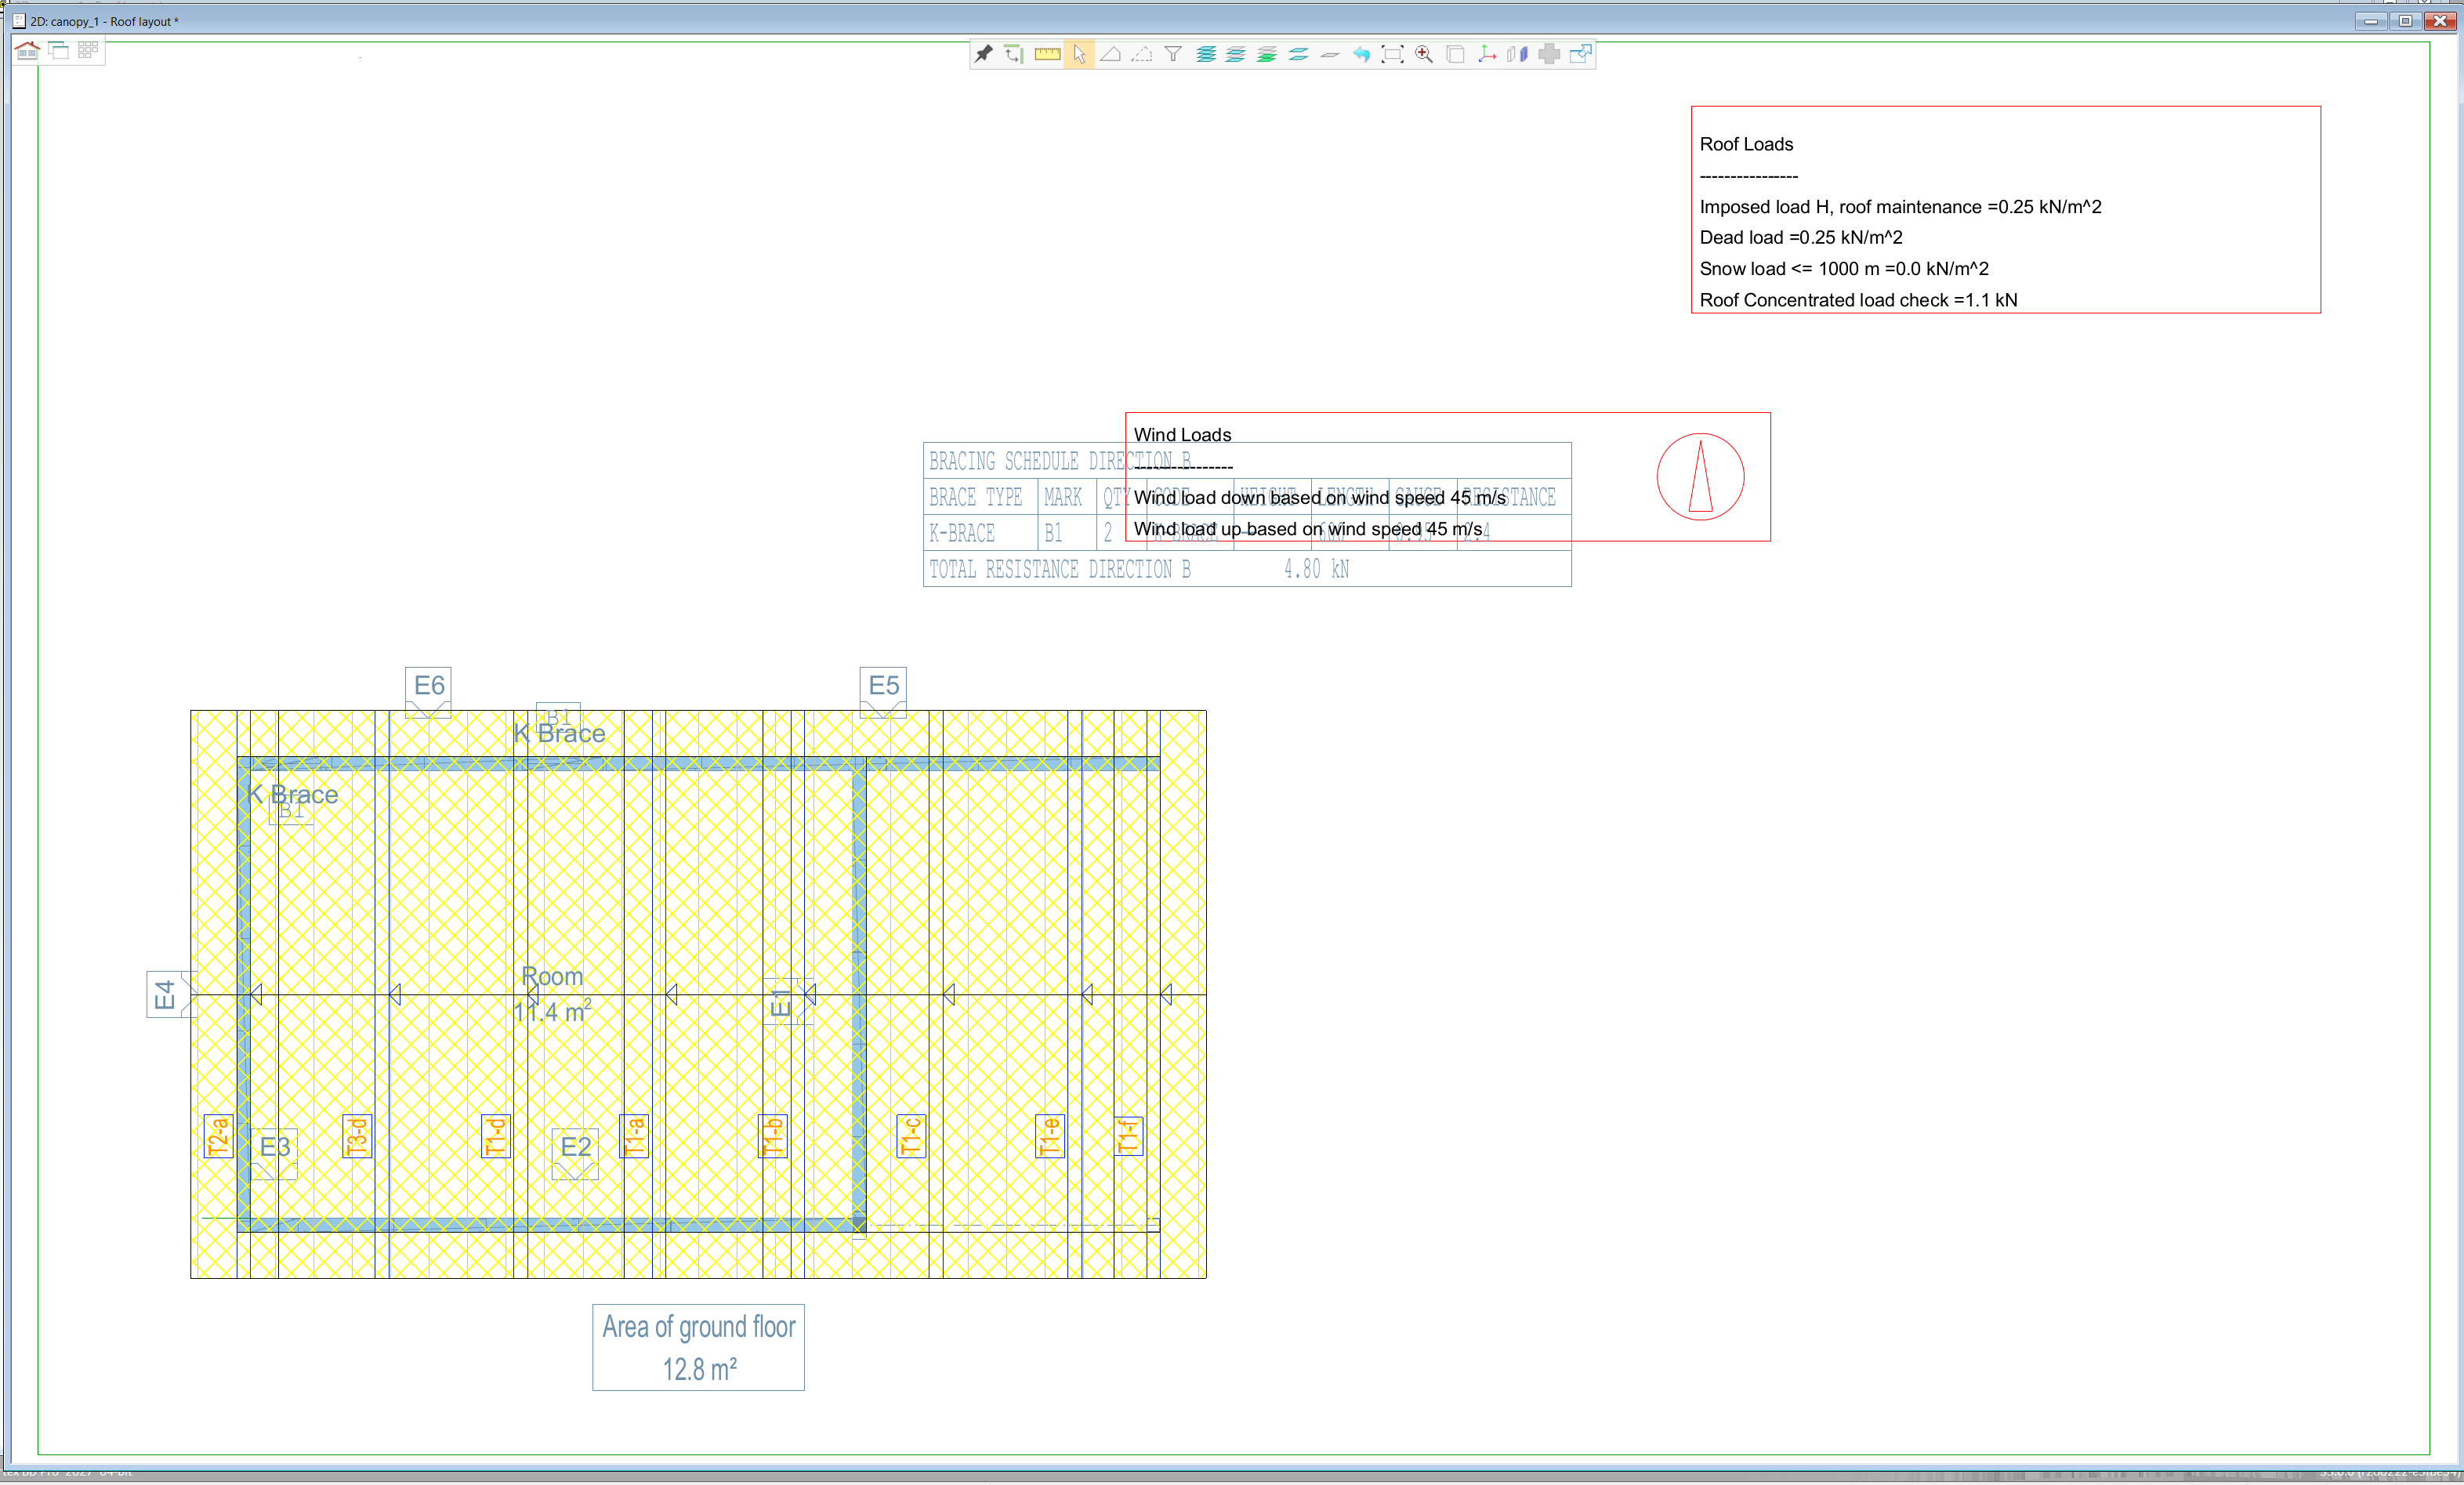
Whenever the canopy area is modified, users should re-generate the wind loads for the changed conditions to take effect.