
Setting 3D Model Clip
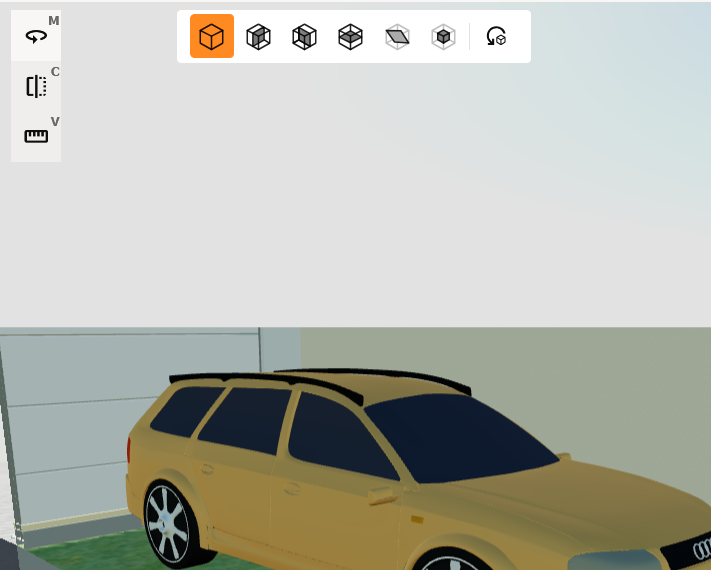
Access the Clipping Tool
-
Click the Clipping button: Located in the upper left corner of the model view.
-
Alternatively, press the C key: This is a shortcut to access the clipping tool.
Select a Tool
-
Box: Clip the model using a bounding box drawn over the model.
-
X-axis: Clip in the x-axis direction.
-
Y-axis: Clip in the y-axis direction.
-
Z-axis: Clip in the z-axis direction.
-
Surface: Clip in the selected surface direction.
-
Selection: Clip in the selected geometry.
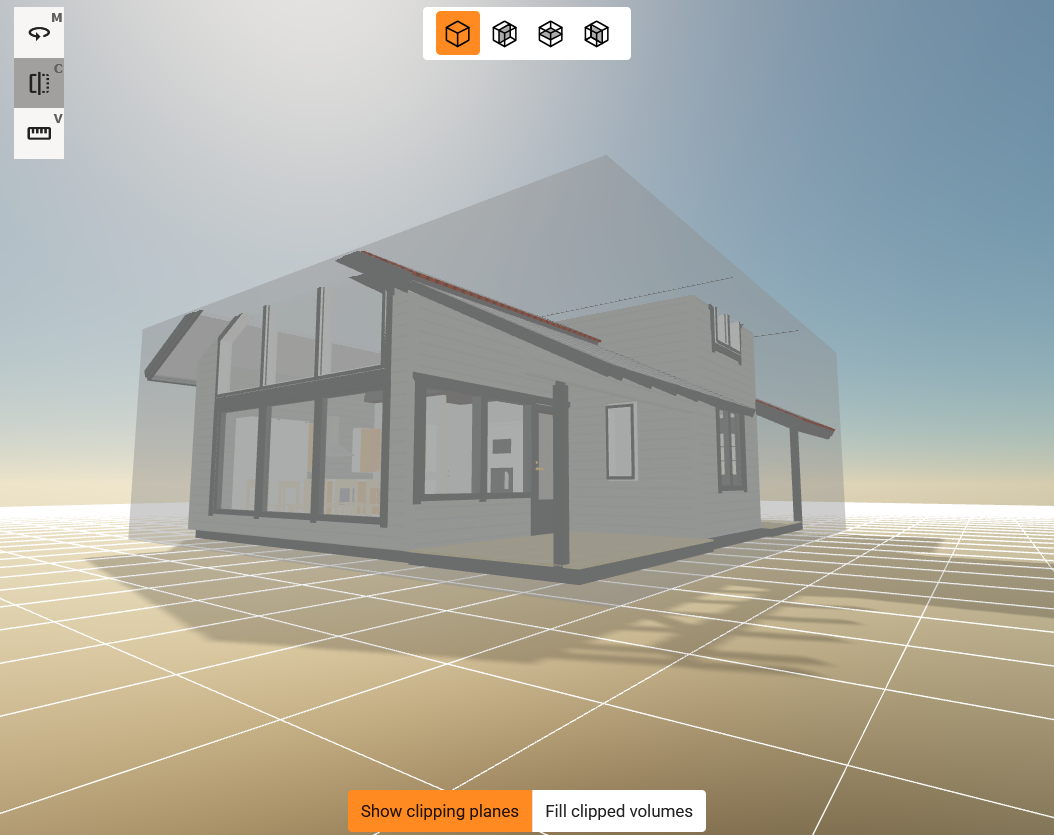
How to Use 3D Model Bounding Box Clip
-
Select the Box tool from the toolbar:
-
Click the left mouse button (or tap on mobile) to select the Box Clip tool.
-
-
Adjust the clip: Adjust the clip by using the clipping planes on the 3D model. To move the plane, click the plane with the left mouse button and keep the button pressed. Drag the mouse to move the plane.
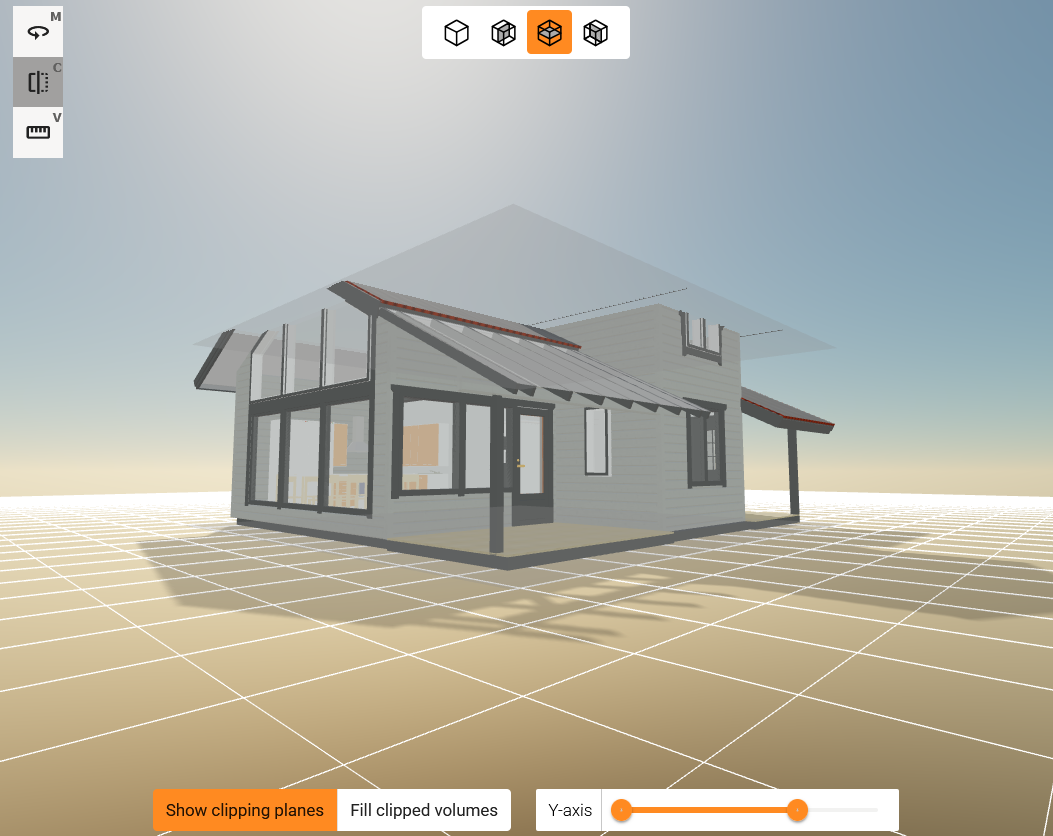
How to Use Clip Along Main Axis
-
Select direction from the tool bar:
-
Click the left mouse button (or tap on mobile) to select correct direction.
-
-
Adjust the clip:
-
From 3D model: Adjust the clip with the clipping planes on the 3D model. To move the plane, click the plane with the left mouse button and keep the button pressed. Drag the mouse to move the plane.
-
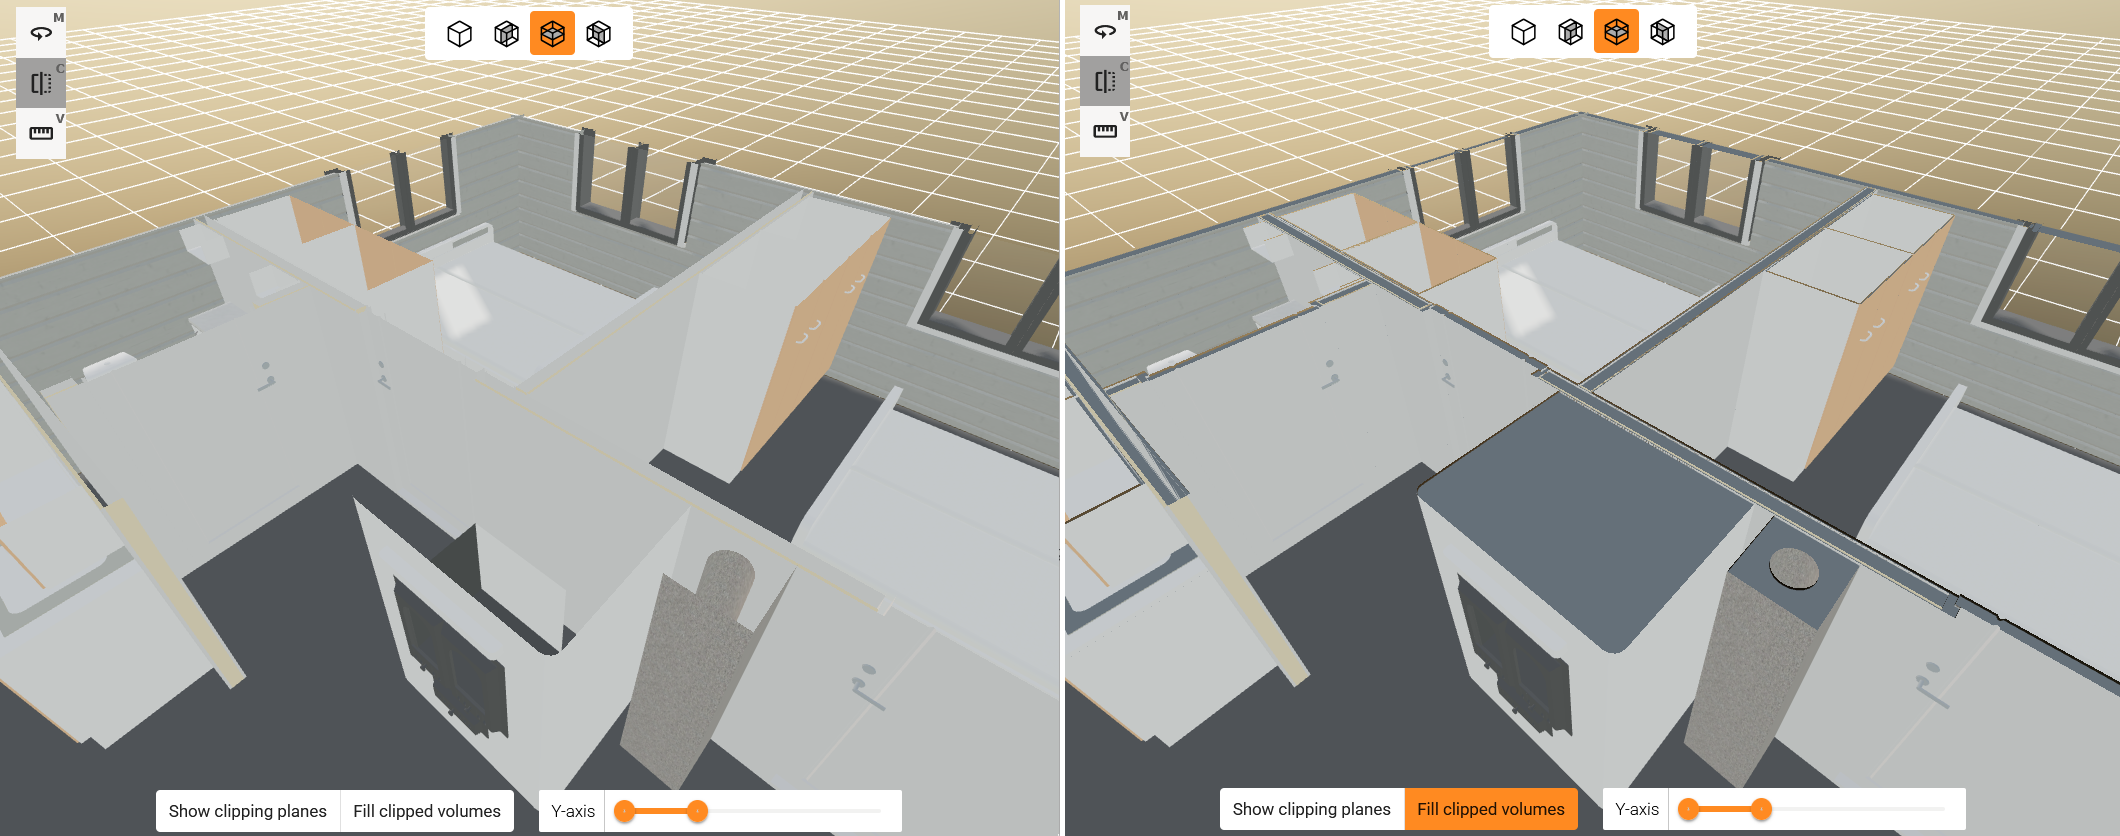
Use the Slider: You can also set the clipping by using the slider at the bottom of the screen. This slider is especially handy on mobile devices.
-
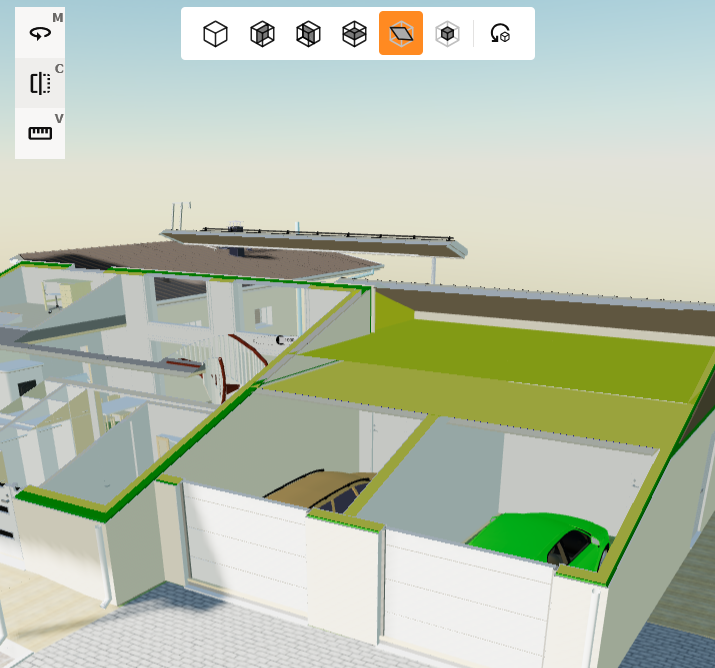
How to Use Clip in Direction of Surface
-
Select the Surface tool from the toolbar:
-
Click the left mouse button (or tap on mobile) to select surface clip tool.
-
-
Select the surface:
-
From 3D model: Adjust the clip with the clipping planes on the 3D model. To move the plane, click the plane with the left mouse button and keep the button pressed. Drag the mouse to move the plane.
-
How to Use Clip to Selection
-
Select direction from the tool bar:
-
Click the left mouse button (or tap on mobile) to select correct direction.
-
-
Adjust the clip:
-
From 3D model: Adjust the clip with the clipping planes on the 3D model. To move the plane, click the plane with the left mouse button and keep the button pressed. Drag the mouse to move the plane.
-
Use the Slider: You can also set the clipping by using the slider at the bottom of the screen. This slider is especially handy on mobile devices.
-
Helper Features
-
Show Clipping Planes: To turn off the clipping planes, simply click the Show Clipping Planes button. This button allows you to toggle the clipping planes on and off. Sometimes, it’s useful to turn them off to get a better view of the model.
-
Fill Clipped Volumes: The clipped objects may appear hollow. You can fill the geometry at the cut point by clicking the Fill Clipped Volumes button. This fills the cut planes and the model cross-sections. In some cases, this makes the 3D model clearer and easier to investigate.
Reset Clipping