
On this page:
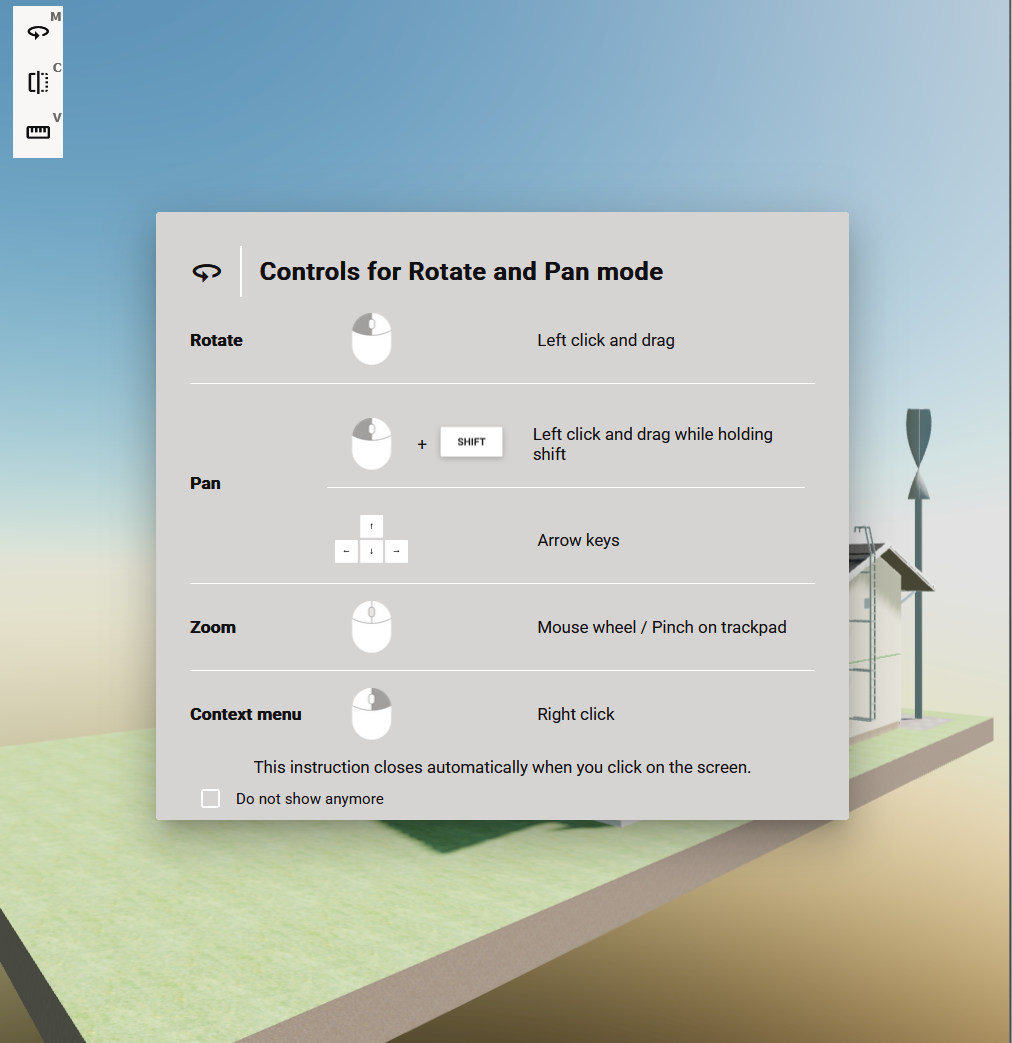
Click button on the bottom left corner or use shortcut to open the main menu.
Movement
Movement speed
Movement speed controls how fast you are able to move with Fly and Walk,

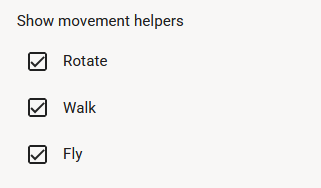
Movement helpers
Movement helpers are tips shown top of the model view. Content of the tip depends device you are using and the movement mode you selected. To close the helper click left mouse button on the desktop of touch the screen on mobile.
You can adjust which helpers are shown from Show movement helpers section under the Movement settings.
Measurements

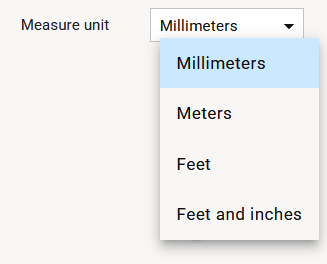
Measure units
Show measure units

Turn on the Show units switch to show the unit after the dimension value.
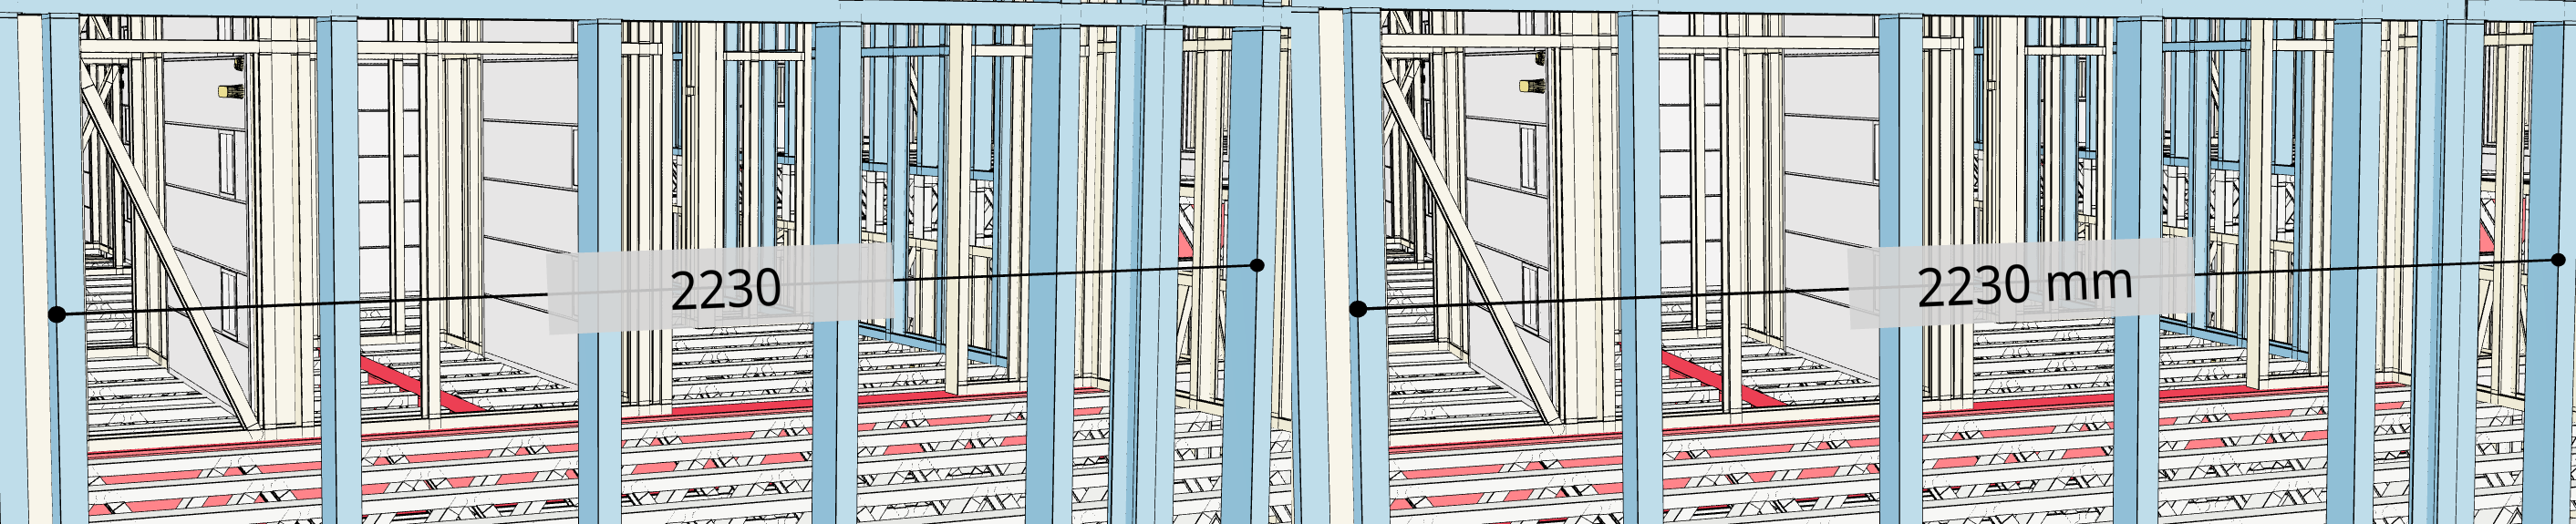
Dimensions are shown in different units depending on the Unit setting in the main menu. There are three options for metrical and four for imperial units.

Other measurement settings
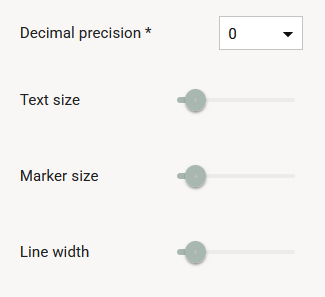
Decimal precision
Set the decided decimal precision by entering the number of decimals into the Decimal precision.

Note: Decimal precision box is disabled if you have selected feet + inch +1/16 from the Unit drop down menu.
Text and marker size and line width
Adjust the line width, end marking size and text size of the dimension lines.

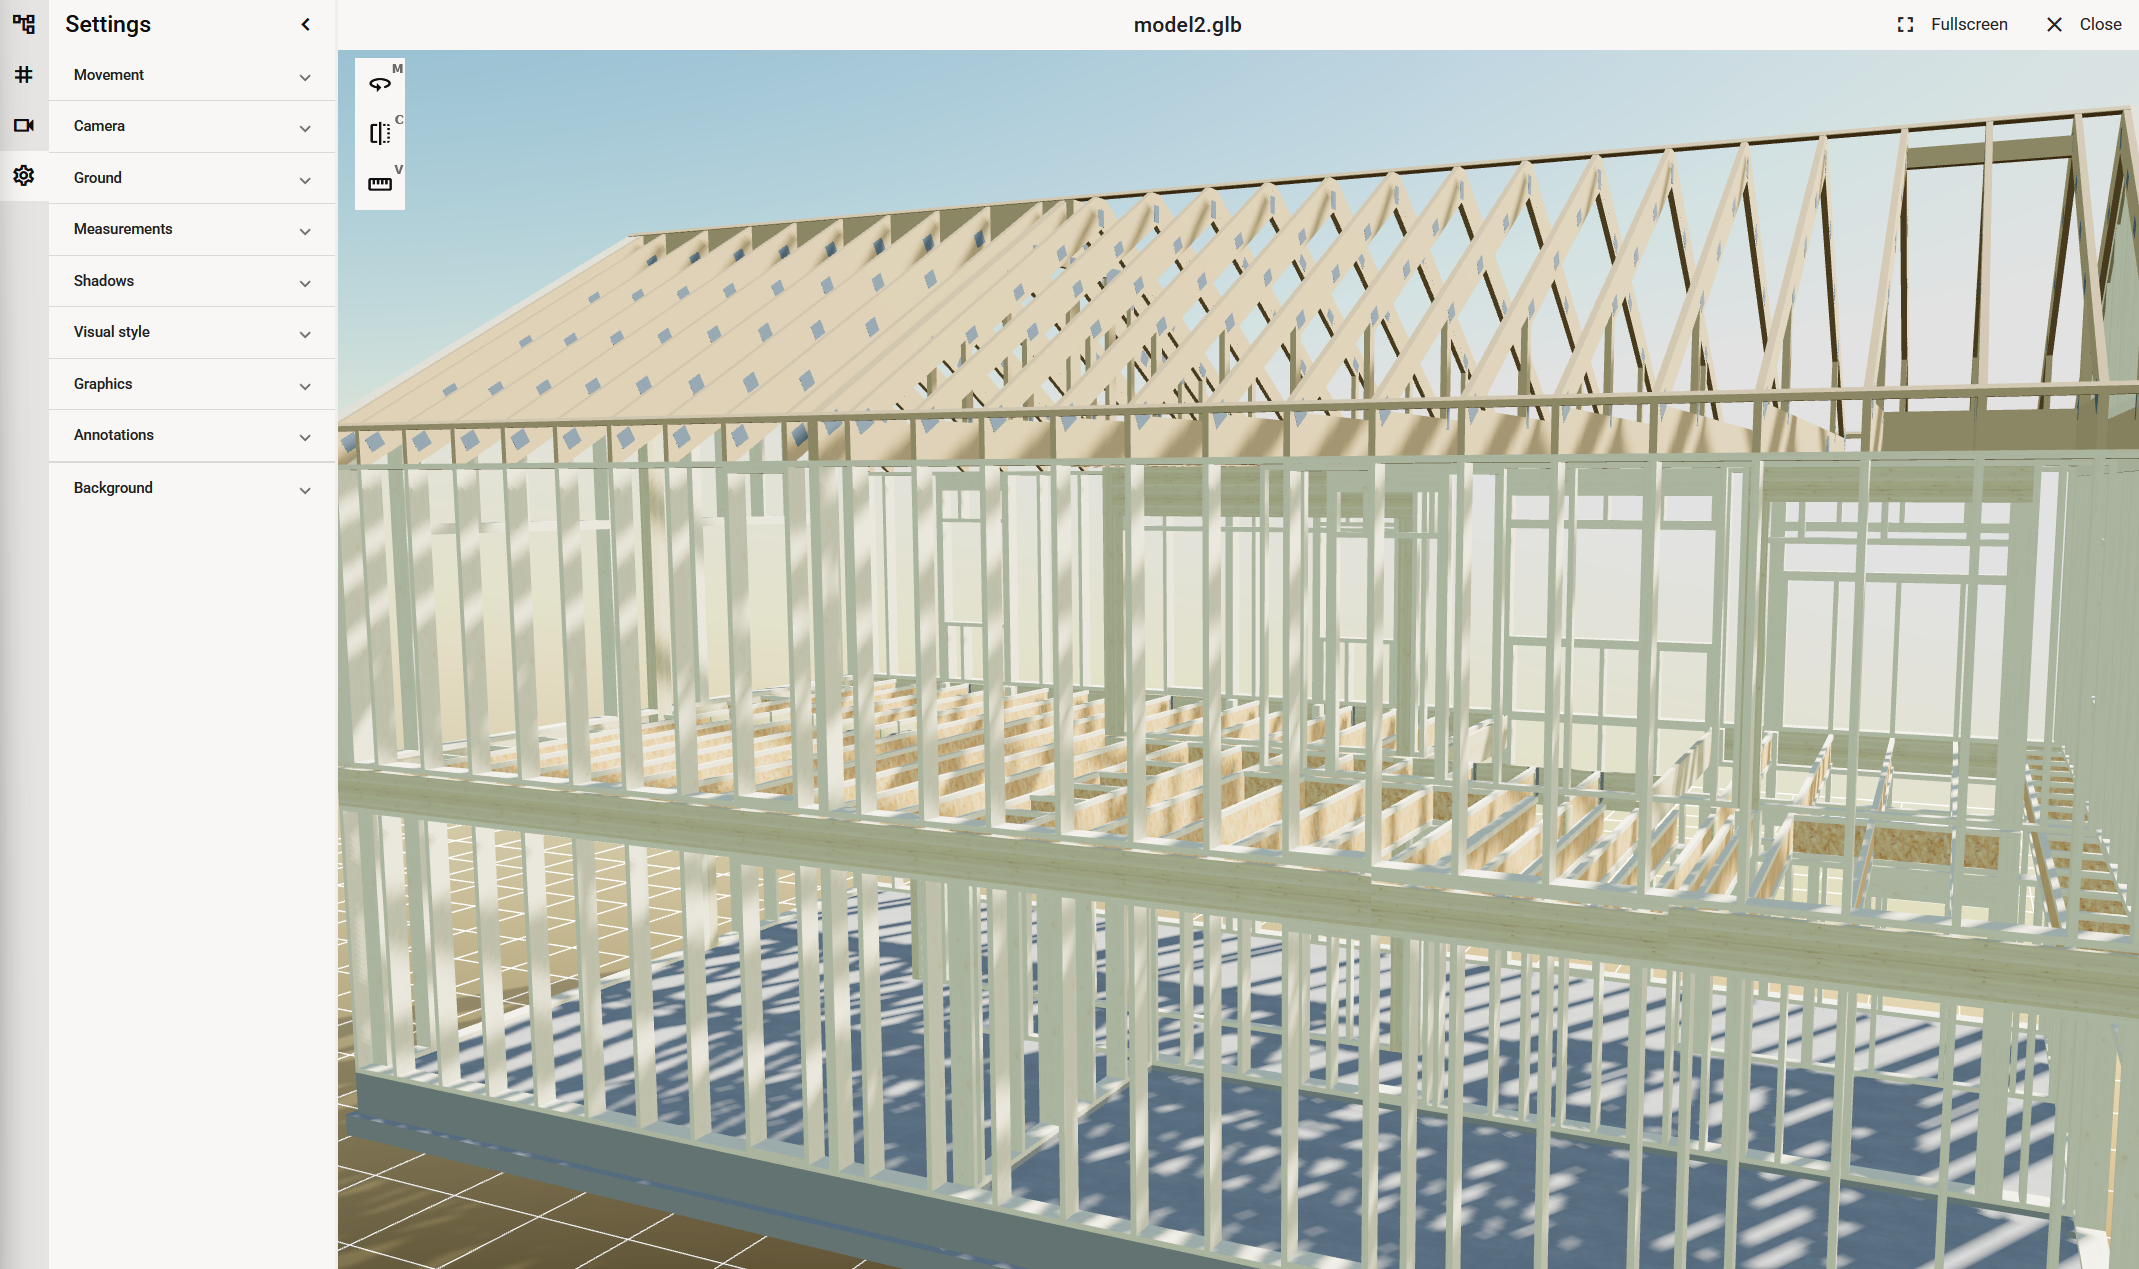
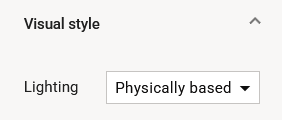
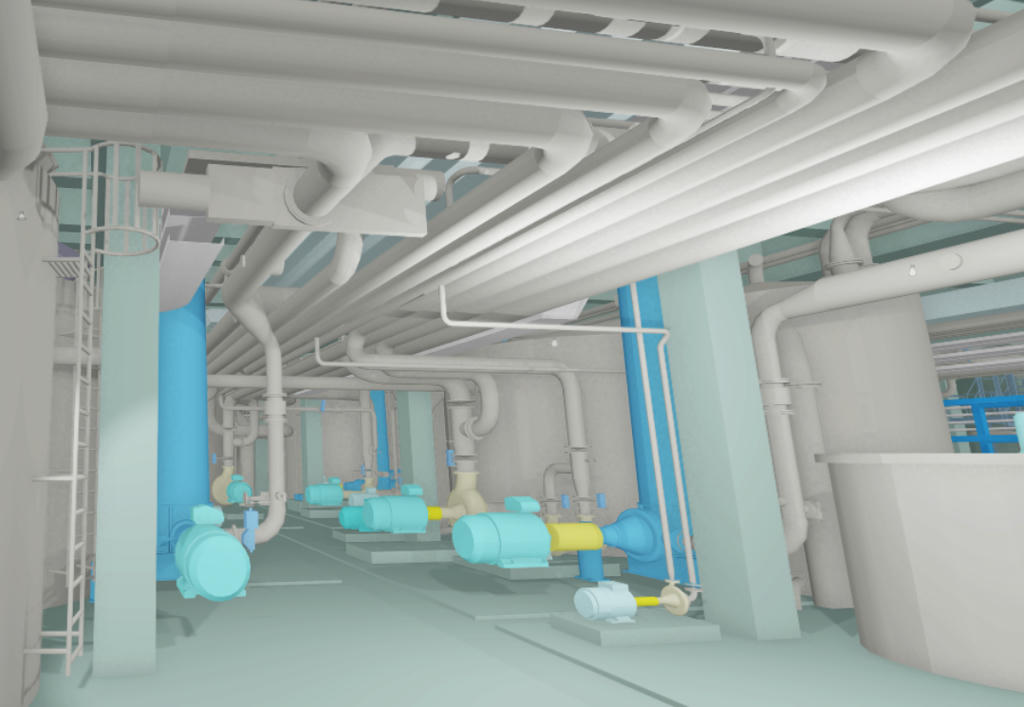
Visual style
Visual style controls the lightning mode used in the model. There are two options Physically-based and Basic.
Note: For the best results you may have to adjust Ambient and Directional lights after switching the Visual style.
On Physically-based lightning model lightning is based on Ambient, Directional, Point, and Spot lights. Inside the model there's only as much light as comes inside through the openings and added Point and Spot lights gives. The result is realistic, but sometimes especially with big models, it might be hard to investigate as there may be dark areas with not light enough.
On Basic mode, light comes always behind the current view position. The result is not realistic but more CAD look a like. You don't need to add separate Point and Spot lights to be able to investigate even interiors of the models with out any openings.
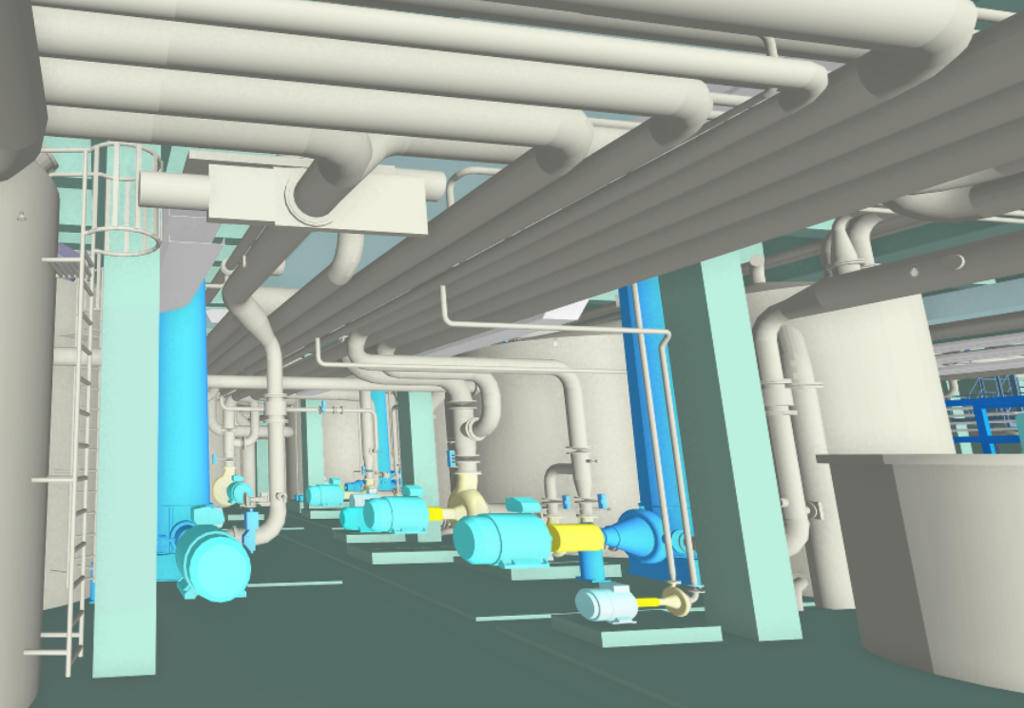
Note: Point and spot lights cannot be added into the model, when Visual style is set to Basic.
Show Edge Lines
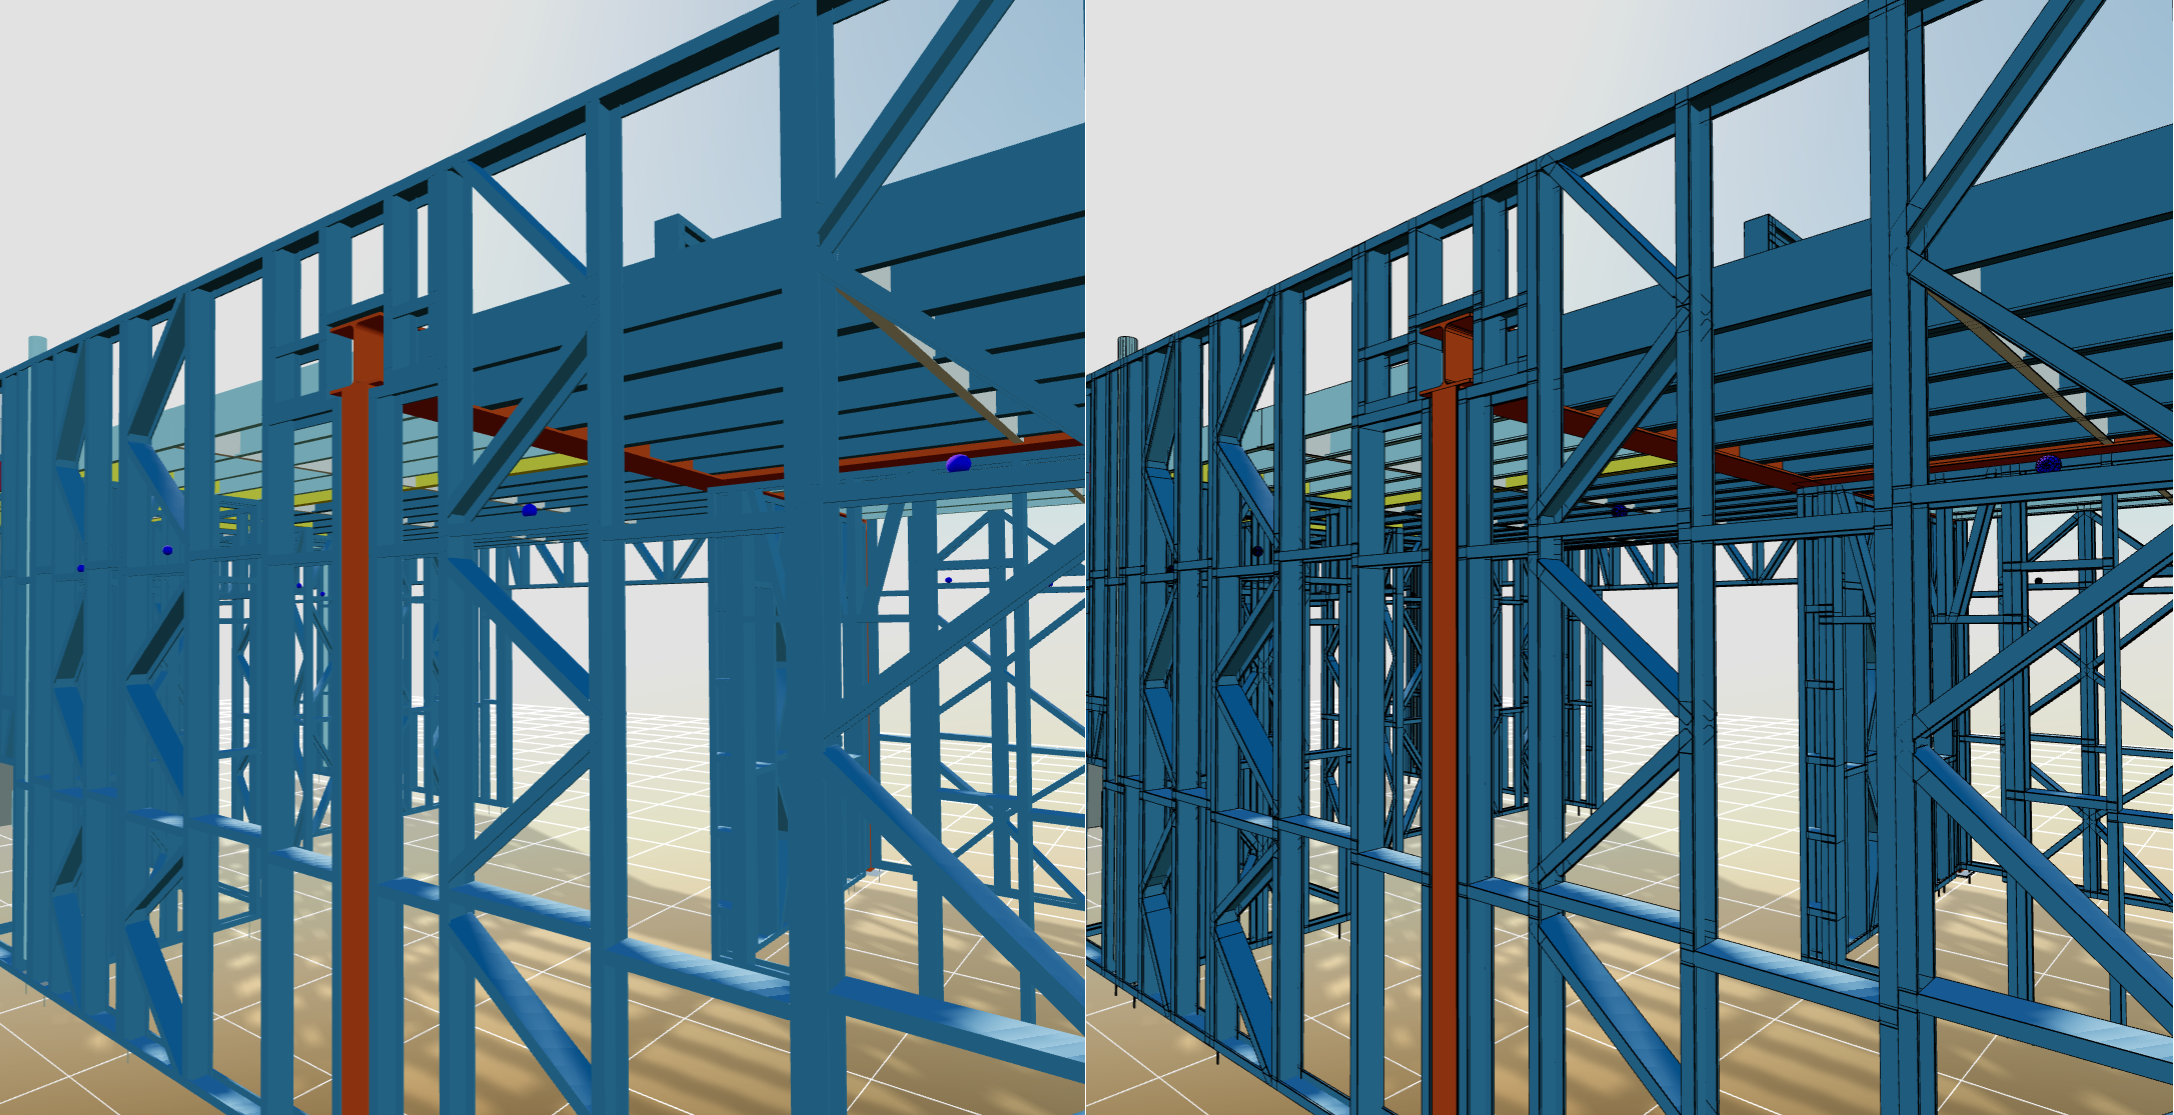
To get more clear separation between components turn on ‘Show edge lines’ want emphasize edges.
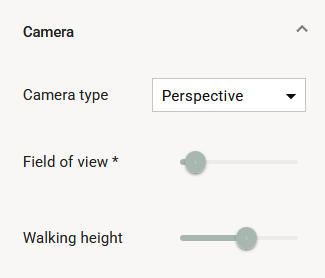
Camera
Camera type selects 3D viewer camera between ‘Perspective’ or ‘Orthographic’ camera. Select Orthographic for a clear, undistorted representation ideal for design and technical analysis as Perspective view delivers a more realistic look, perfect for presentations and visual reviews.
The 'Field of view' is the extent of the observable model that is seen at any given moment. 'Camera height' is camera's base height at the start.
Walking height is camera's base height at the start.
Ambient Light
Ambient light illuminates equally all objects in the scene. You can edit color and intensity of it.
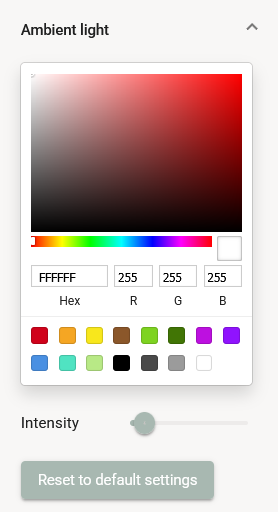
Note: This light does not cast shadows as it does not have a direction.
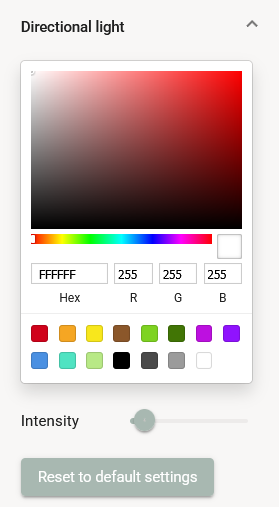
Directional Light
A light that gets emitted in a specific direction. This light will behave as though it is infinitely far away and the rays produced from it are all parallel. The common use case for this is to simulate daylight; the sun is far enough away that its position can be considered to be infinite, and all light rays coming from it are parallel.
Shadows
You can switch shadows on and off.
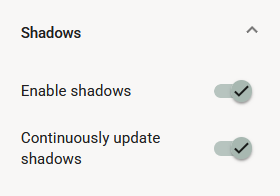
Note: Shadow calculation is a heavy process. If you have a performance issues, try to turn shadows off.
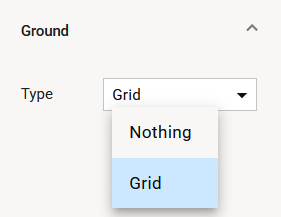
Ground
Set different grounds to your model. System has an option to set ground to grid and set ground off.
Background
You have three different options to background of your model sky, plain color, and panorama. Select desired background from the drop down menu.
Sky
Sky imitates realistic sky and sun. Continuous matrix of the arrows shows the current direction of light. Adjusting the Sun zenith controls the solar elevation. With lower elevation value you can imitate lightning conditions on dawn or dusk and with higher value mid-day. With Sun azimuth you can adjust sun compass direction.
You can easily investigate does the eave offer protect enough from mid-day burning sun or does the sun shine on the terrace in the evening as intended.
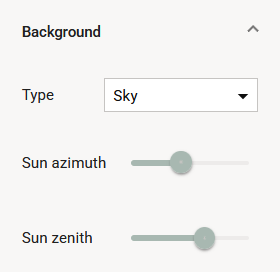
Note: Adjusting Sun zenith and Sun azimuth changes corresponding Zenith and Azimuth values of the directional light.
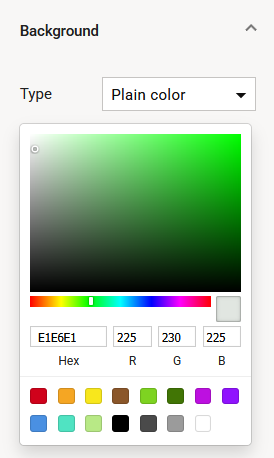
Plain Color
Plain color is a simple background option, when realistic visualization is not on main focus. You can
-
Select a color from a gradient or spectrum.
-
Input decided value in Hex or RGB format.
-
Choose from preset color swatches.
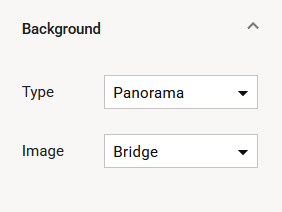
Panorama
Set panorama as background. System has four different pictures from which select for.
Camera
Set camera as background. System uses camera’s view as a background.
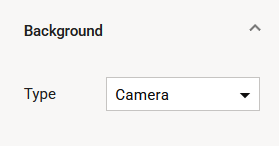
The system may ask permission to use the camera.
Graphics
Postprocessing Effects
Postprocessing effects have great effect to the visual appearance of the model. You can turn them on and off using Postprocessing switch.
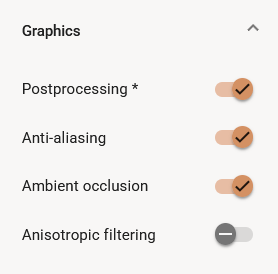
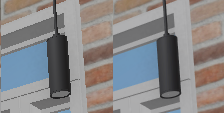
Anti-aliasing improves smoothness of the edges. Without anti-aliasing part edges may look a little rough and serrated. Turning anti-aliasing on smooths the edges in cost of performance. The anti-aliasing makes the result smoother but more performance from graphic card is needed.
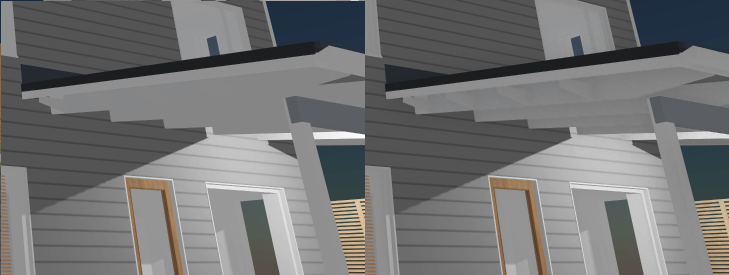
Ambient occlusion is a method to calculate lightning on the model. Put it simple system calculated how exposed each point of the model is to light. It calculates the effect of the other geometry to light too. As a result the model lightning and and shadows looks more realistic. On the downside ambient occlusion calculation needs a lot computing and have great impact on performance.
Note: If ambient occlusion is turned on system turns it off automatically while moving in or rotating the model. When moving or rotating stops, ambient occlusion is turned on automatically.
Anisotropic filtering improves texture clarity and detail on surfaces viewed at steep or oblique angles, especially in the distance, by accounting for the angle of the surface relative to the camera. You can turn on and off the filtering using Anisotropic filtering switch.
Postprocessing effects may have a great impact to the performance, too. If you have any issues with the performance, check that these are turned off.