Exercise 1: Get to know desktop and mouse functions
This will help you understand the structure of the Vertex software and, above all, the terms you will encounter when reading self-study materials or program guides.
The functions of the three mouse buttons are also introduced here.
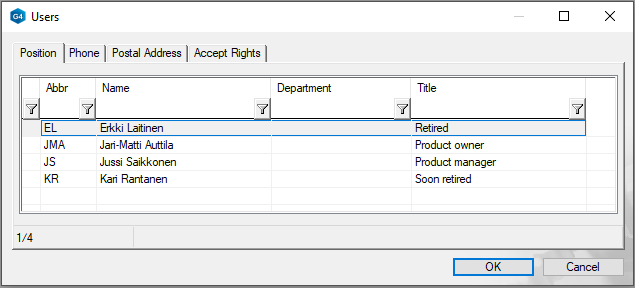
Exercise 2: Add users
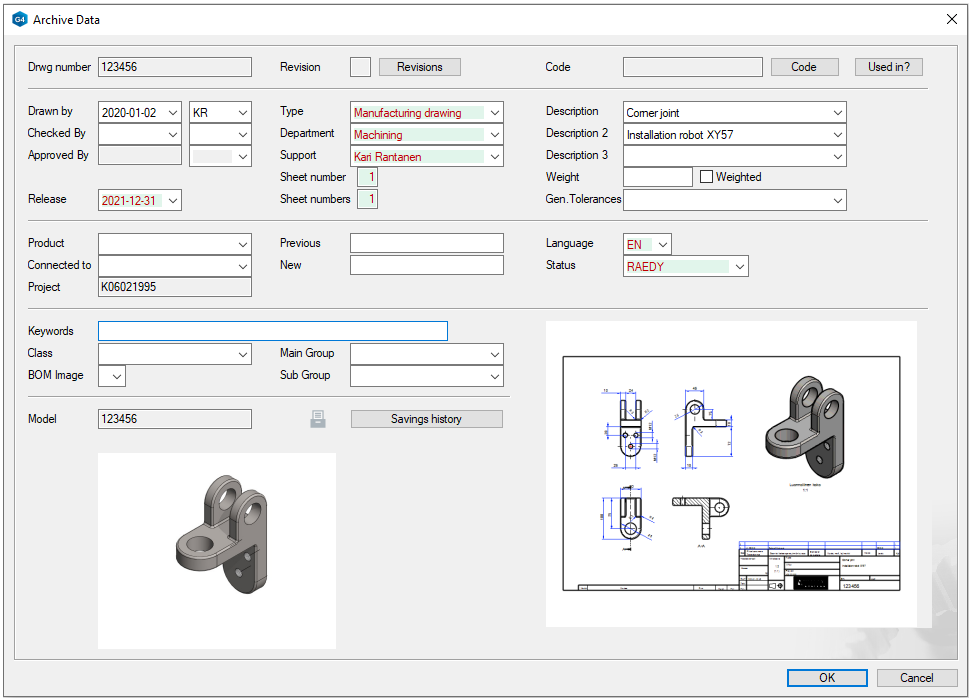
The drawing must have a designer ID, which in Vertex is added to the archive card of the drawing or model, from which it "automatically drains" onto the drawing sheet.
To avoid having to type in your abbreviation of name (ID) every time, add it to the Users database and select your ID for the drawing or your name on the project archive card.
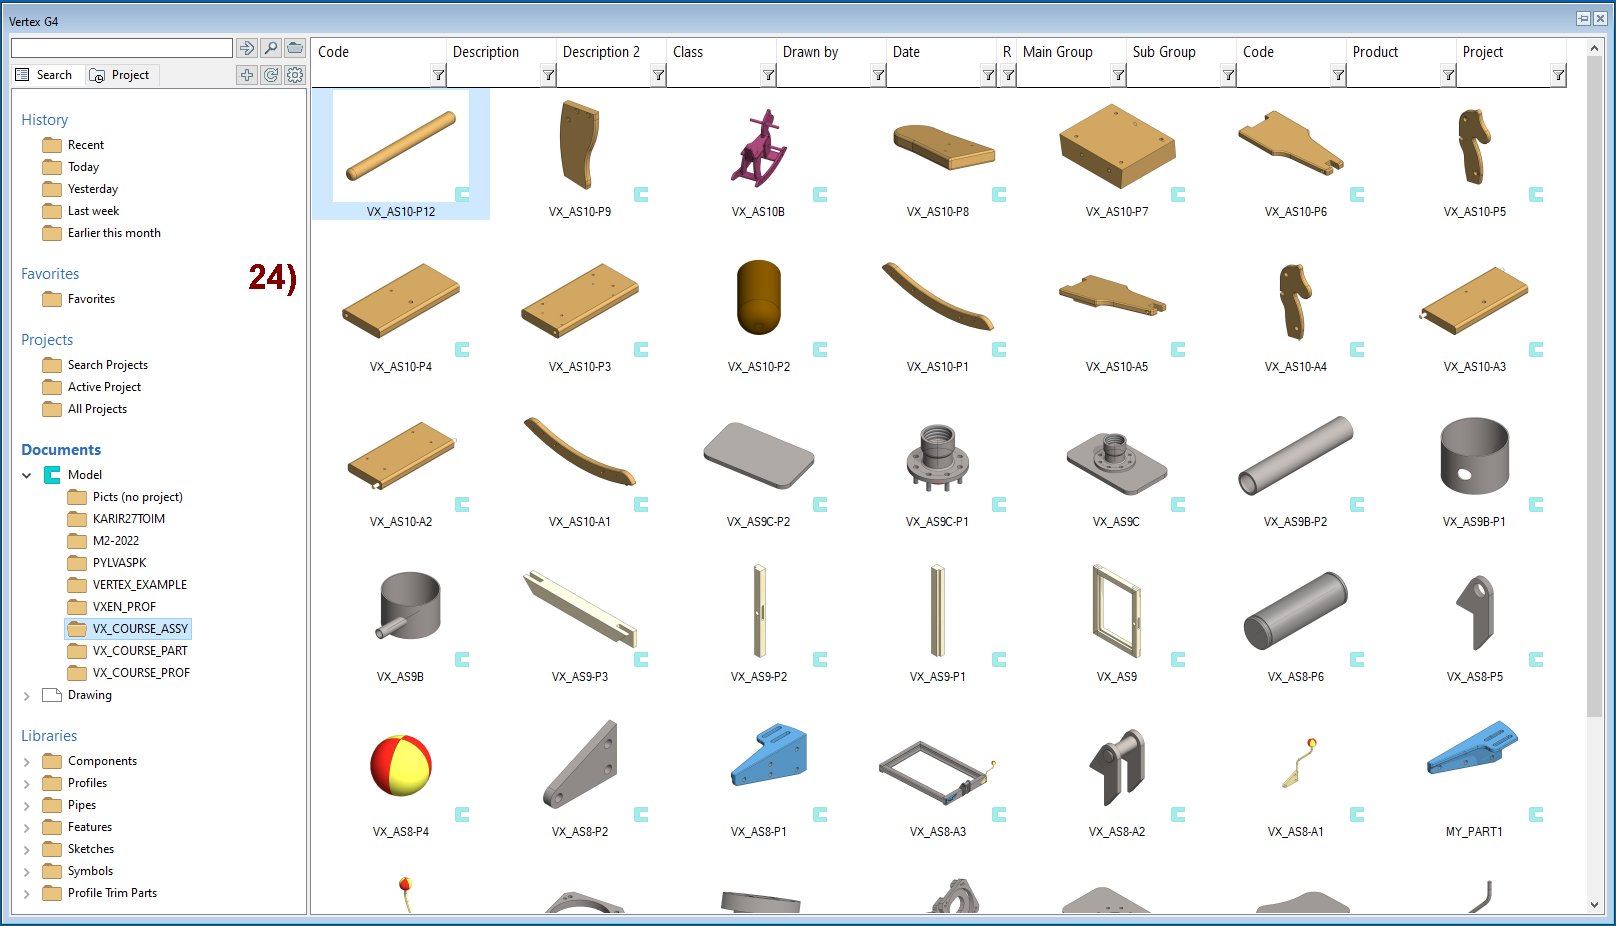
Exercise 3: Use Vertex browsers
When you work with Vertex, you do NOT use a Windows browser to read the drawings and the model, but Vertex's own browsers.
Learn here how to use browsers to find models and drawings and how to add favorites to yourself. Note that you can filter the search results and organize them by different fields to make it easier to find the right documents.
Exercise 4: Use archiving
Get acquainted with the handling of Vertex's model drawing and project archives.
The creation of a new revision of a drawing and the saving of a revision are also discussed here.
Exercise 5: Edit users preferences
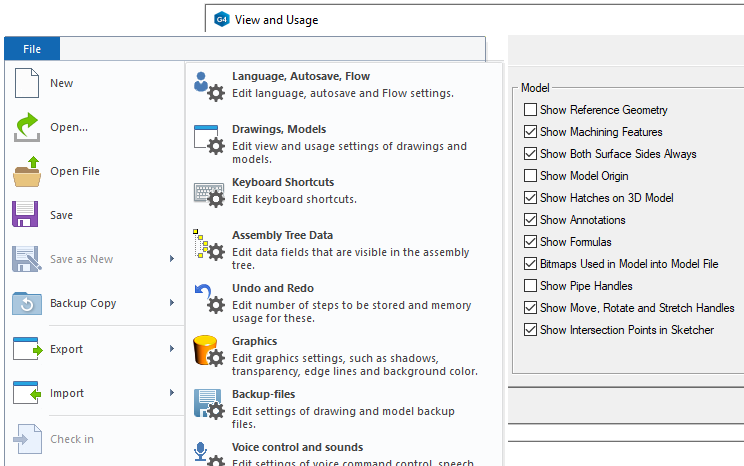
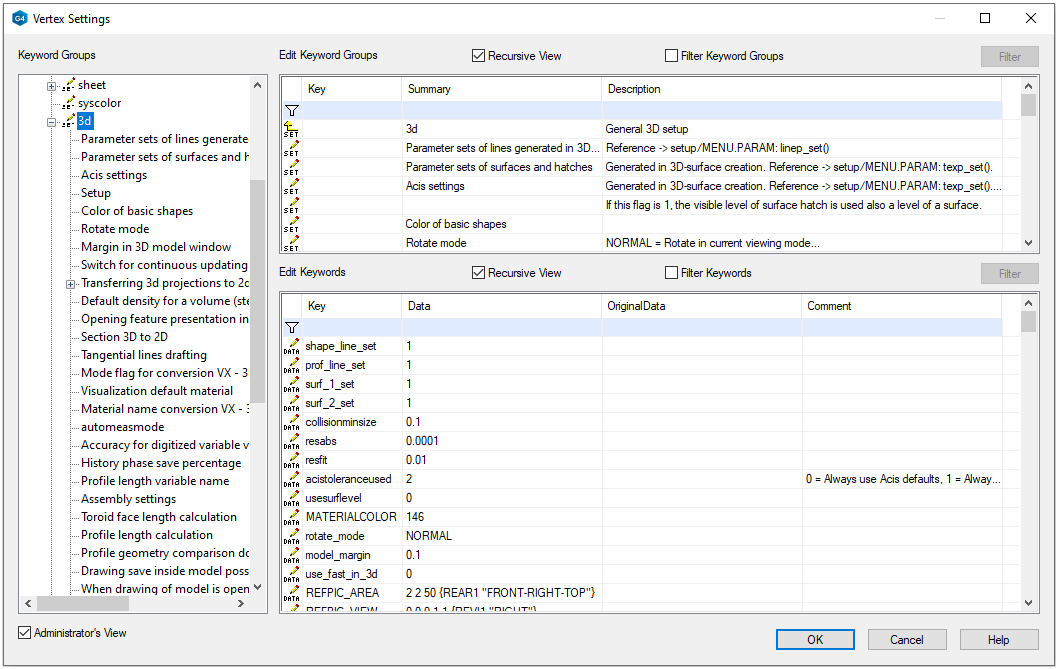
Vertex contains various settings, some of which apply to all designers using the same file server, and some of which apply to only one workstation.
Learn how to adjust user-specific (= workstation-specific) settings here.
Exercise 6: Edit system preferences
Learn how to adjust settings for all designers using the same server.
Recommendation: If you are not sure what you are doing, do not change these settings. If you change the settings, some functionality may work differently from the default settings, and the function may be considered incorrect by someone else.
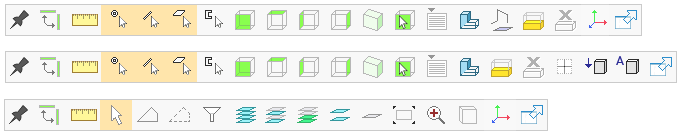
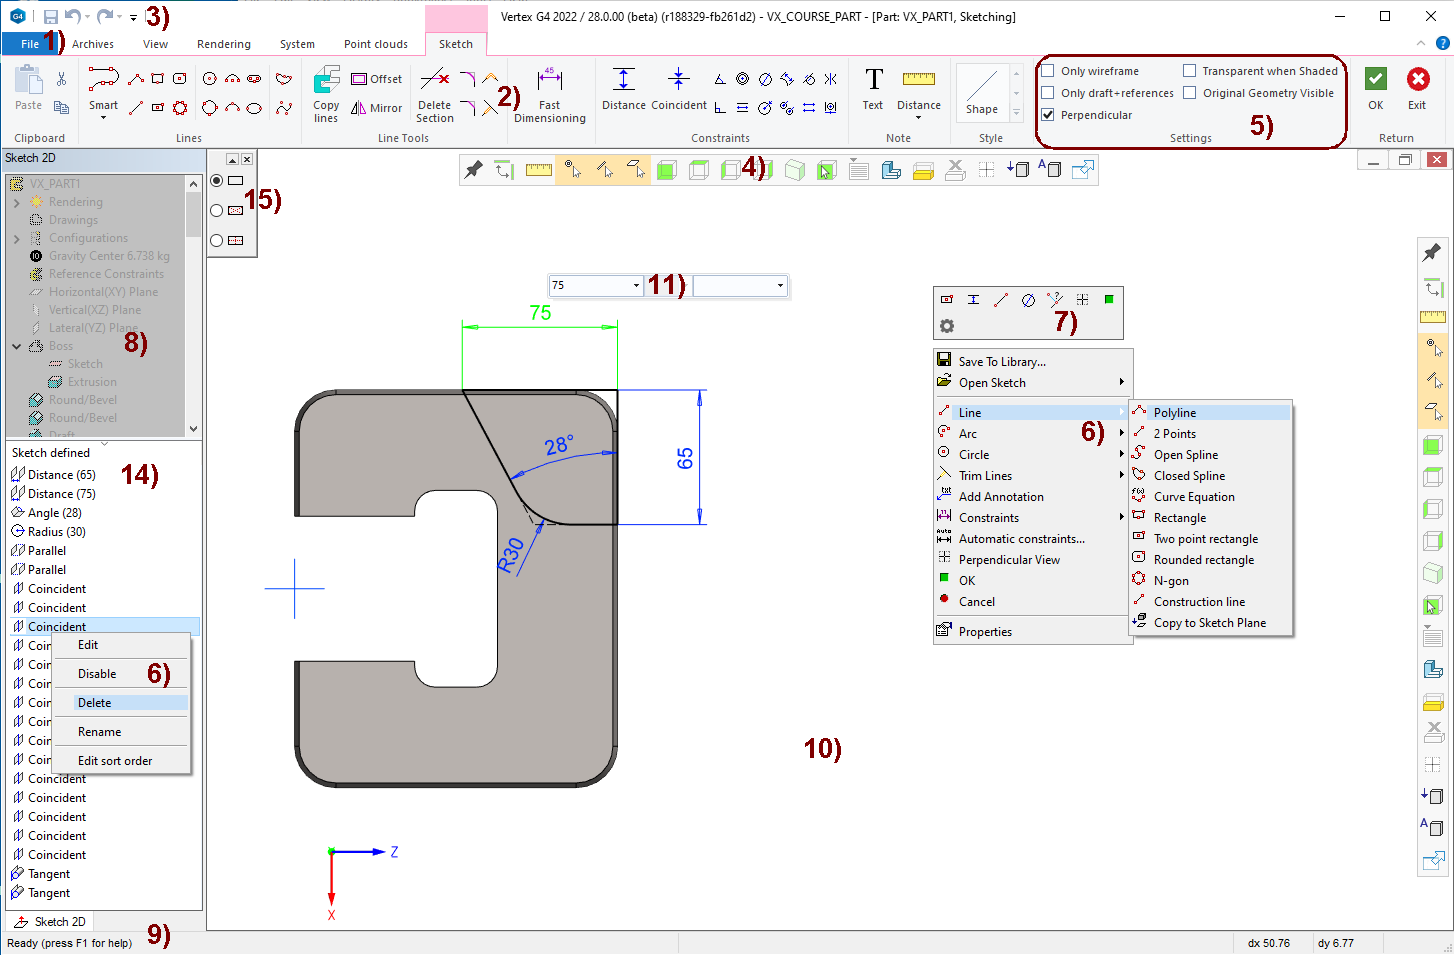
Exercise 7: Tool strip functions
The tool strip at the top or right of the model and drawing windows brings together some of the most useful functions.
Learn about the tool strip functions here,