Exercise 2. Add users
This exercise was carried out with version 28.0 (Vertex 2028).
In this exercise you will learn to
-
Add and remove users from the user database (vxg4/ ... or vxg4_srv/shared/dbases/d_MBOX_P).
-
With the help of the user database, we can retrieve our name or abbreviation (tree mark) for the archive card of models, drawings and projects, ie we avoid typing.
Functions to be used:
-
System-ribbon > Application > Users.
-
Add row.
-
Delete row.
Edit the user database
-
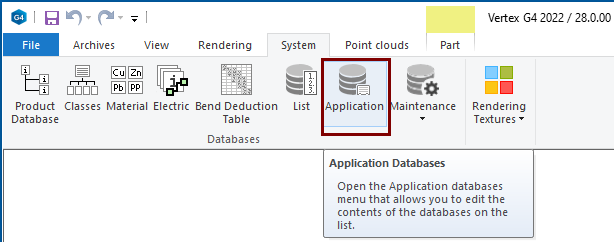
Click the System tab in the ribbon.
-
Function: Appication.
-
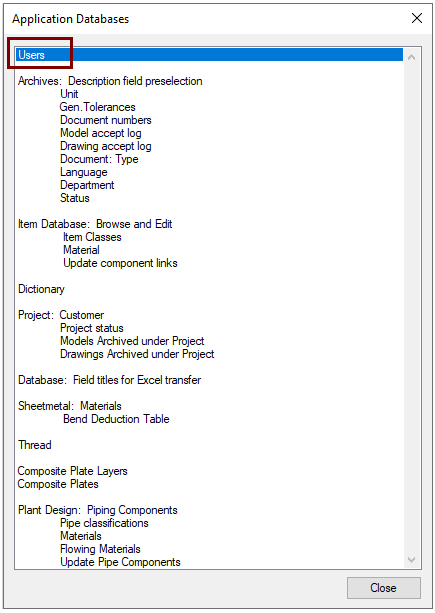
The Application Databases dialog opens.
-
-
Click the Users line.
-
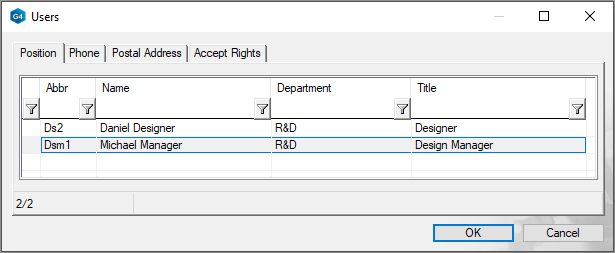
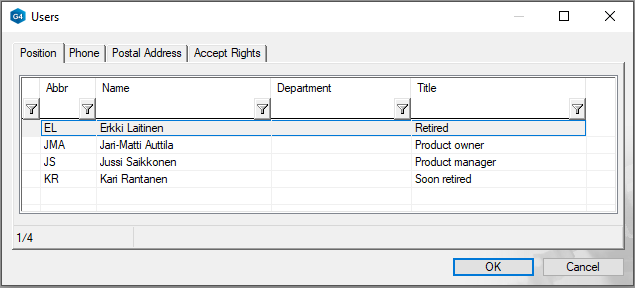
The Users database opens.
-
After a new installation, the database contains information about two users for example.
-
Delete unnecessary users
-
Click a row.
-
Right-click function: Delete row.
A user who no longer works with Vertex, but who has sometimes created models, drawings, and projects there, should not be removed.
-
You can search the archive for models or drawings with the help of a search card, and in this case it may be convenient to search for the abbreviation of a designer as a search factor, in which case the outputs of the designer in question can be selected.
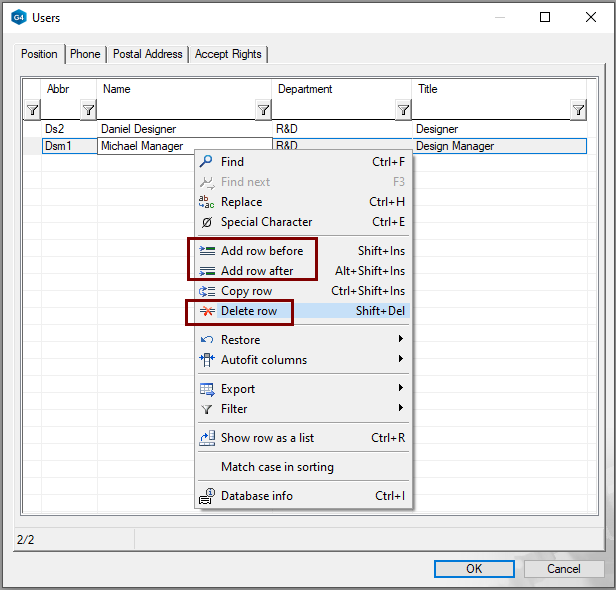
Add new users
-
Click on a line.
-
Right-click function: Add row before or Add row after.
-
Fill in the information.
-
Note that the database can be manipulated in four different tabs.
-
Database information:
-
The most important fields for filling in archive cards are Abbr (Abbreviation ie mark) and Name.
-
Other fields are informative.
Save your changes:
-
The changes are saved with the OK button.
-
The changes are discarded with the Cancel button.
Exit the Application Databases menu with the Close button.
Archive cards have three IDs: Drawn By, Checked By and Approved By.
-
Only users who have been granted approval rights can access the Approver By field.
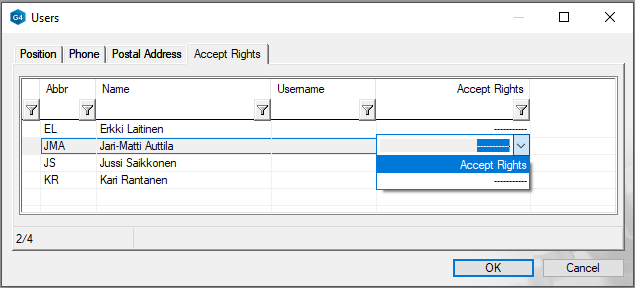
Add accept rights
-
Click the Accept Rights tab.
-
Grant the user approval rights:
-
In the Accept Right column, select Approval Rights.
-
In the Username column, enter the ID that user uses to log on to computer.
-