
-
To create new walls and wall libraries go to System tab and select Walls function.

-
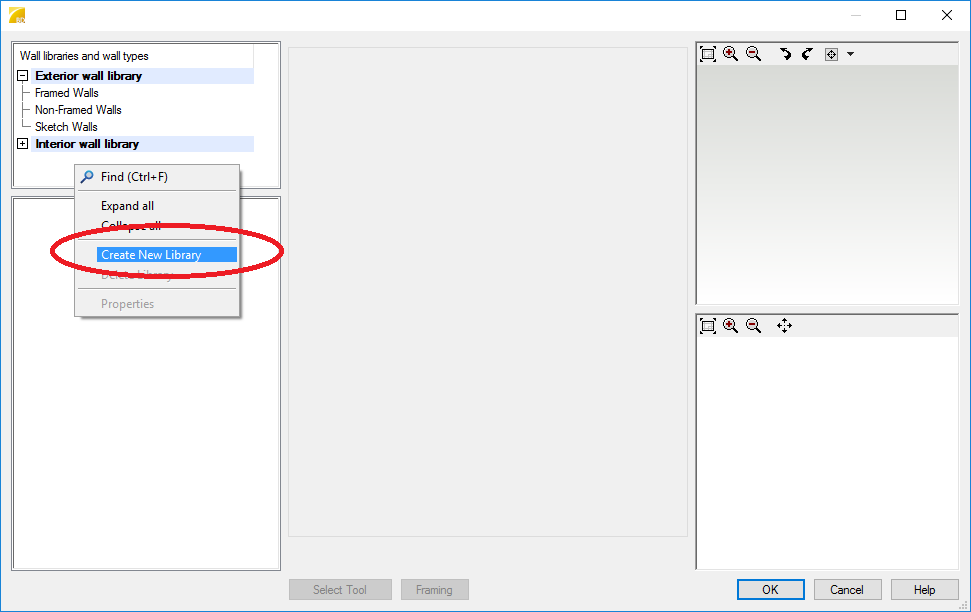
Right click over the standard wall libraries in the top right corner on the Wall libraries dialog and select “Create New Library”.
-
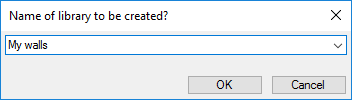
Name the new library.
-
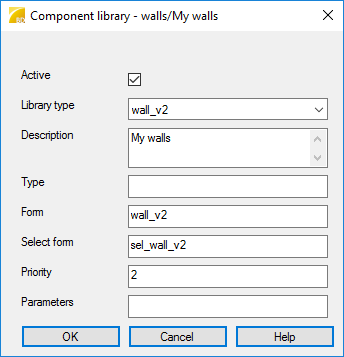
Set the priority to 0 so the new library will be on top of the list.
-
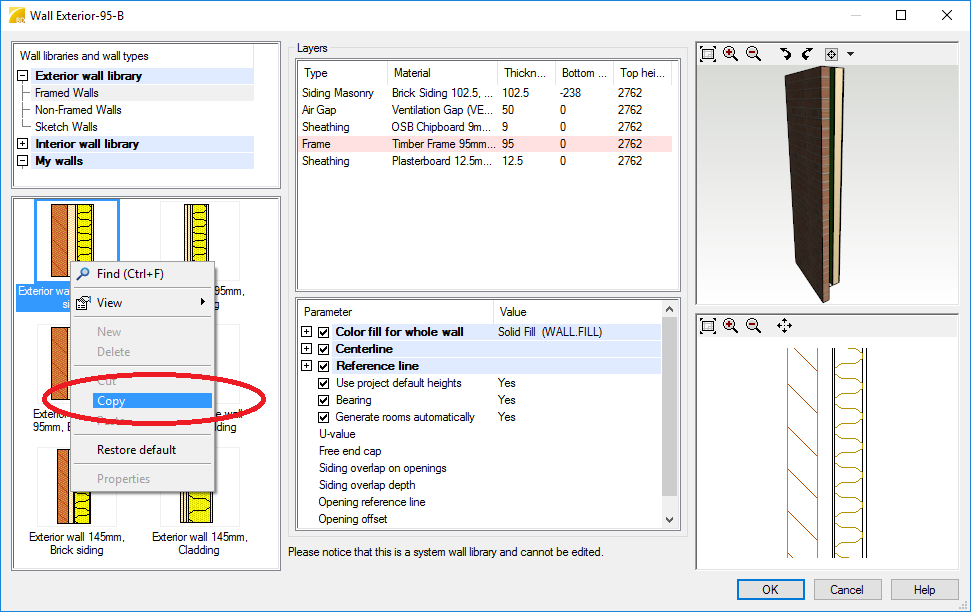
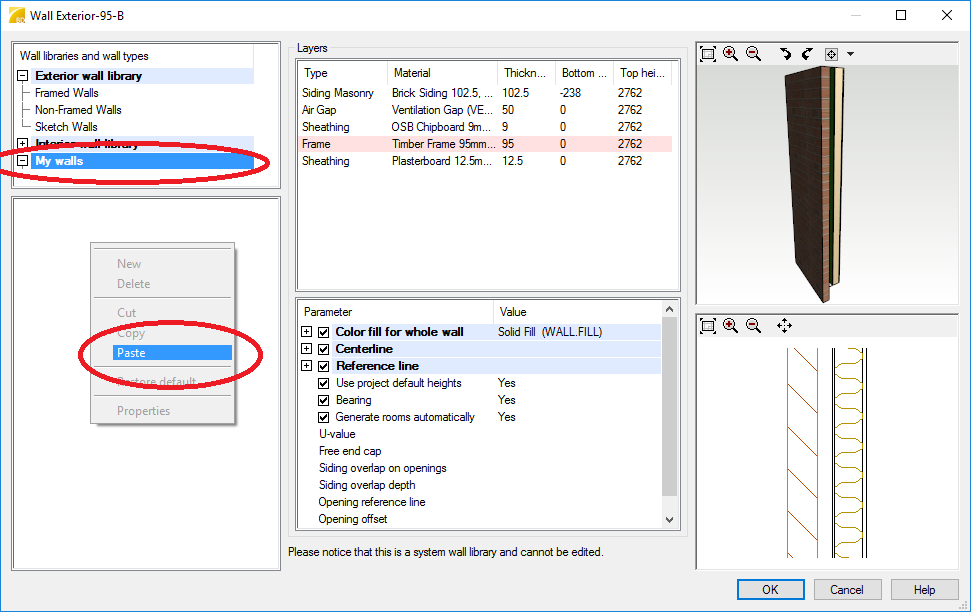
The new wall library is listed with standard libraries, in this article the name of the library is My walls. New walls are created by copying any standard wall as a base and modifying the wall. To copy any standard wall, activate some of exist libraries in Wall libraries and wall types and select any wall on the list. Right-click over the selected wall opens a menu where the wall can be copied to clipboard. Tip: A new wall can be created with minor changes when selected wall is similar with the new wall.
-
Select the library you've created and right-click over the empty wall list to select Paste.
-
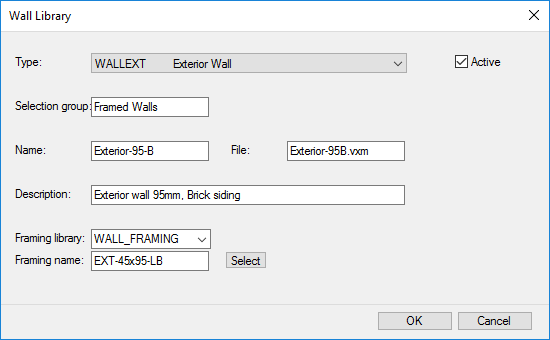
Update field values in Wall Library dialog. Special marks and spaces in the Name and the File fields are not allowed.
-
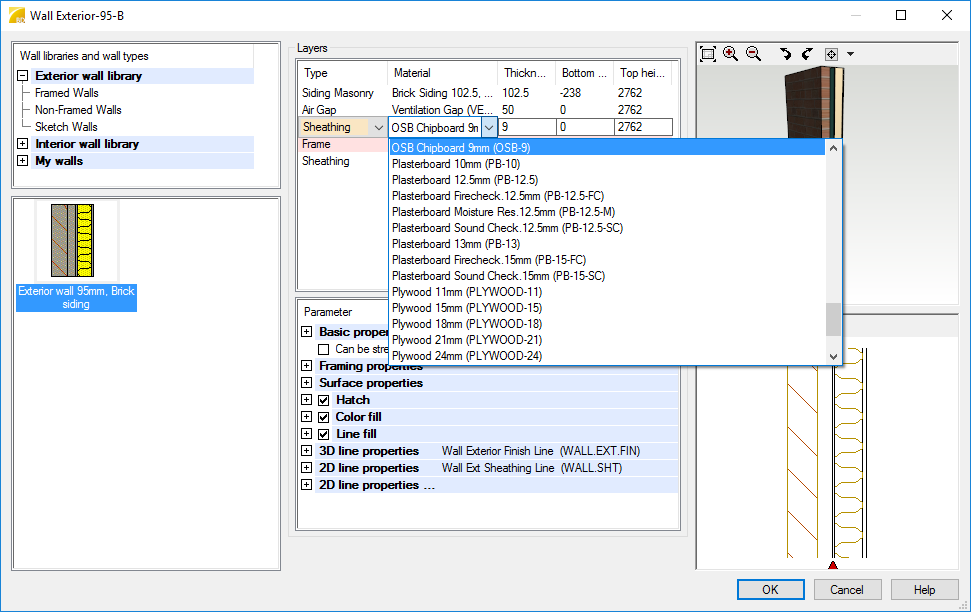
Modify the wall by choosing correct layers with correct materials. Layers can be added by activating a row and right-click Insert inside or Insert outside.
-
Set a framing tool for a layer by selecting Framing Tools from the right-click menu.