
General
When the item's geometry has been modeled or drawn with Vertex G4, the item, model, and drawing must be check-ined to Flow (Checkin).
-
Flow's background translator converts the model and drawing into the desired file formats.
-
The model, drawing, and item can be linked to projects and products.
-
The model and related drawings are removed from Vertex G4's local archive, where they were copied when the item was reserved for editing or when the design of a new item was started in G4.
-
A browser image of the model is created in Flow for the model and item.
Open or Create a New Item in Vertex G4
Checkin the Item with Documents as Incomplete
(1) Select the function File > Checkin.
-
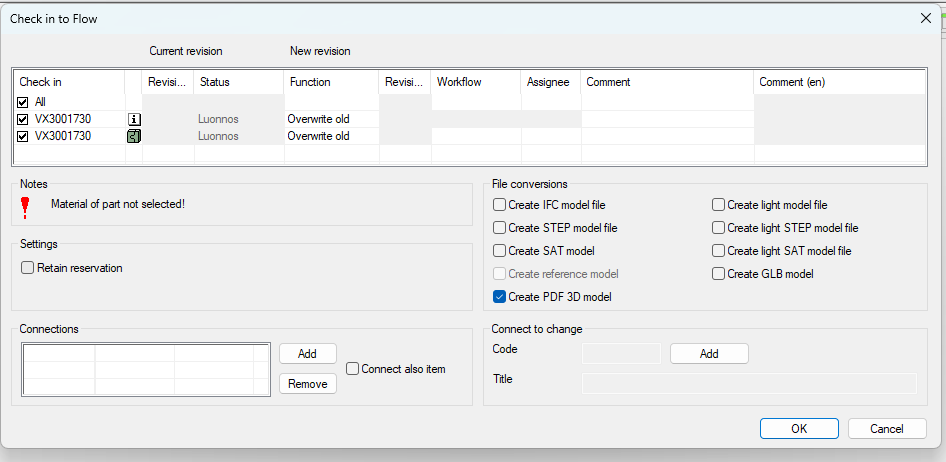
Vertex G4 opens the dialog window Checkin to Flow.
-
If it’s a part model without an assigned material item, G4 will alert you with a red exclamation mark and the message "Part material not selected."
-
In this case, it’s best to cancel the check-in and assign a material item to the part model.
-
The status will be Draft and the action is Overwrite Old.
(2) Select File Conversions, if necessary.
-
You can choose from the model file formats for which a Flow background translator license option has been purchased.
-
In the image, the format Create PDF 3D model file is preselected.
-
An administrator can adjust these default selections in the settings.
-
The background translations for drawings are generated automatically, so you don't need to select them.
(3) If necessary, select links to the project or product.
(4) If you add a link, also select Link Item, if necessary.
-
We recommend that you only link the top-level item of the item structure to the product or project so that the most relevant item connection is visible in Flow's Links section.
(5) Select OK.
-
The item and its related documents (model and drawings) are copied to Flow and simultaneously removed from Vertex G4’s local archive.
Checkin the Item with Documents as Complete
(1) Select the function File > Checkin.
-
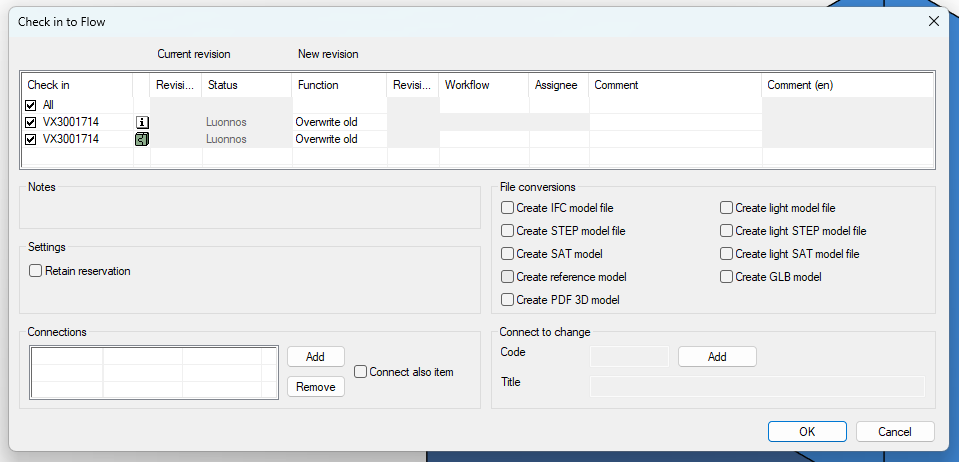
Vertex G4 opens the dialog window Checkin to Flow.
(2) Click the Workflow field on the All row.
-
You can also click the workflow field on an individual document's row.
(3) Select the preset option button.
-
Vertex G4 will display a list of allowed workflows.
(4) Select the workflow that sets the status.
-
For example, Complete or To Production (no review).
-
Vertex G4 will change the status of the model and drawings.
-
The status of the item must be changed in Flow because changing the item's status can trigger its transfer to the ERP system.
(5) Select the responsible person, if necessary.
-
If the workflow requires a review of the designs, select a responsible person for the documents that need review.
-
Click the preset option button and select the responsible person from the list.
(6) Select File Conversions, if necessary.
-
You can choose from the model file formats for which Flow’s background translator license is available.
-
In the image, the format Create PDF 3D model file is preselected. The administrator can adjust these default settings in the system settings.
-
Background translations for drawings are also generated, but you don't need to select them.
-
By default, the file conversion will name the secondary files (.pdf, .dwg, .ifc etc.) with the same name as the main file, with only the suffix being different.
-
Secondary files can be named differently from the main file using System Settings keywords pdm.vxconverter.filename.convert and pdm.adlibpdfconverter.filename.convert.
(7) Select links to the project or product, if necessary.
(8) If you add a link, also select Link Item, if necessary.
-
We recommend linking only the top-level item of the item structure to the product or project, so that only the most relevant item connection is visible in Flow’s Links section.
(9) Select OK.
-
The item and its related documents (model and drawings) will be copied to Flow and simultaneously removed from Vertex G4's local archive.
Checkin and Keep Reserved
In some cases, you may want to keep the item and its related documents reserved for yourself to continue editing them, but you also want other designers or Flow users to see the changes you’ve made to the model and drawings.
(1) Select the function File > Checkin.
-
Vertex G4 opens the dialog window Checkin to Flow.
(2) In the Options section, select Keep Reserved.
(3) Select OK.
-
The documents related to the item (model and drawings) will be copied to Flow but remain available for editing on the Vertex G4 workspace and will still be reserved for you in Flow.
Checkin the Item and Documents as a New Revision