-
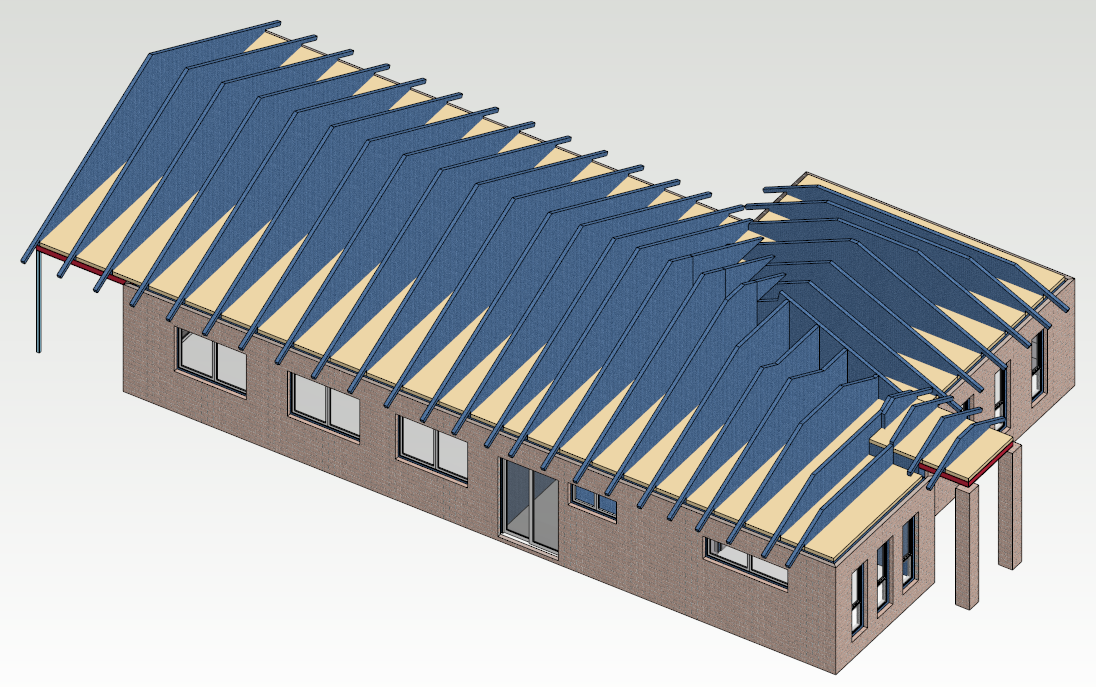
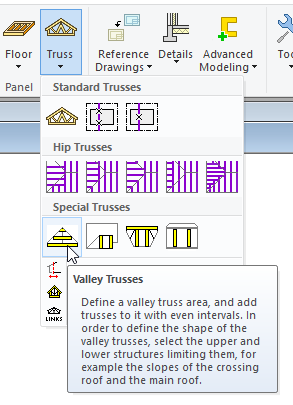
Now we can create Valley / Saddle trusses in the transitional area where the two roofs interface.
-
Click on Trusses → Valley Trusses
-
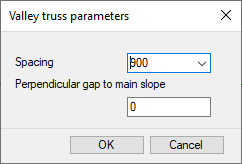
Set the spacing for Valley trusses and click on OK
-
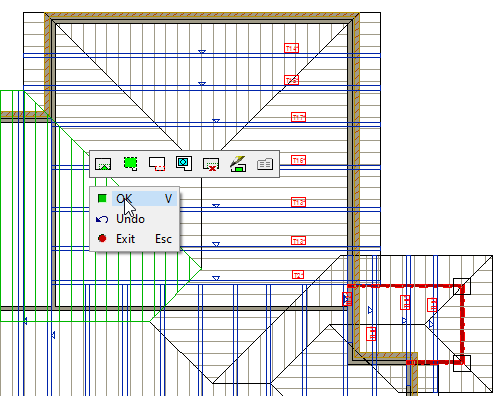
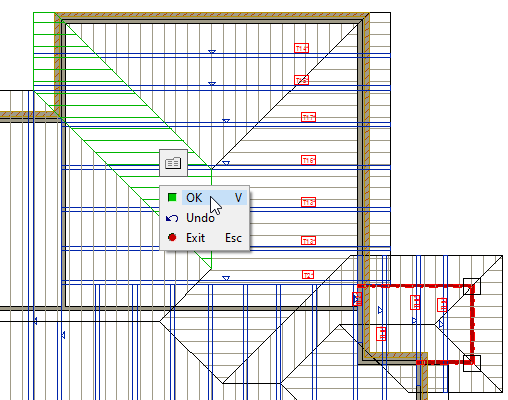
Select above slopes as shown.
-
Right click and from the contextual menu click on OK to confirm OR Press ‘V’ to confirm.
-
Select below slopes as shown.
-
Right click and from the contextual menu click on OK to confirm OR Press ‘V’ to confirm.
-
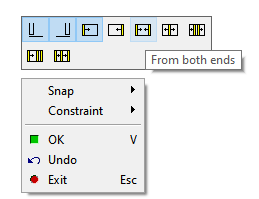
Right Click and from contextual menu select the ‘From Both Ends’ button. ( This spaces the trusses towards the centre from each end of the selected points ).
-
Select the points for the extent of the truss spacing.
-
Select the first point ( as shown ) as you move the cursor towards the left hand side, with the appearance of this

-
Select the last point ( as shown ) Right click and from the contextual menu click on OK to confirm OR press ‘V’ to Confirm.

-
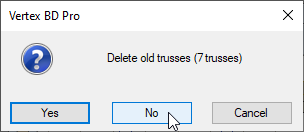
Little menu pops up asking to delete old trusses, Click on NO
-
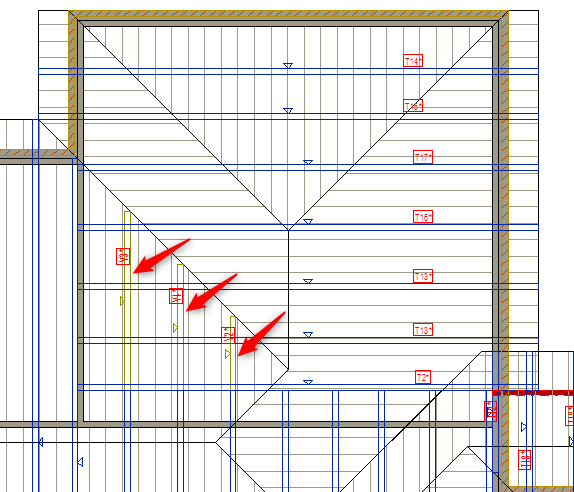
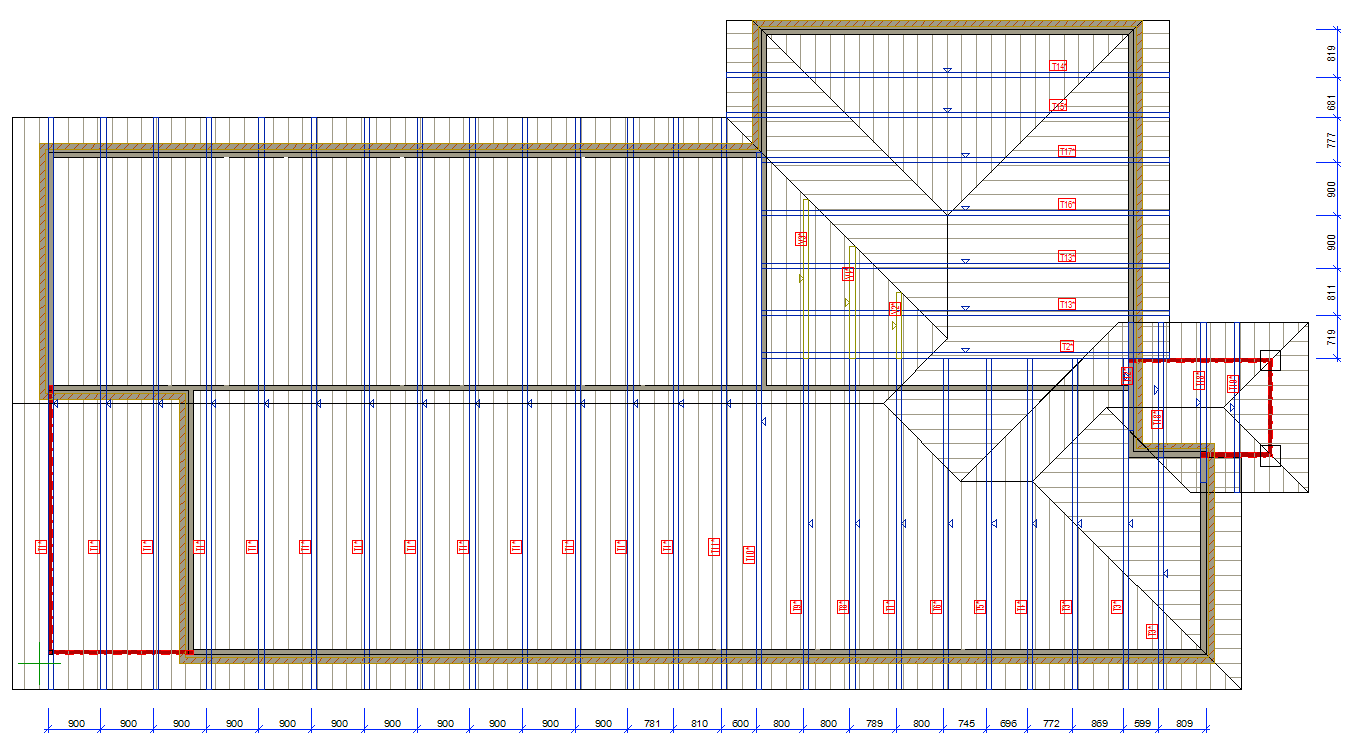
You now have the Valley / saddle trusses ( as shown ).
-
You may have to move, stretch, delete or align them, depends on the suitability and then don't forget to update update them.
-
Press F2 to switch to 3D view