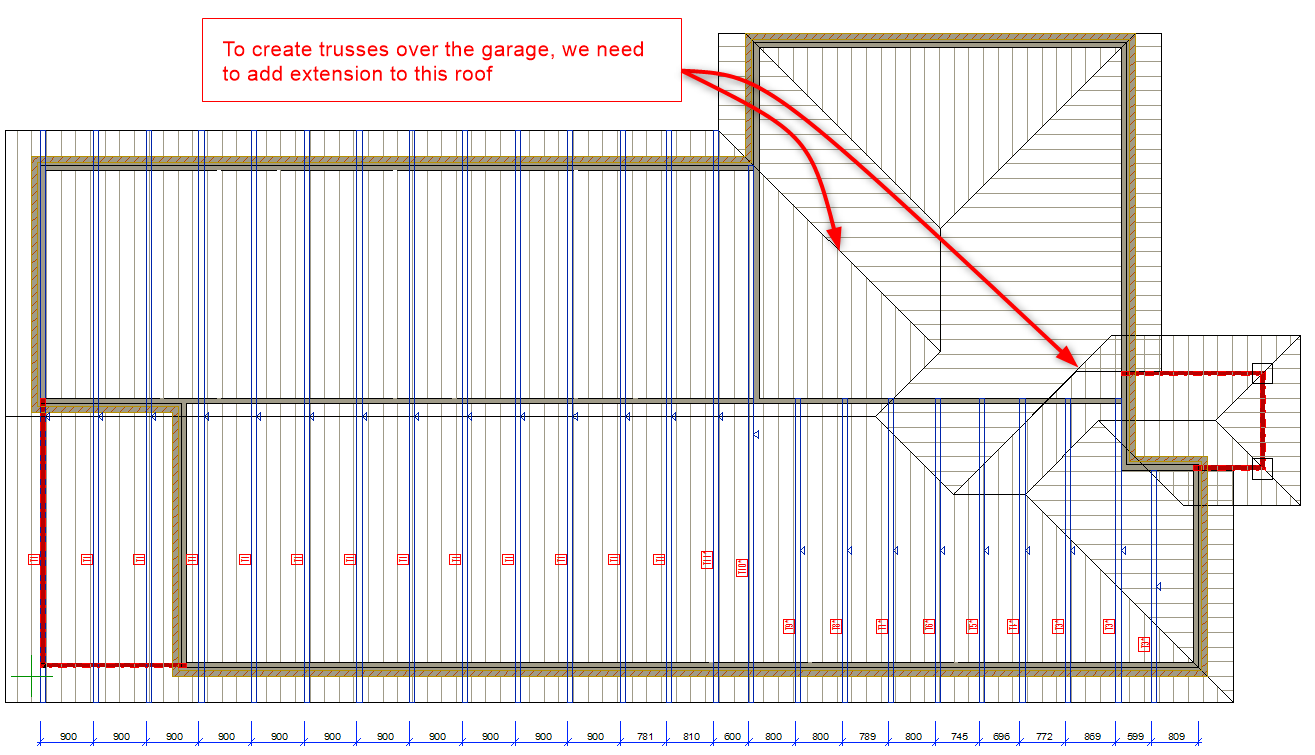
Roof plane can be extended and or Clipped (cut) as well, to define the extent to the trusses. Clipped (Cut) roof can be merged later by selecting both roof then Right click and form the contextual menu click on Merge
-
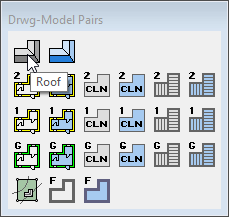
Go to Roof Layout model pair 2D view.
-
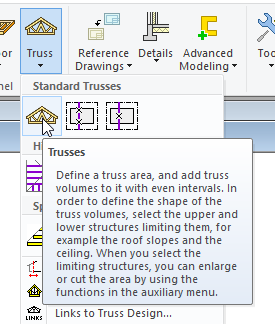
In Modeling tab click on the Truss icon and form the pull down menu click on the Standard Trusses option.
-
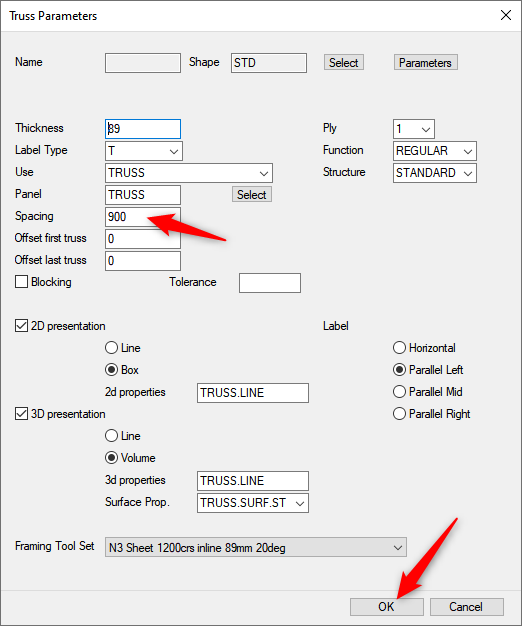
This will bring up the Truss Parameters dialog box.
-
Check the truss spacing.
-
Accept the rest of the default settings and click on OK.
-
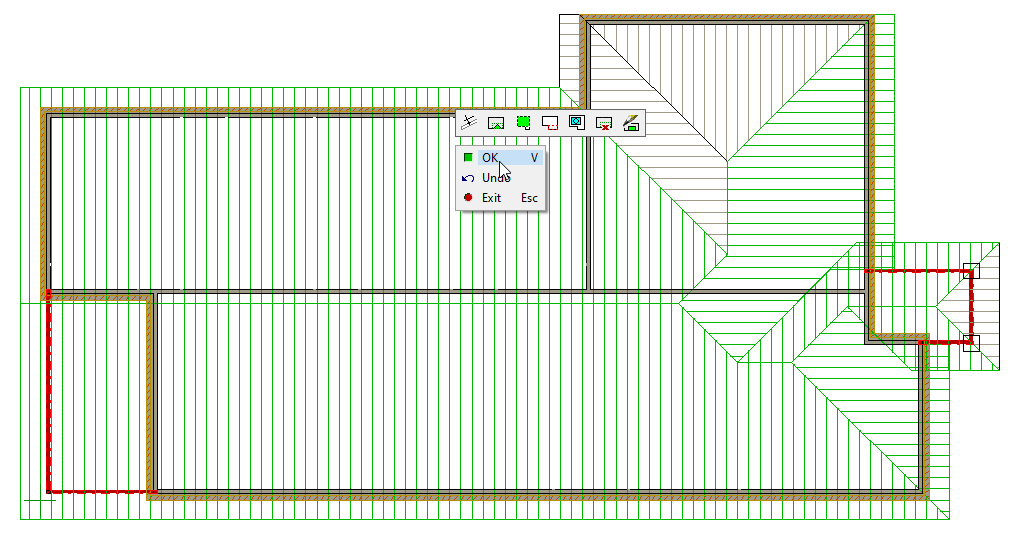
Select above slopes: This means you need to define the upper extent of the roof envelope
-
Continue selecting the above slopes (as shown ), when finished, Right click and from the contextual menu click on OK to confirm OR press ‘V’ to Confirm.
-
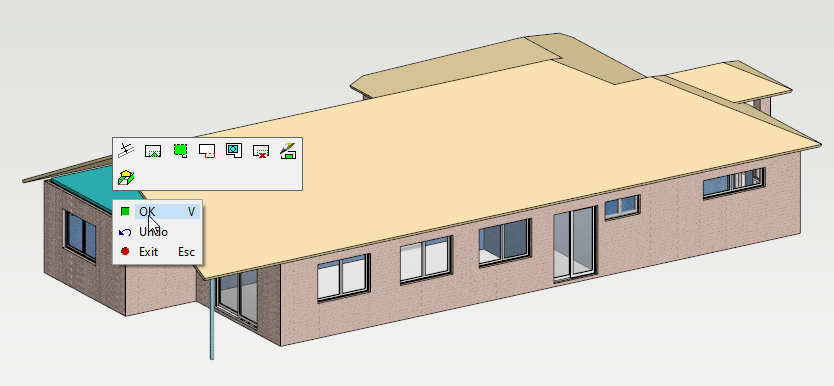
Now Vertex prompts you to ‘Select below slopes’.This means you need to define the lower extent of the roof envelope.
-
Press F2 to change to the 3D view and rotate the model (by holding down the shift key) so that you can select the ceiling, as the lower extent for the truss envelope.
-
Right click and form the contextual menu click on OK to confirm OR press ‘V’ to Confirm.
-
Now Vertex prompts to define the ‘Truss line points’, this means the extent that the truss will be spaced out across the building.
-
Press F2 to change to the 2D view.
-
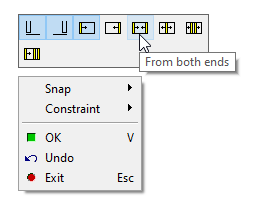
Right click and from the contextual menu select ‘From Both Ends’ ( This spaces the trusses towards the centre from each end of the selected points ).
-
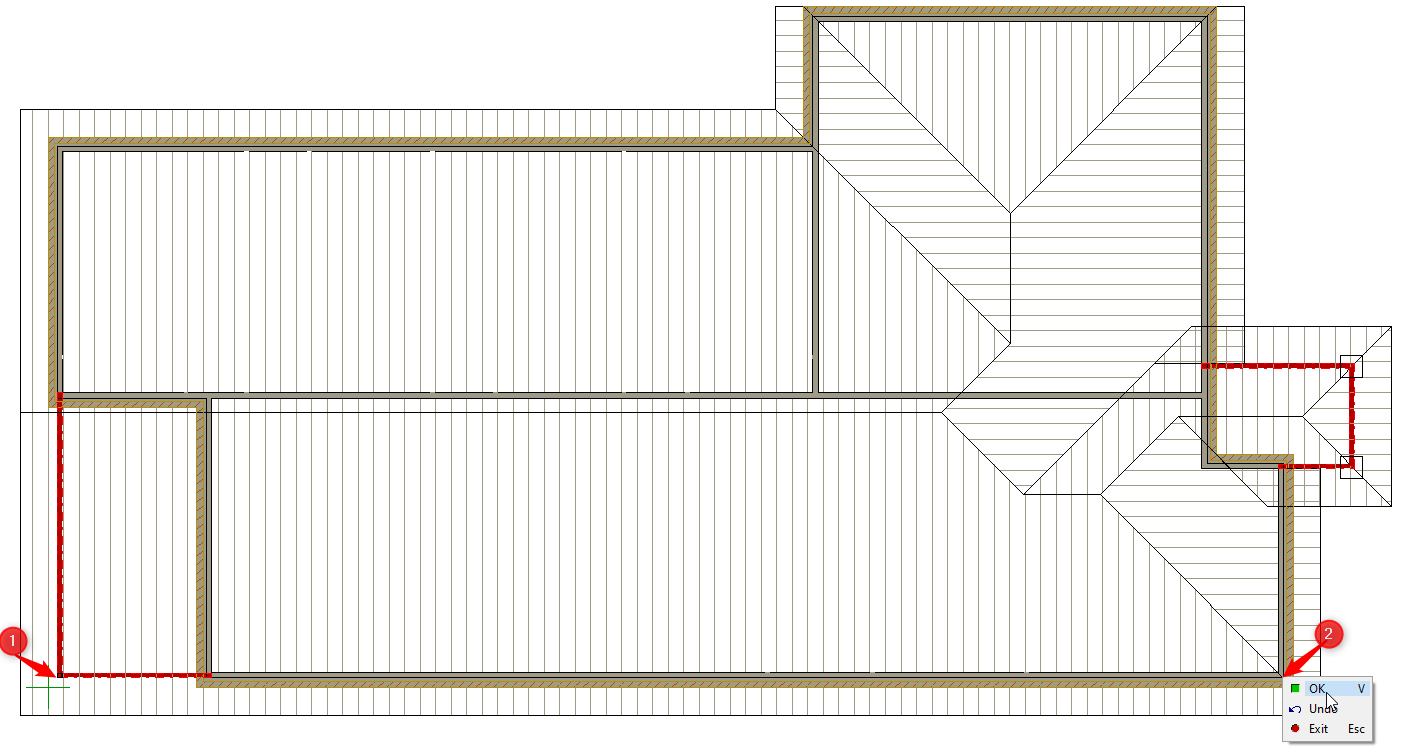
Select the first point as the outside of left hand side of wall frame corner ( This will ensure that the starting point of the first truss to be aligned with outside face of the steel frame ).
-
As you move the cursor towards the right hand side, with the appearance of this

-
Select the last point as the outside face of the right hand side wall frame. ( This will ensure that the end truss to be aligned with outside face of the wall frame ). Right click and from the contextual menu click on OK to confirm OR press ‘V’ to Confirm.
-
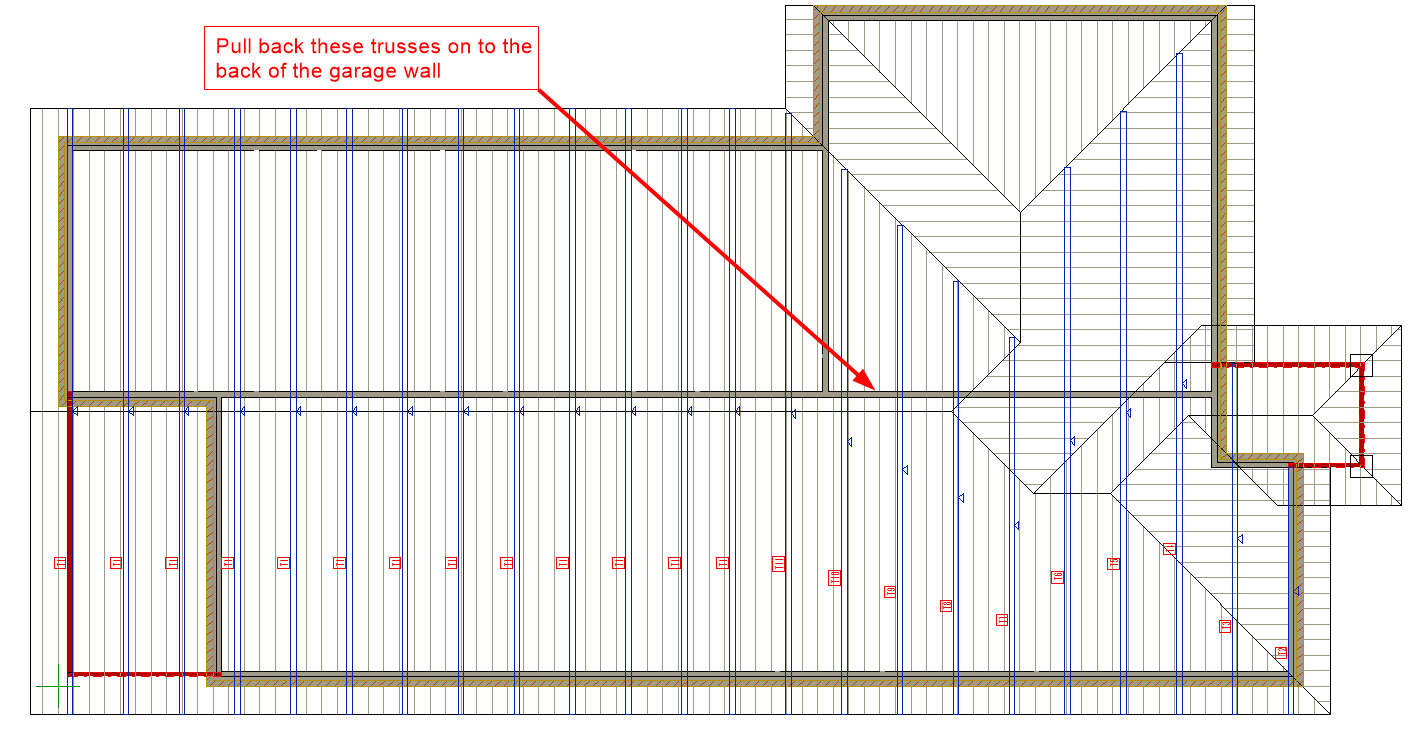
The roof truss envelopes will be created as shown below.
-
Trusses can be moved, stretched, copied and deleted as per the requirement, but must be updated afterwards.