
Starting Vertex:
-
You can start the Vertex Building Design software by double-clicking the Vertex icon ( Generally a shortcut on the desktop )

-
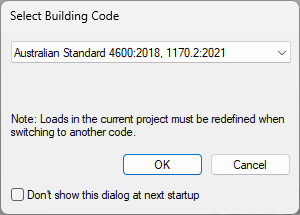
When the program starts up, Select building code dialog box opens by default, but this can be disabled if necessary.
-
Change the building code to

-
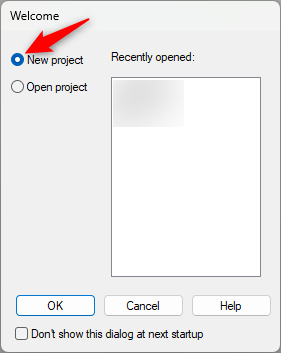
Now welcome dialog box pops-up ( can be disabled if necessary ) and prompts to recently opened project OR start a new project.
-
Tick ON 'New project' and click OK
-
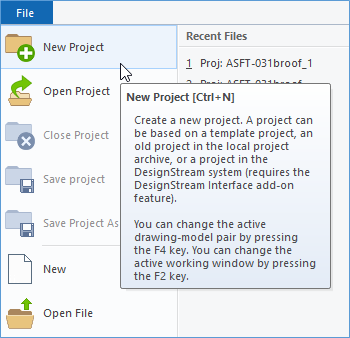
Or alternatively you can go to File Menu select New Project.
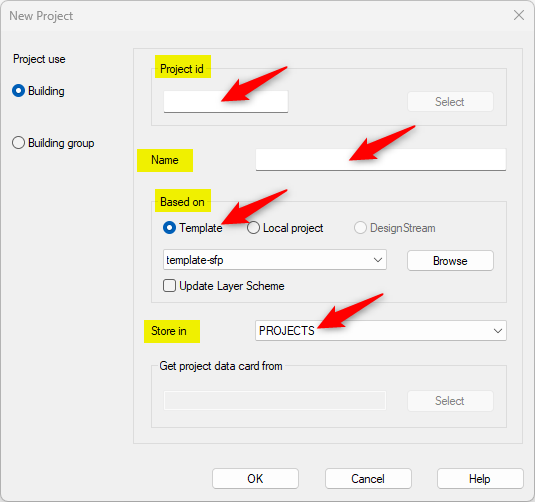
Define the properties of a new project:
-
Enter a Project id. ( This is the Project Number limited to 16 alphanumeric characters with no spacing ).
-
Enter a Name ( Name or Description of the project, can be used to find the project using a search )
-
Based on premade basic project TEMPLATE ( Template can be a customer specific )
-
Stored in this is where the project is stored ( Generally by default all the project are stored in Shared \ Projects \ project number or name
-
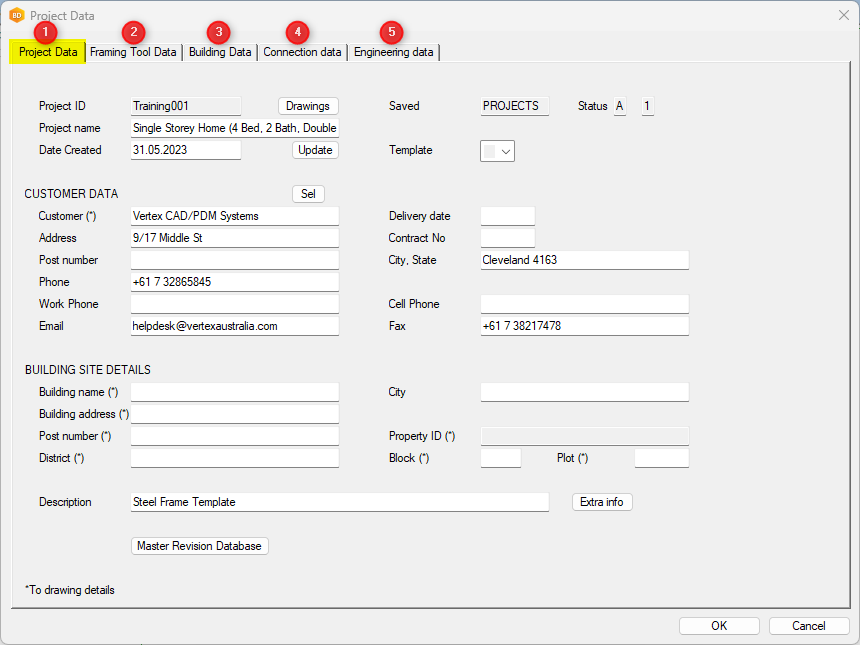
This information form called the ‘Project Data Card’
-
Project data card hold all the information about the project in relation to customer, site, building information, designer and other building related information.
-
The information in the Project Data window is automatically used in project printouts: the label data for drawings is retrieved from this window. This information is contained over the 5 tabs.
-
Click on OK. [ You have successfully started a new project. ]
-
You are ready to start drawing walls, however steps shown in next exercise are also conducive to understand the through process.