
Adding products to the shopping cart
You can begin your purchase process by selecting the desired products from the homepage.
Screenshot to update: Replace the homepage screenshot below with a current view of the product selection page. Make sure the screenshot shows the current product cards, billing frequency selector, add-on selection, and the cart icon in the header.
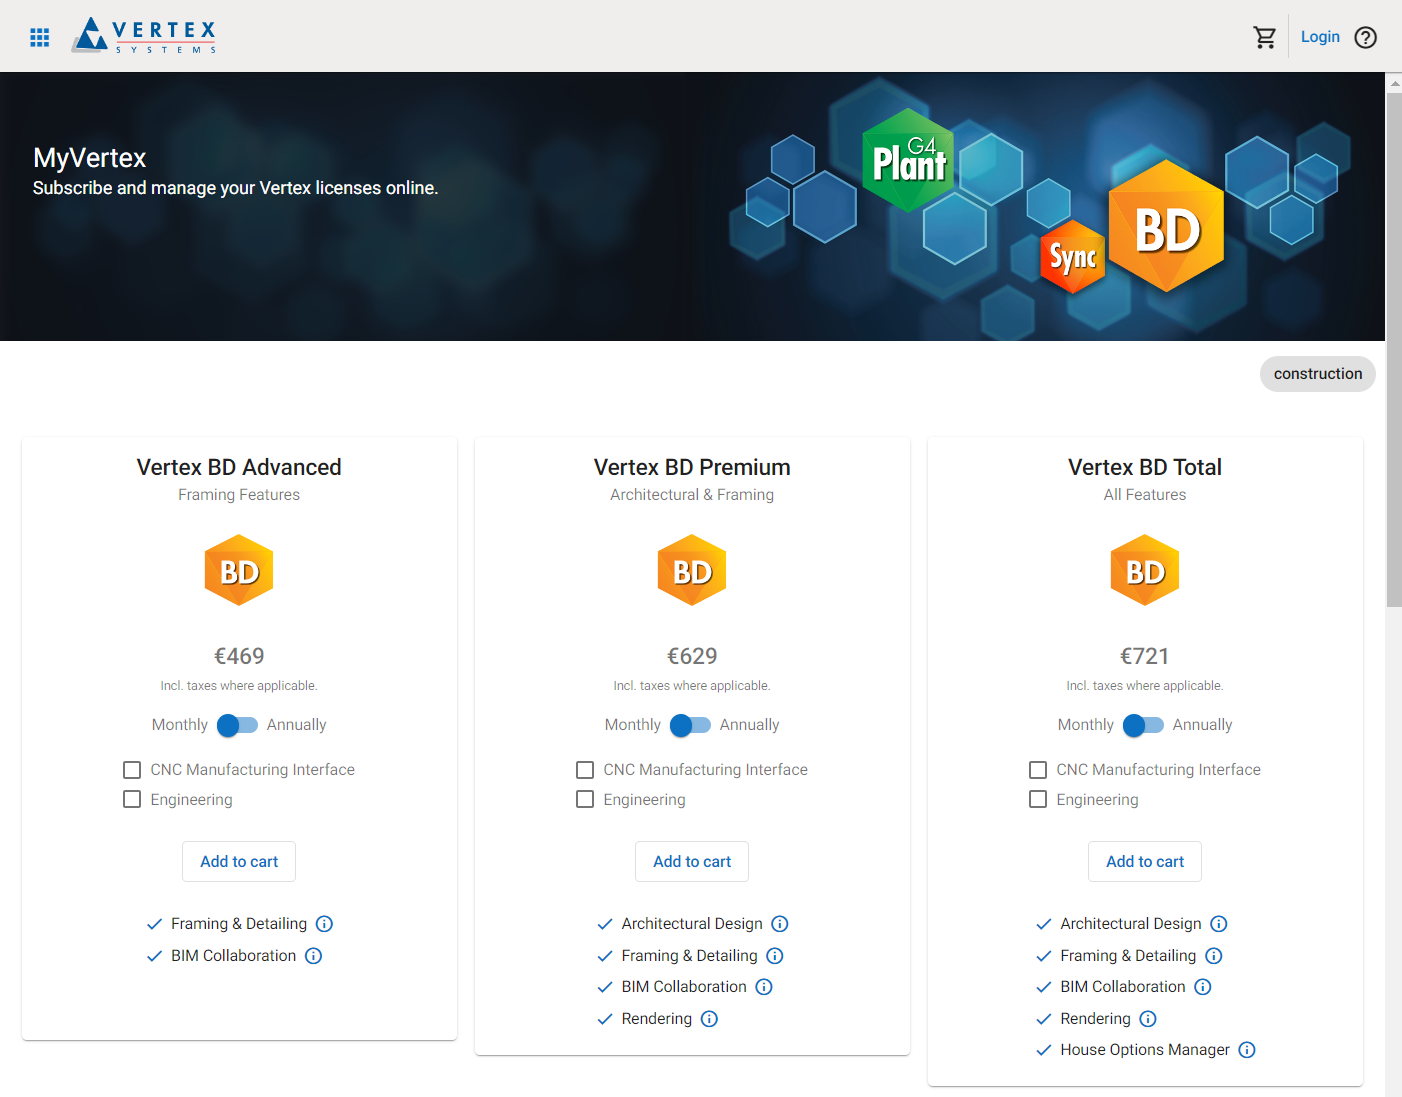
Products are displayed as cards, allowing you to configure your billing frequency and select which add-ons to include.
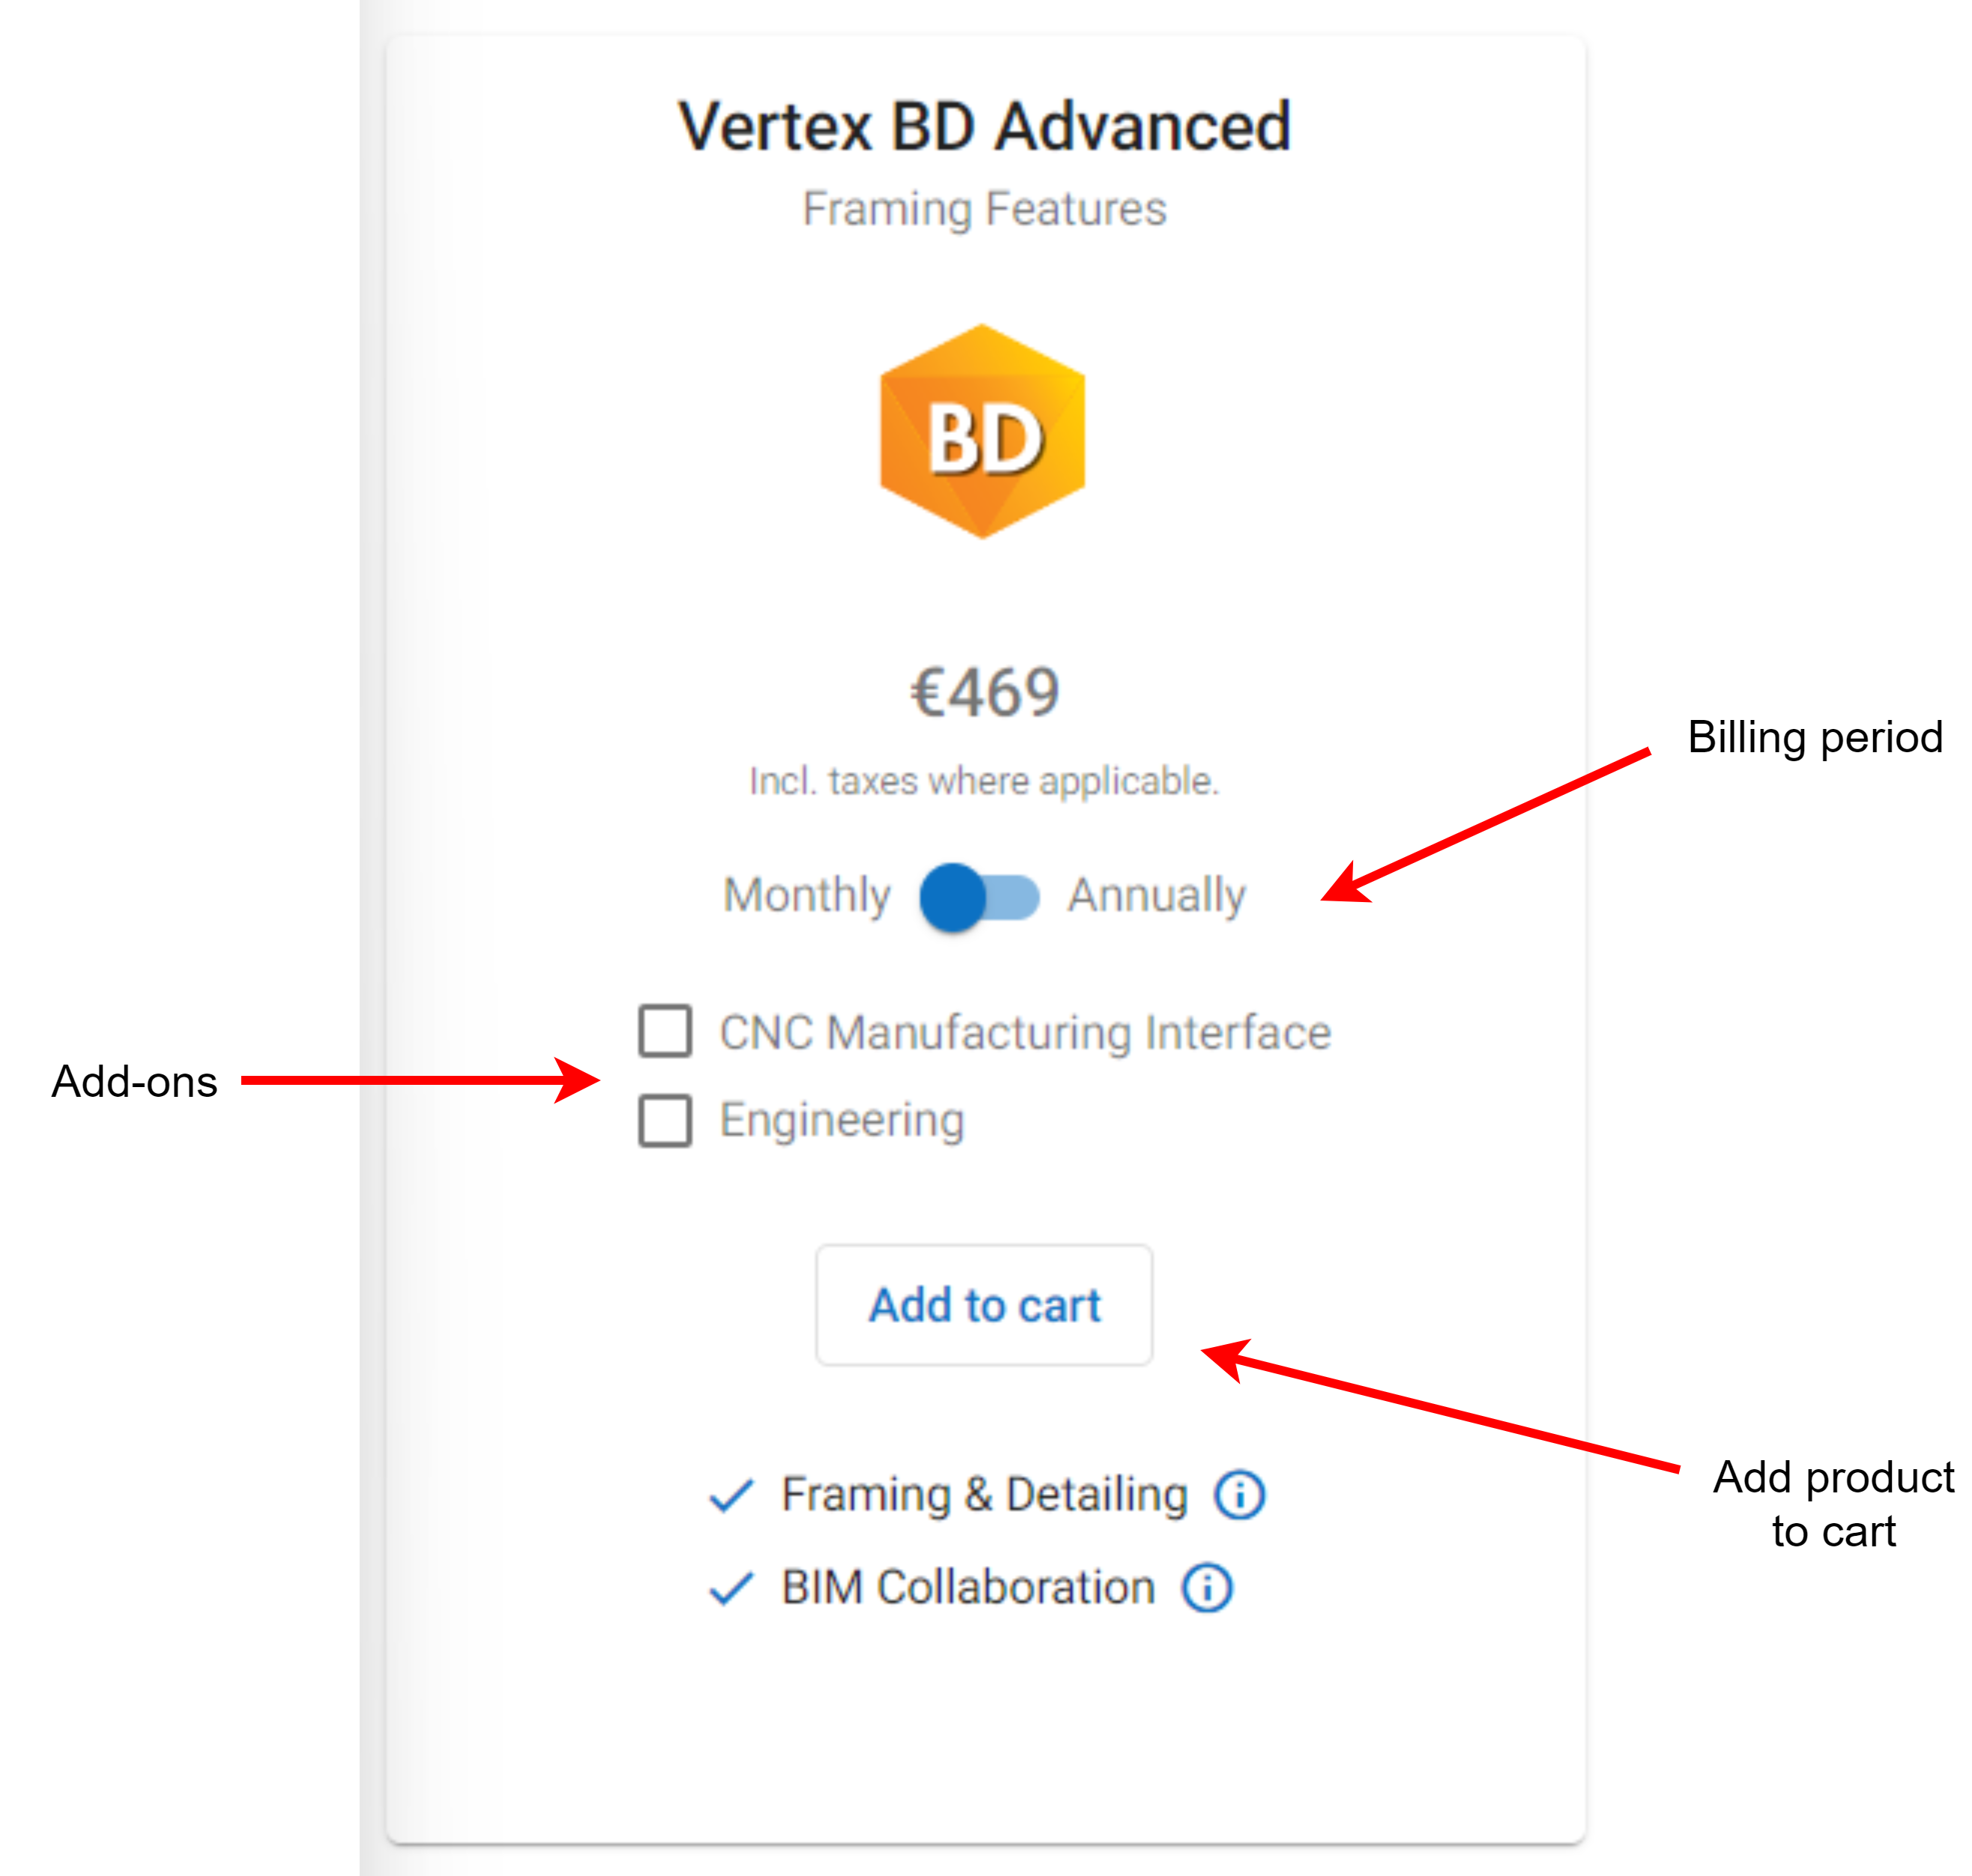
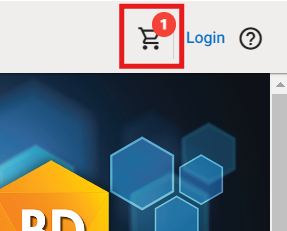
After adding products to your cart, you can proceed to the shopping cart by clicking the cart icon in the top right corner.
Shopping cart
The shopping cart displays your selected products in the same type of cards as on the homepage, which allows you to configure your products further. Additionally, you can now choose the number of licenses for each product. Reducing the license quantity to zero will remove the product from the shopping cart.
Screenshot to update: Replace the shopping cart screenshot below with a current cart view. Show selected products, license quantity controls, billing interval, selected add-ons, total price, and the Checkout button.
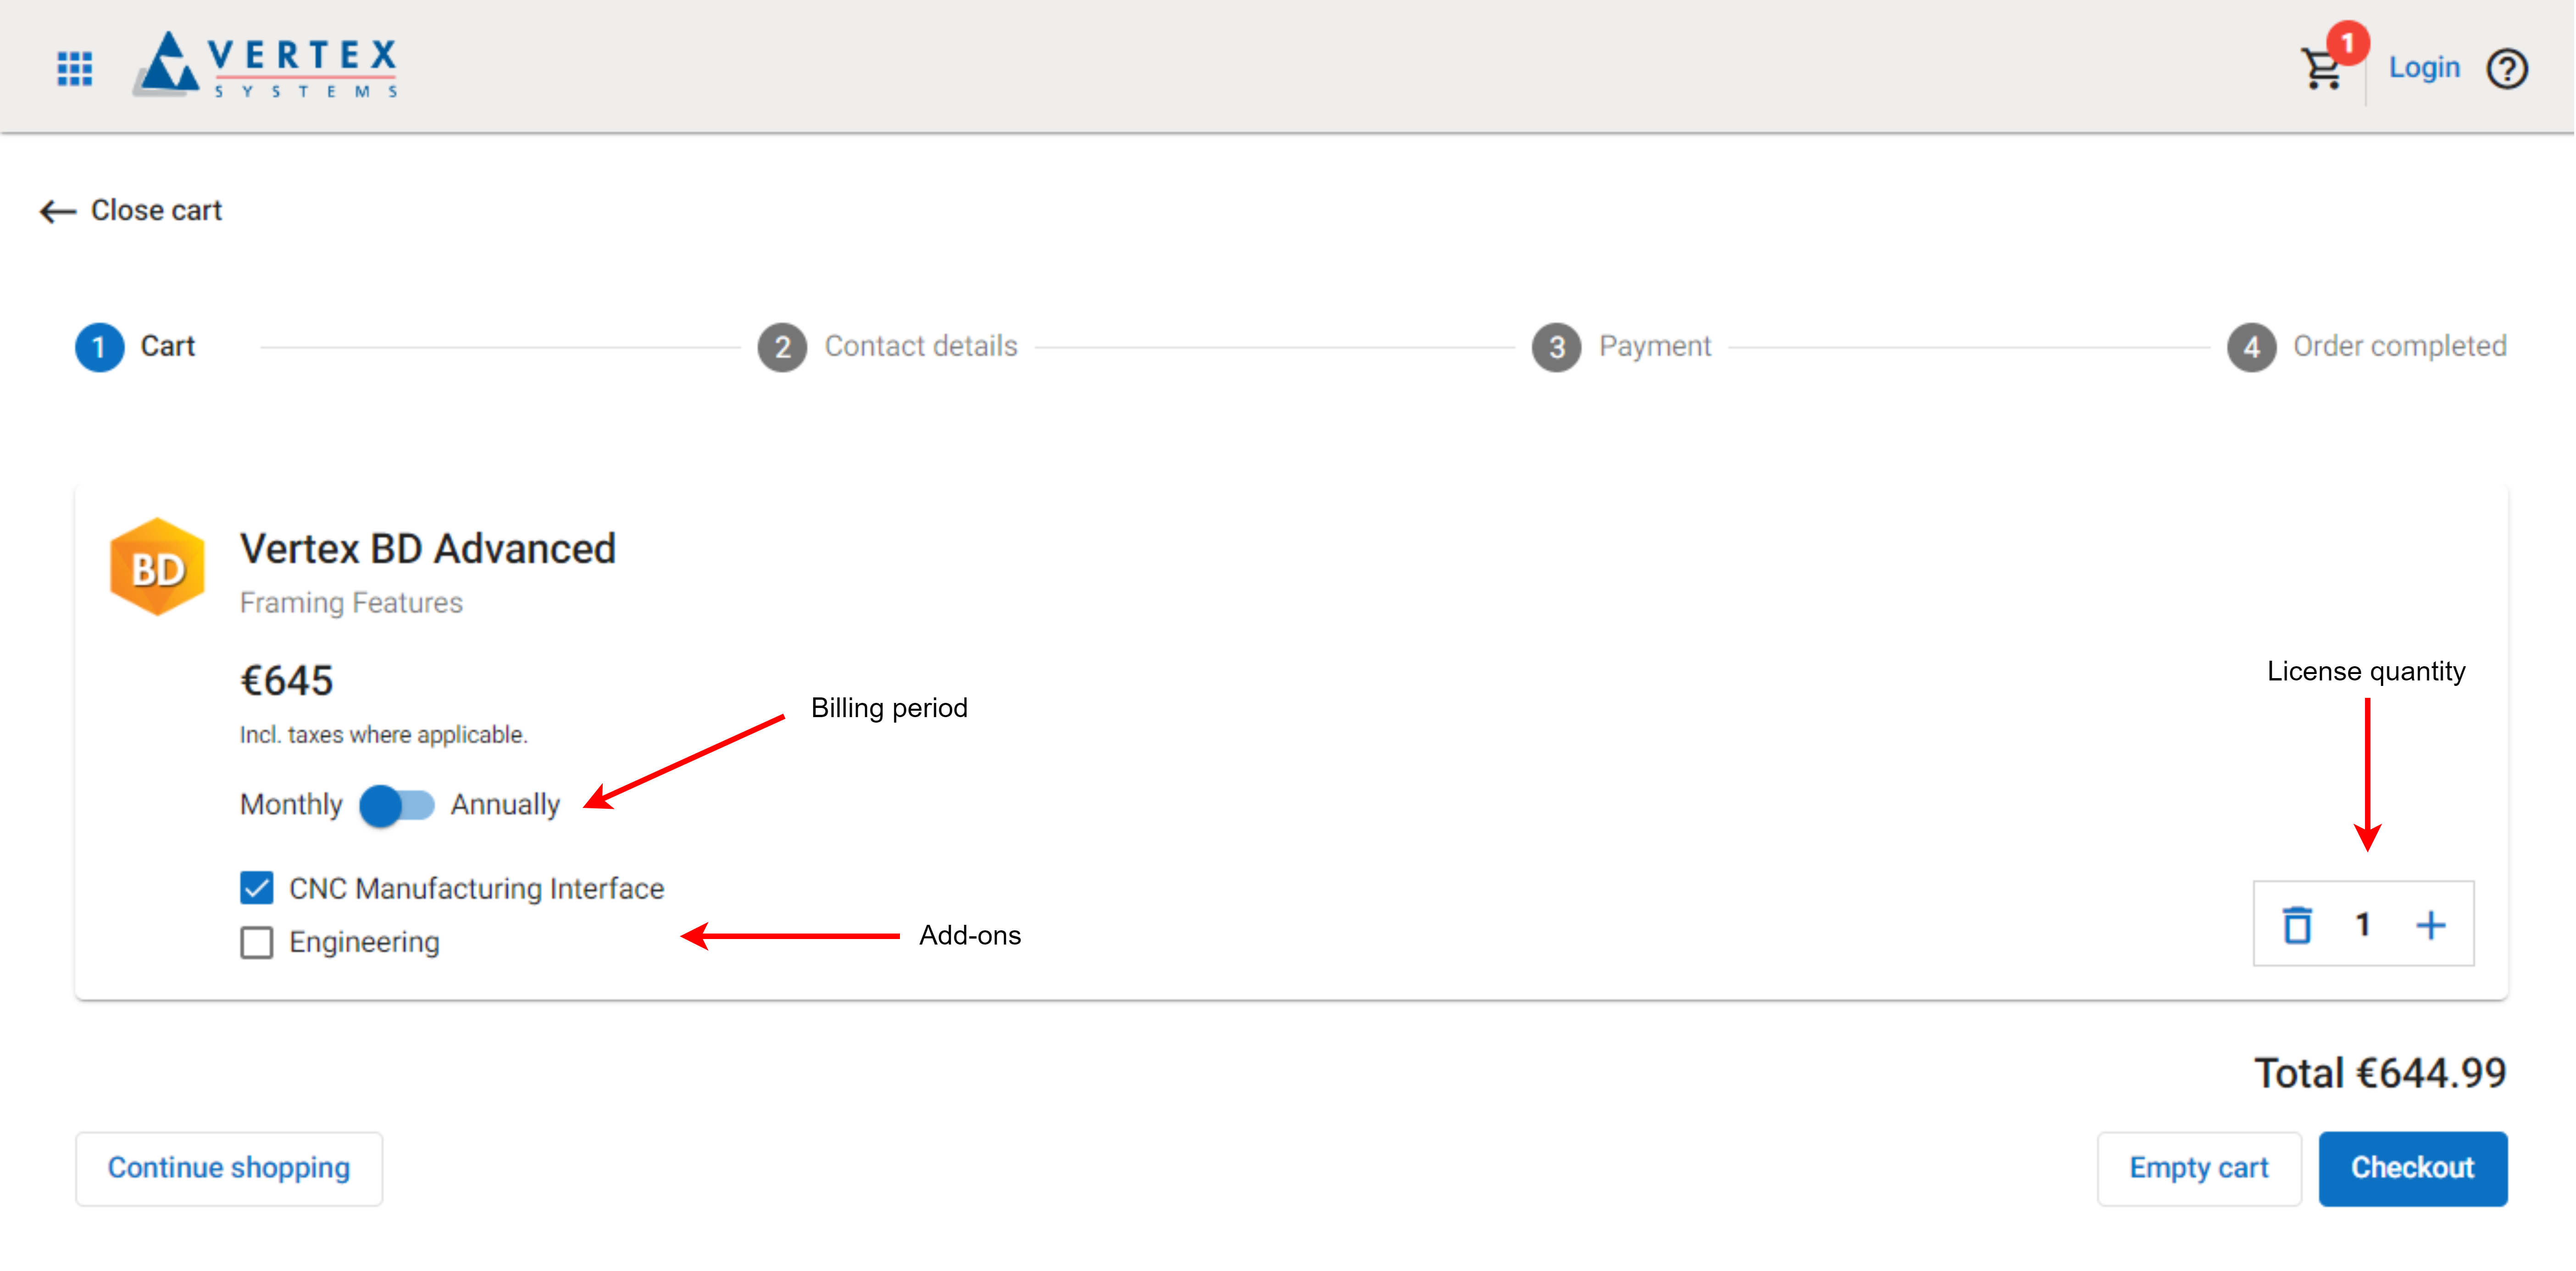
After adjusting your products, you can proceed to enter your contact details by clicking the Checkout button.
Contact details
The next step is to enter your personal and company details. If you already have an account, you can sign in, and your details will be automatically filled in. You can still modify the details if necessary.
Screenshot to update: Replace the contact details screenshot below with the current contact details step. Include the company information fields, especially the VAT ID or Business ID field, because it is required before invoice payment can be selected.
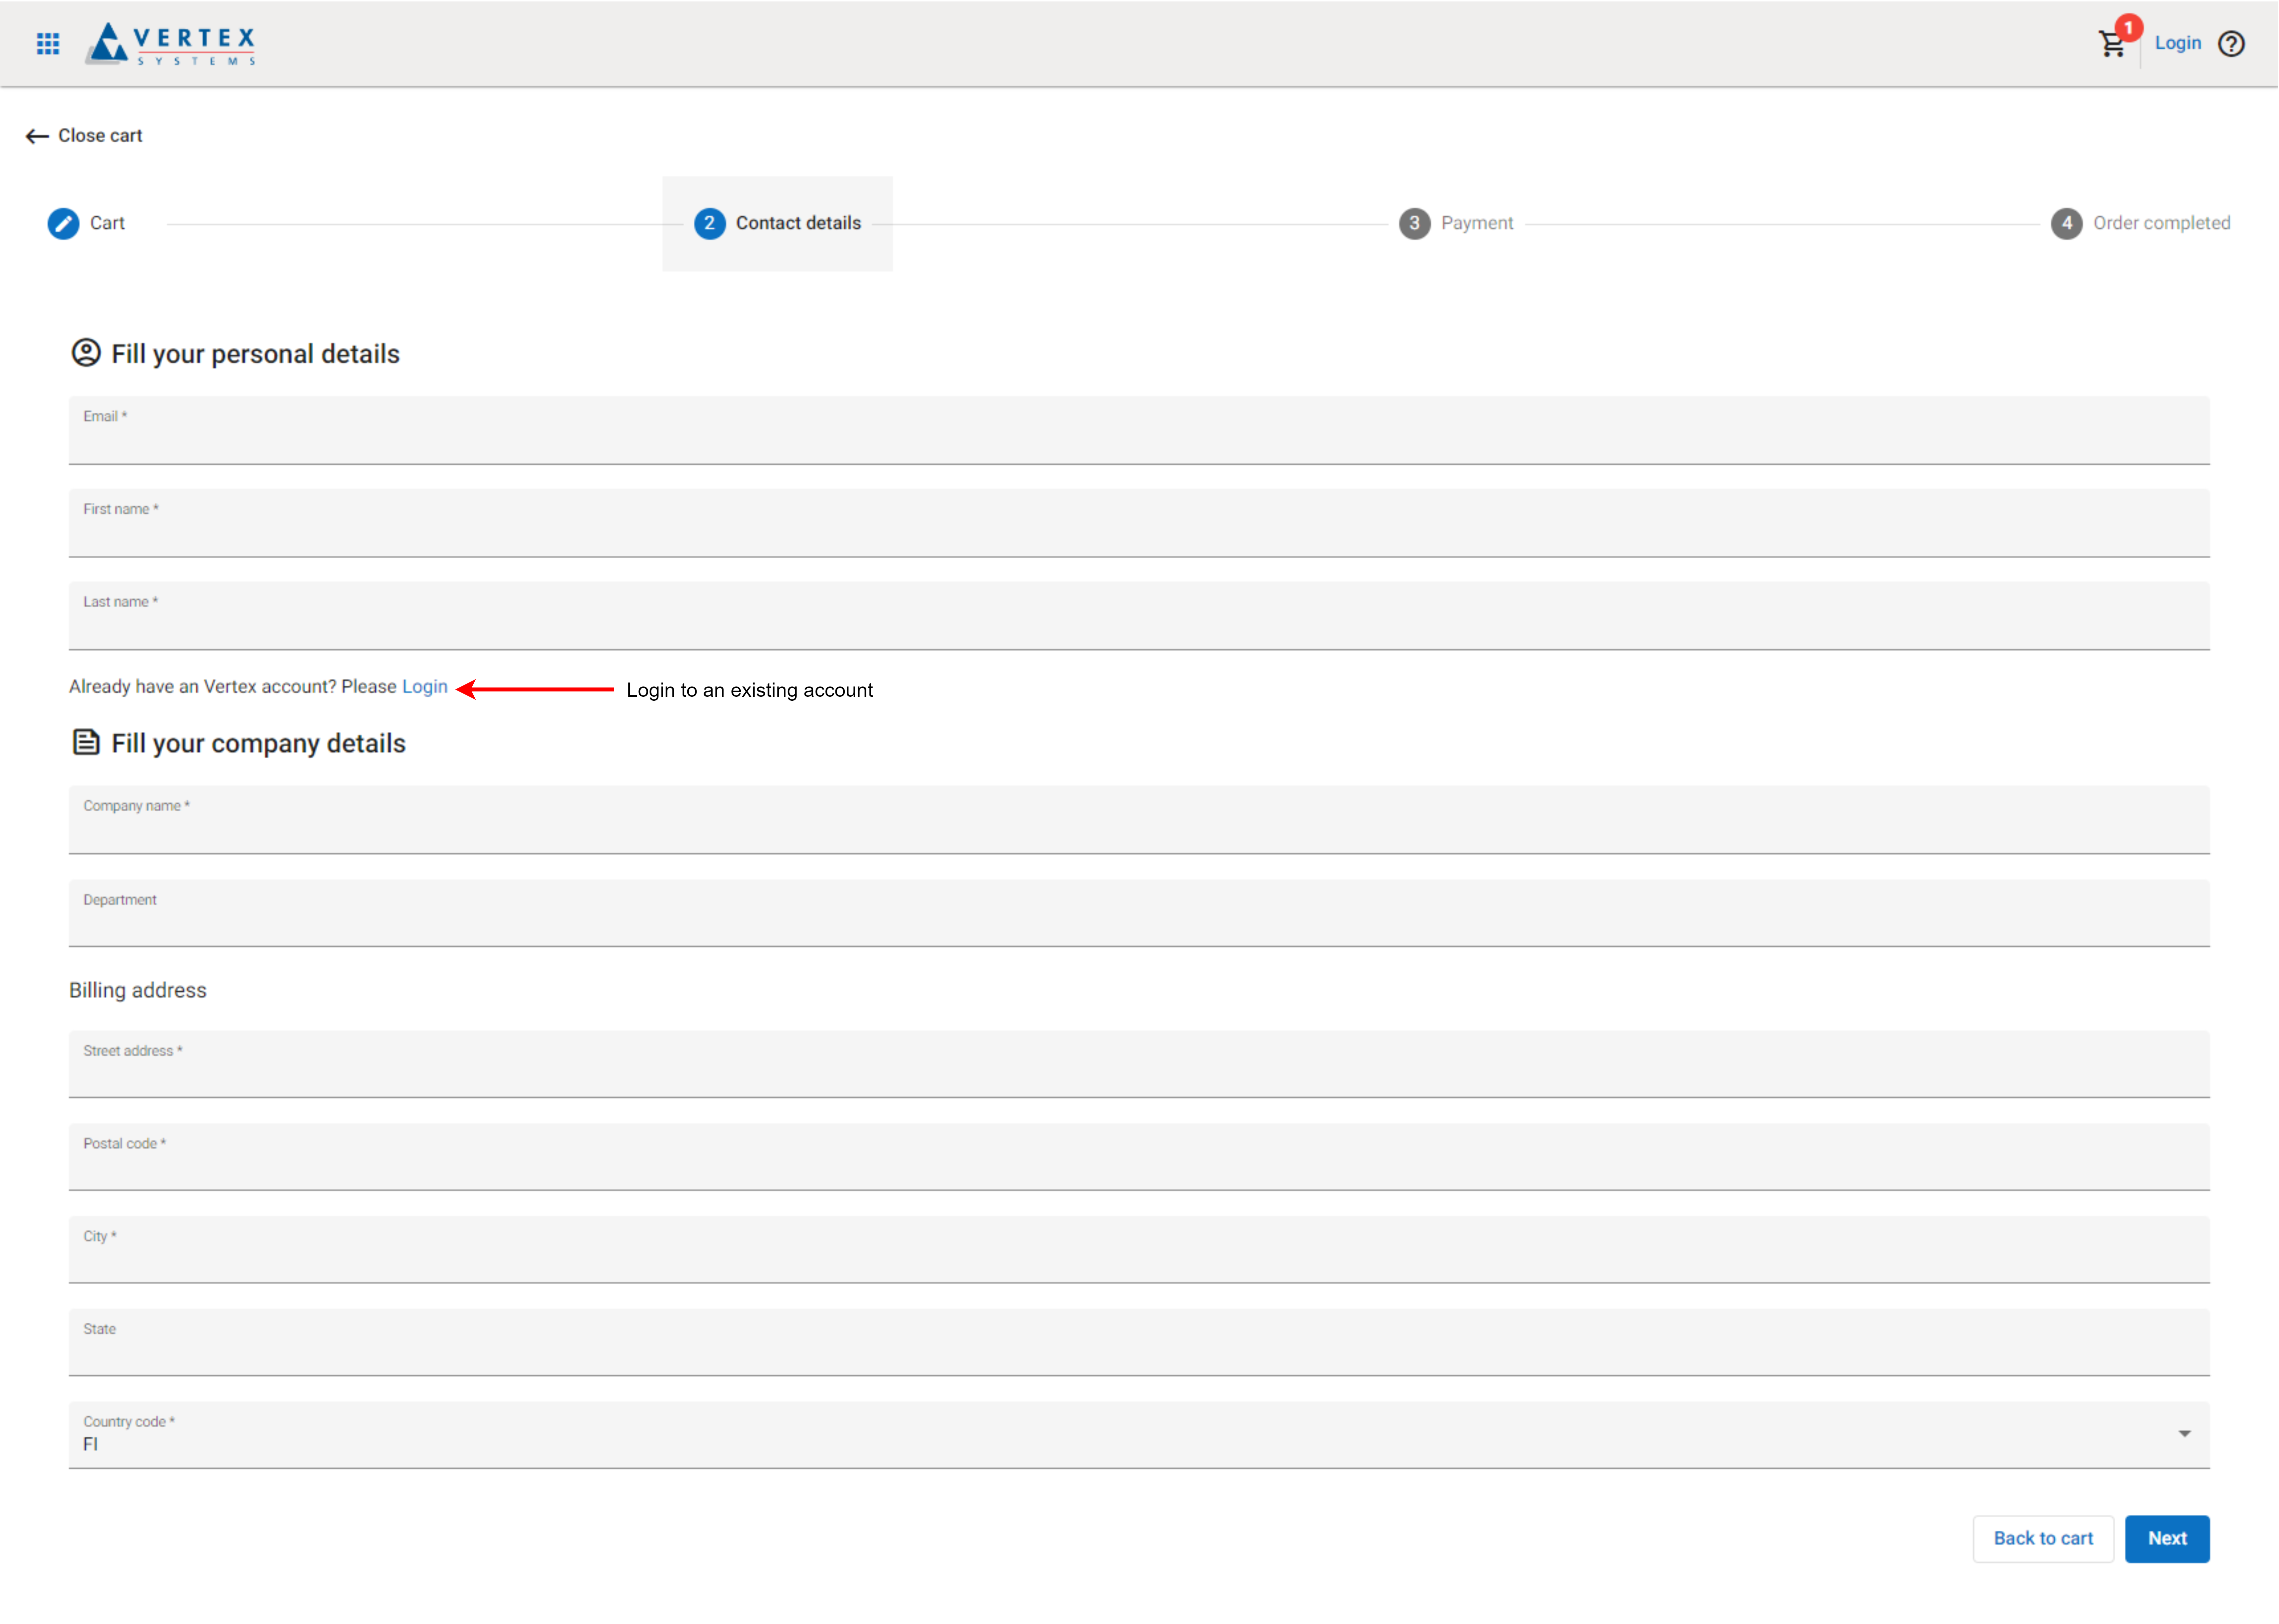
Once you have filled the required fields, you can proceed to payment by clicking Next.
Payment
Depending on your company and the products in your cart, you can complete the purchase using either a FastSpring payment method or invoice payment. Invoice payment is available to business customers in the supported European invoicing area.
FastSpring payment
When you continue with a FastSpring payment method, a FastSpring dialog opens. In the dialog, you can enter your VAT ID, apply a discount code, and choose your payment method. FastSpring saves your payment method by default, so you can use the same payment method for future purchases without re-entering the details. If you start a free trial, payment details are not collected.
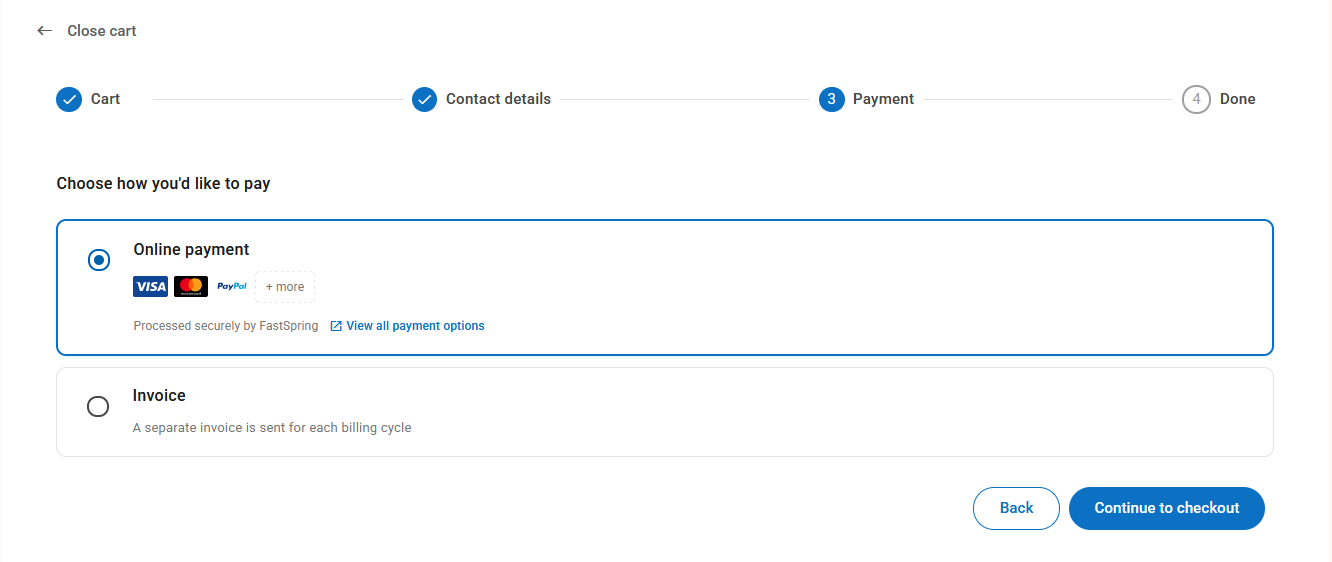
Some payment methods, such as SEPA Direct Debit, may take 5–7 days to complete. For more details, see the FastSpring documentation: https://developer.fastspring.com/docs/payment-methods-accepted-by-fastspring.
Invoice payment
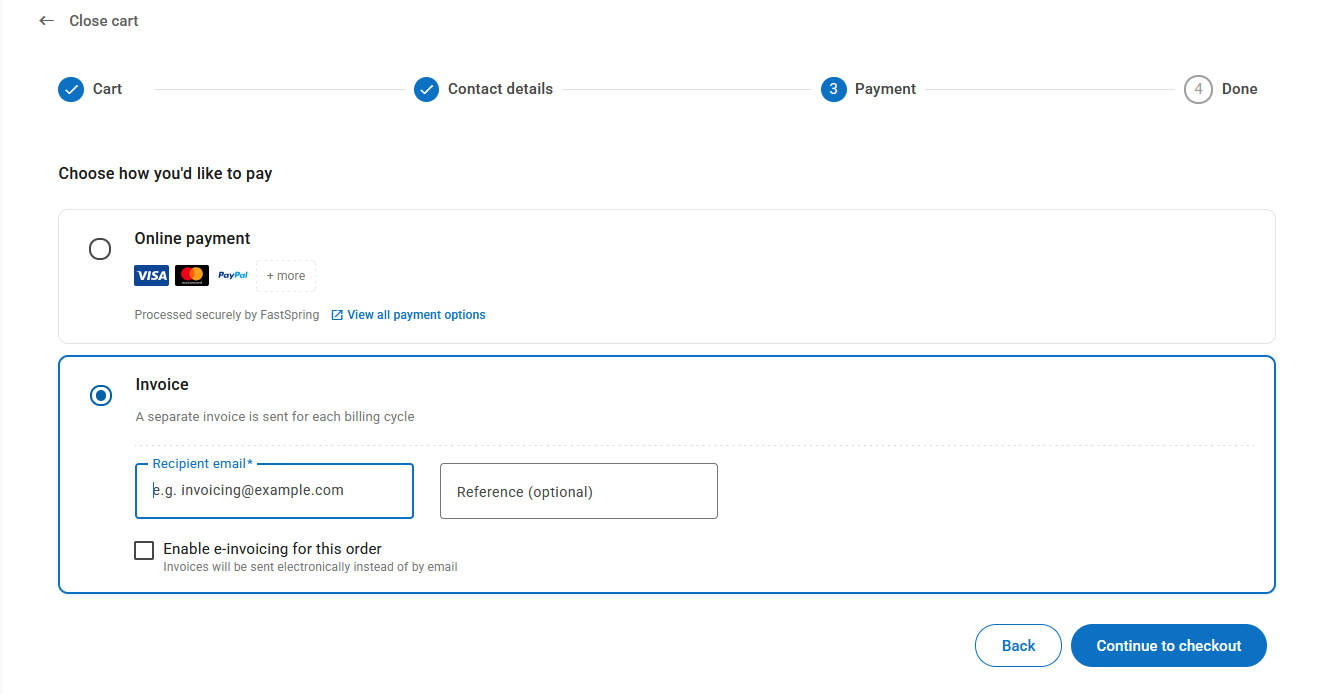
If invoice payment is available for your company, select Invoice in the payment step.
Invoice payment is available to business customers in the supported European invoicing area. To use invoice payment, your company information must include a VAT ID or Business ID.
When you select invoice payment, review the invoice details shown on the page, including the invoice currency.
You can also add an optional invoicing email address and invoice reference. By default, the invoicing email address is the buyer’s email address. If you enter an invoice reference, it will be included on all recurring invoices. You can change it later if needed.
For Finnish customers, invoice payment also supports e-invoicing. To use e-invoicing, enable it and enter the e-invoice operator and e-invoice address.
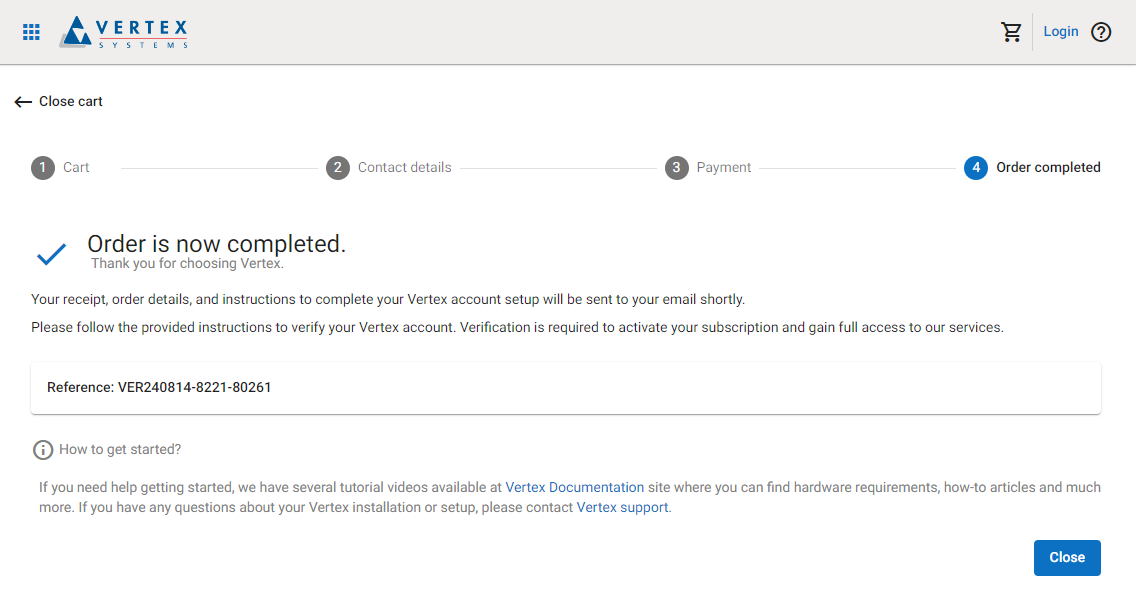
Order completed
After completing your purchase, your subscription and licenses are activated. You will receive confirmation emails about the activated subscription and the order. For FastSpring payments, the receipt is sent by FastSpring. For invoice payment, invoice-related emails are sent in the same situations as for FastSpring purchases.
If you were already logged in to MyVertex with an existing account, you can continue using the admin tools in MyVertex to inspect and modify your active subscriptions and licenses.
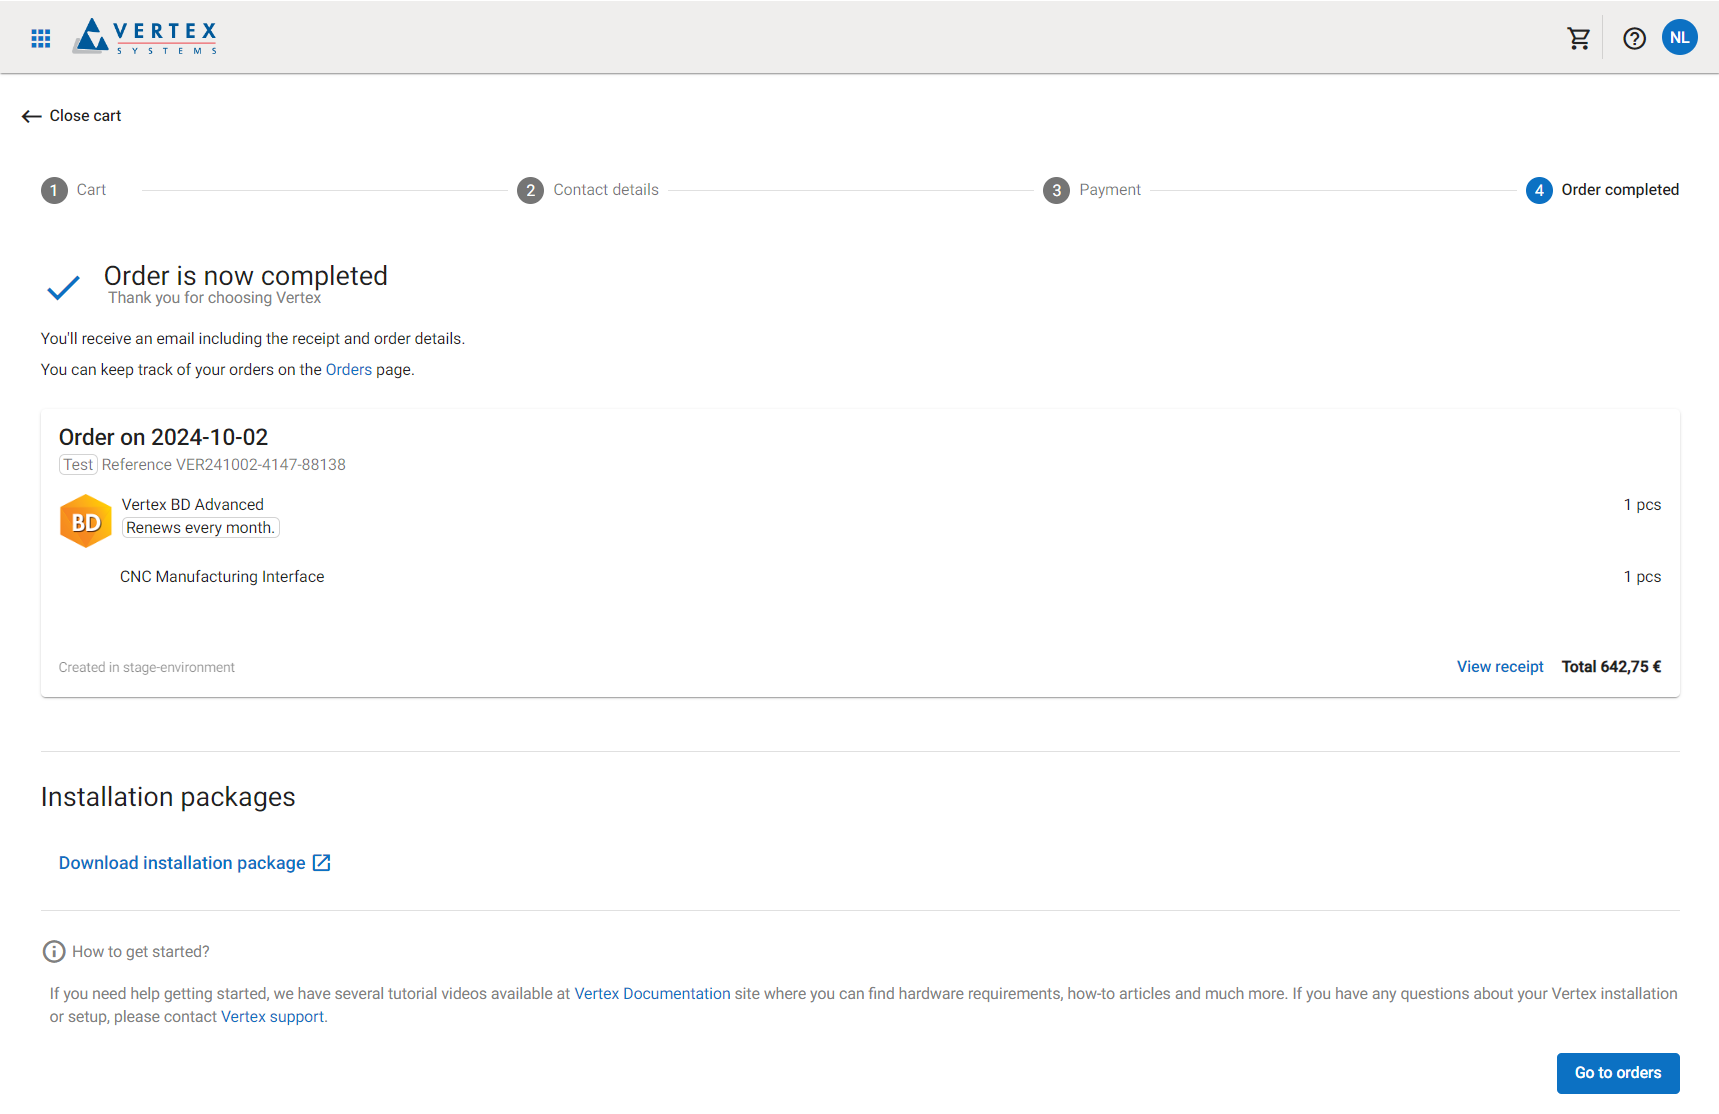
If you made the purchase as a new customer, you should receive an email from Vertex Accounts with instructions on how to finalize your VertexID account (see Setting up VertexID).
Download the CAD installation package
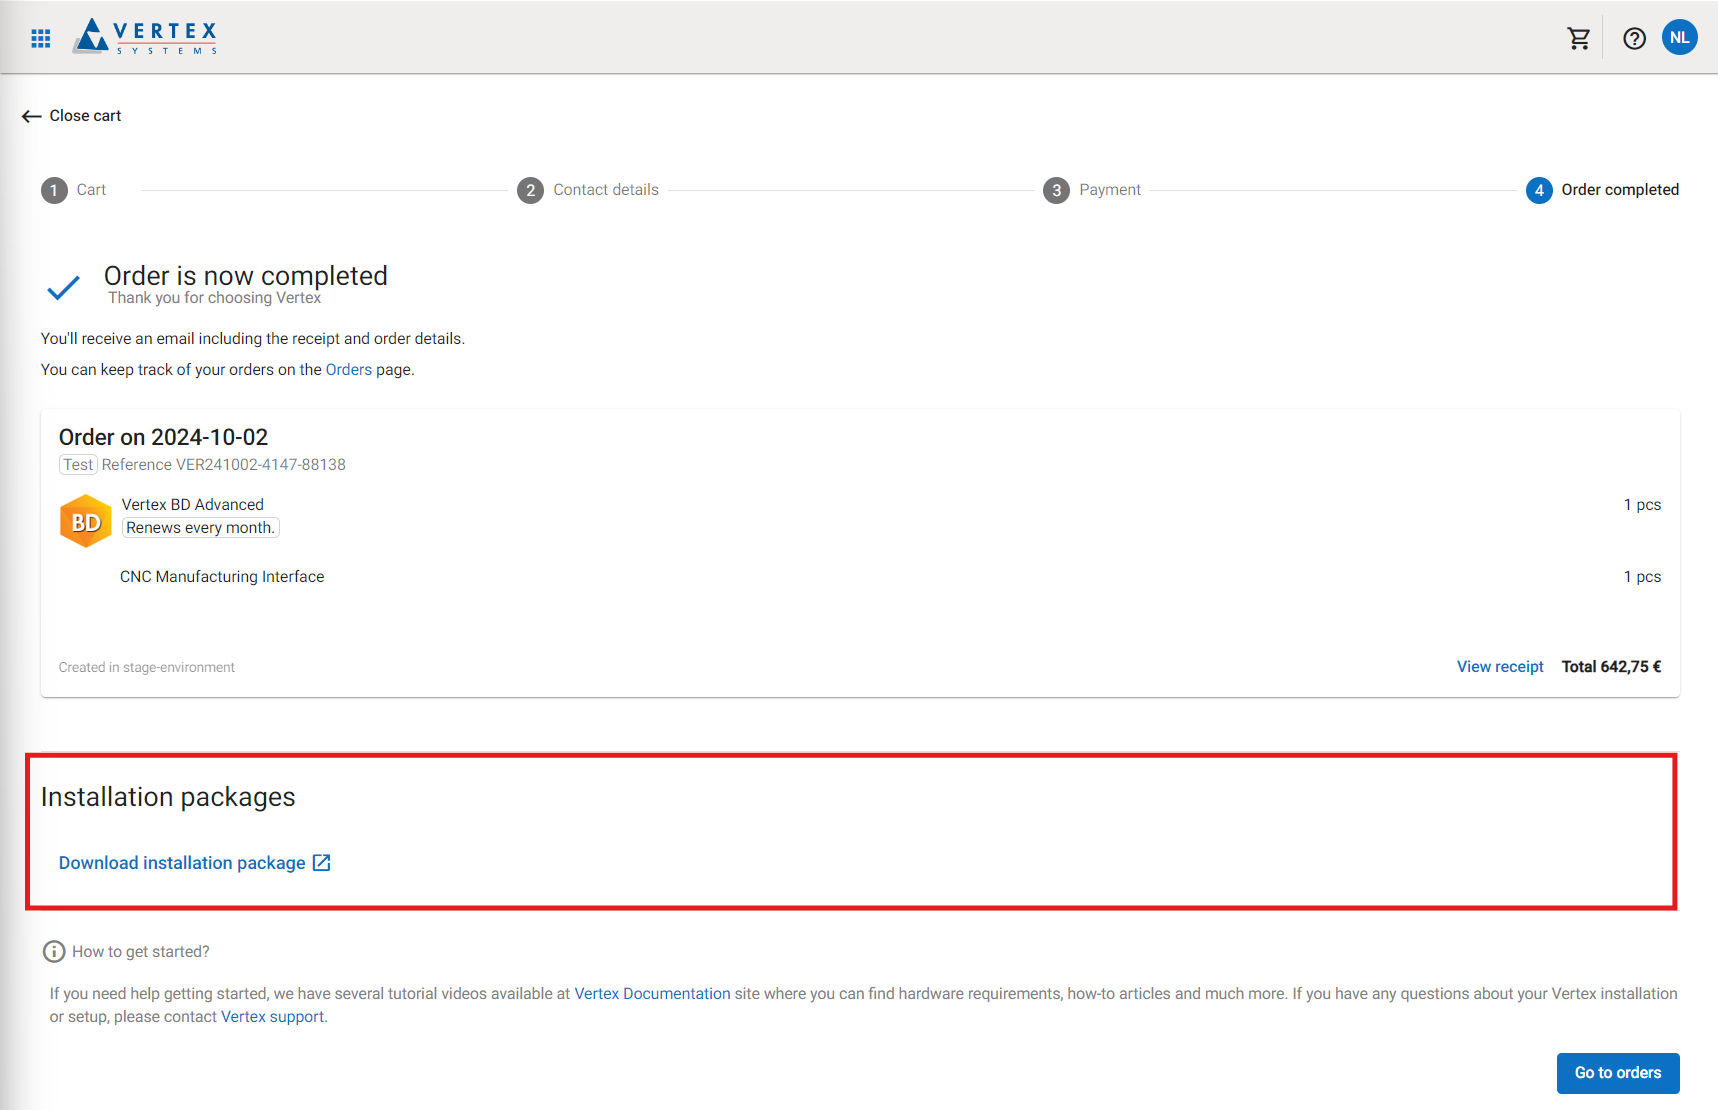
CAD products can be downloaded using an installation package, which can be accessed in several ways. If you were already logged in with a VertexID account when making the purchase, the installation package link will be available directly in the order completion view, as shown below.
If you made the purchase as a new user, you must first log in to MyVertex to access the installation package (see Setting up VertexID). Once logged in as an admin, navigate to the Subscription view from the menu on the left-hand side.
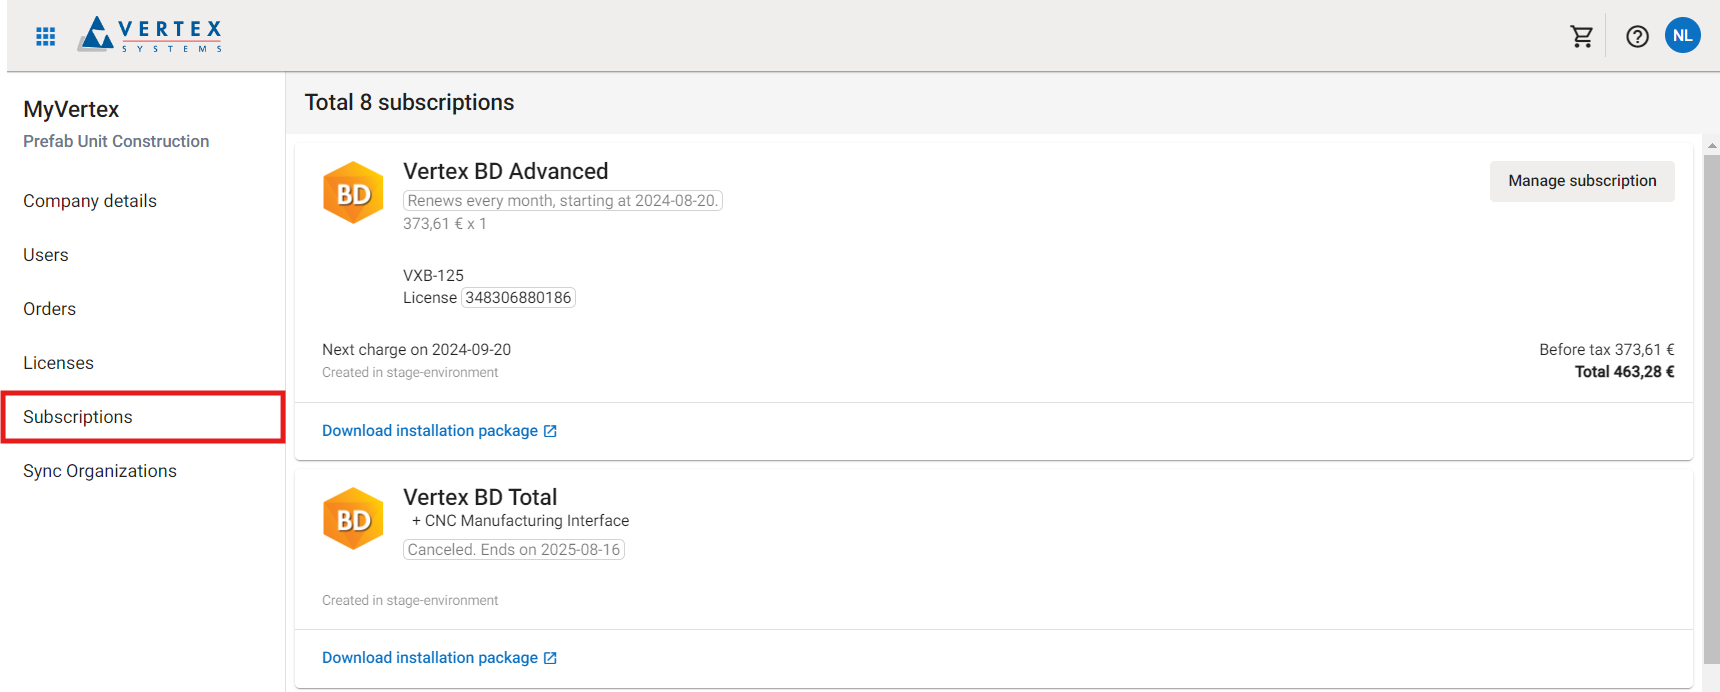
In the Subscription view, locate your new subscription and click Download Installation Package within the subscription card.
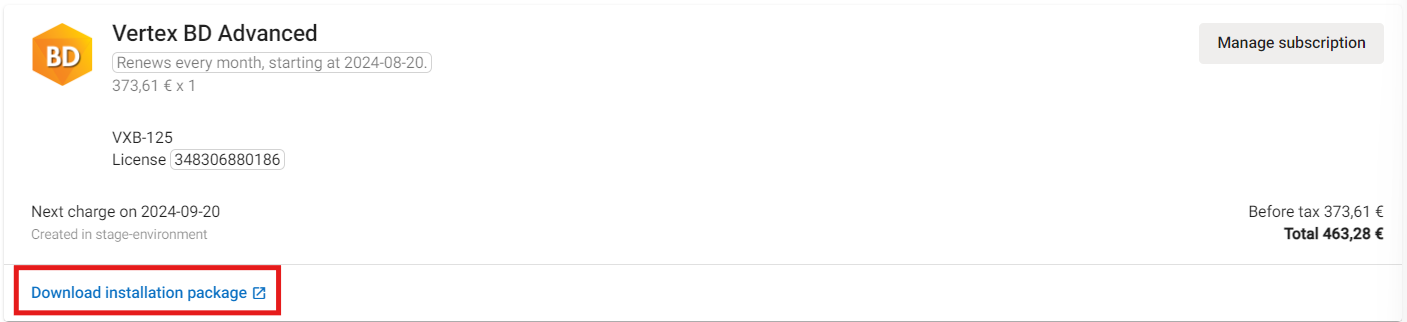
The link will direct you to an external page that provides step-by-step instructions for obtaining your installation package.