Getting started with Vertex Flow
General
These instructions on this page are mainly intended for someone who wants to familiarize themselves with Vertex Flow.
- Getting to know the Vertex Flow is possible by contacting Vertex Systems Ltd sales and requesting login credentials and a link to the demo version of Flow.
- Additionally, you can watch tutorial videos on specific functionalities of Flow.
- More detailed instructions can be found under the Flow user guide section on the page.
- Instructions intended for administrators can be found under the Flow system administration section on the page.
Vertex Flow is intended for the use of the entire company as a tool for product lifecycle management.
- Depending on your role, you will use different features and functions in Flow. You can go through a few basic exercises following the instructions on this page.
Log into Flow
- Log in, for example, with the role of a design manager using the username "Seppo"
- For more details, see Logging into Flow
Navigate in the user interface
After logging in, you will be on Seppo's homepage.
- Here is a summary of current matters.
- The number inside a red circle indicates that Seppo is responsible for that number of issues as indicated by the number.
You can familiarize yourself with the different areas of the Flow user interface in the guide: Areas of the Flow User Interface.

Open "Projects and Products" from the hierarchy tree and click on the triangle in front of the project.
- Flow opens the main categories of projects.
- You will see that projects are categorized into three categories.
Click on the category PR010 Customer Delivery.
- Flow opens the next level of categories.
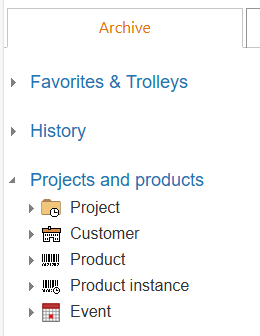
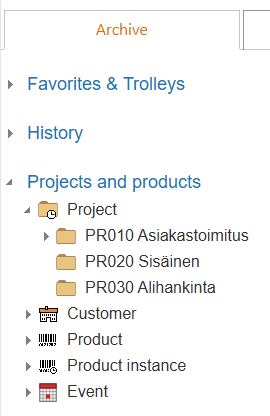
Click on the category PR012 Customer Specific.
- Flow lists the projects according to the category.
Click on project P000024, Port of Gdansk material management ID.

- Flow opens the project's feature details (metadata).
- You will see the information about the selected project.
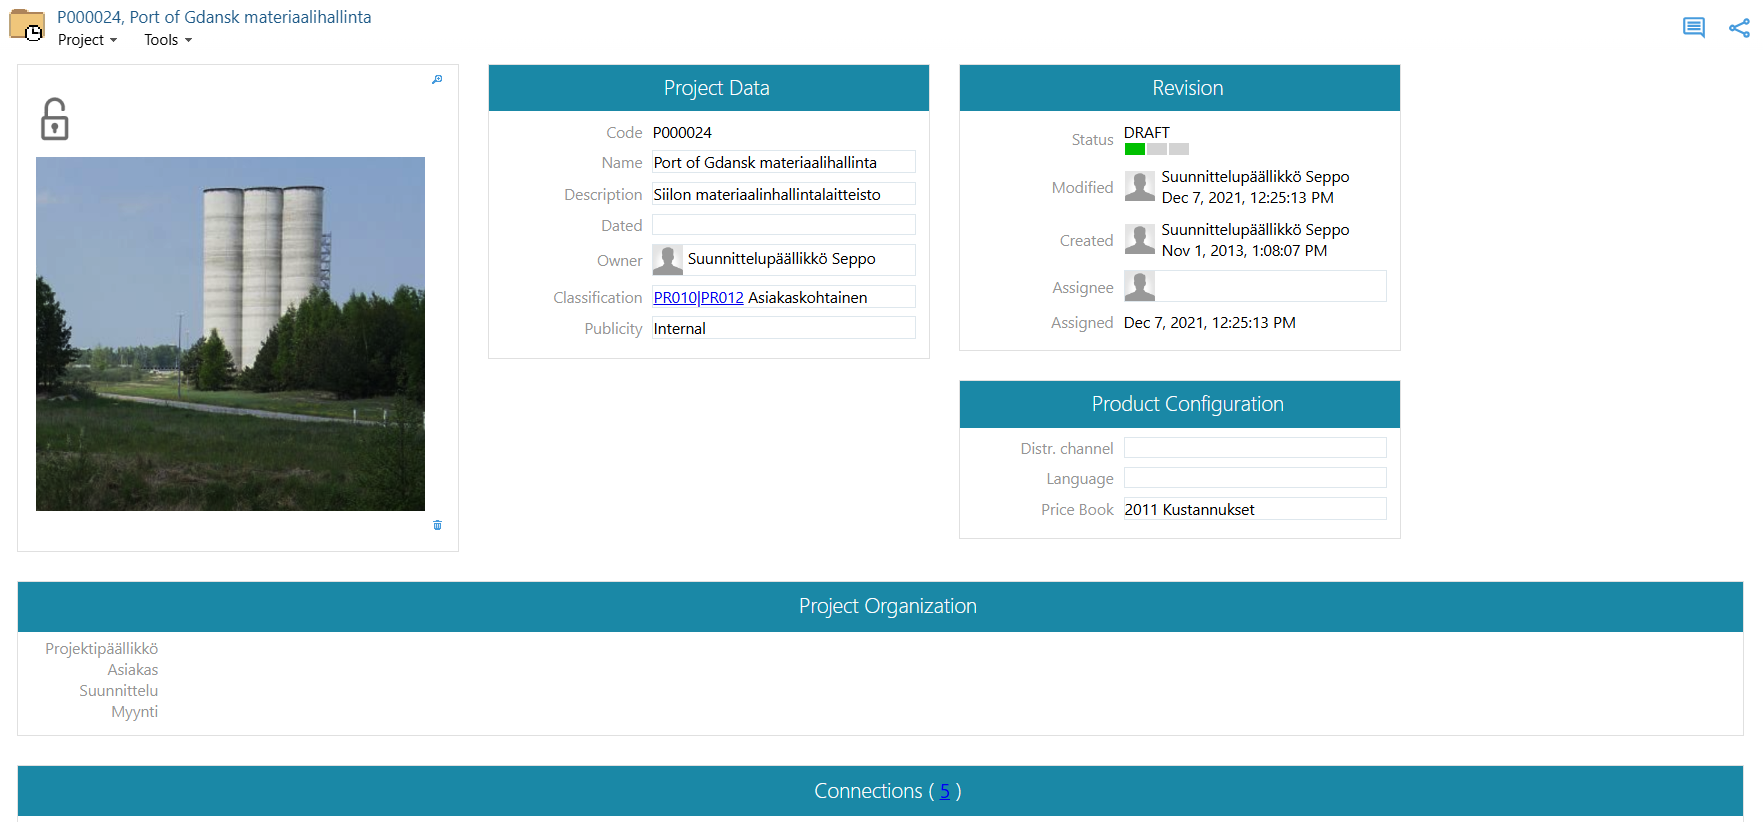
Scroll down the project's feature details (metadata) to see the Connections section.
- Click on the title of the Connections section to view the objects related to the project.
- Choose the format in which you want to see the related objects by clicking on one of the following three buttons.

Click to open the Structure tab located in the left section.
- Flow displays the object structure of the project.
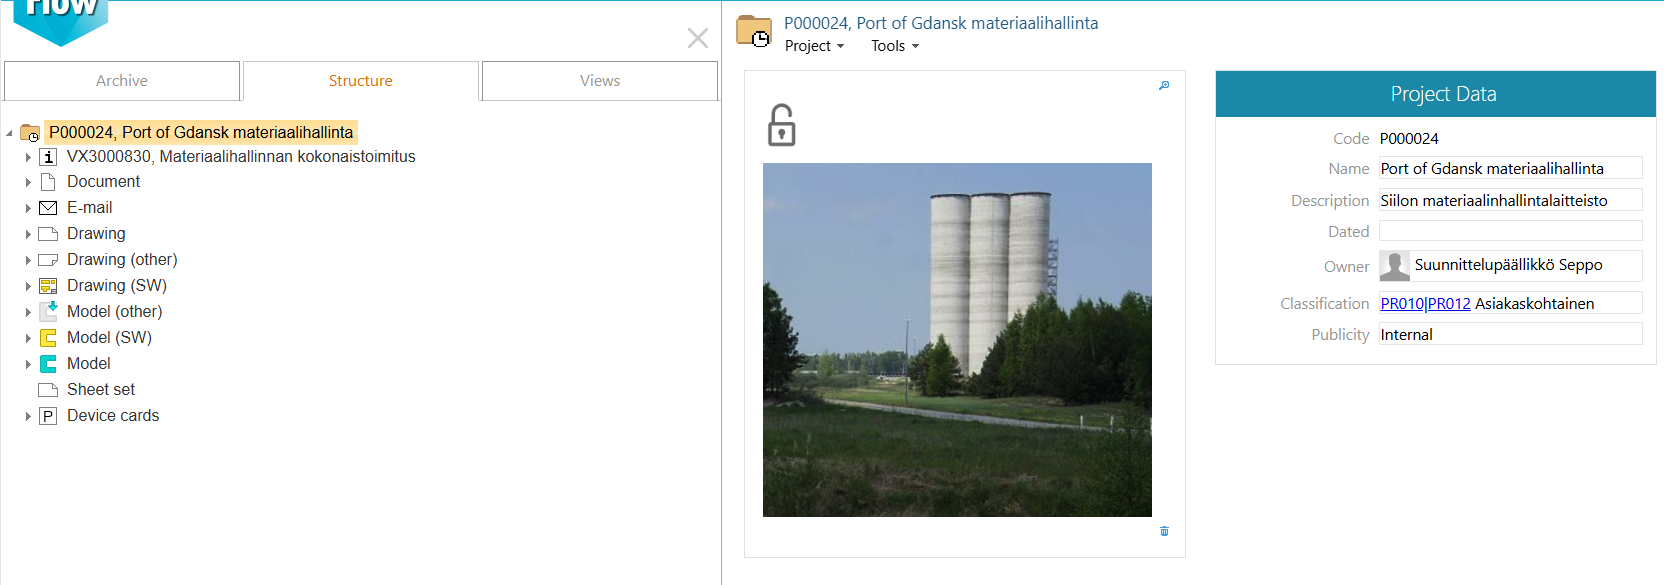
Click on the item VX3000830,
- Flow opens the structure of the respective item.
If necessary, you can adjust the width of the tree view by grabbing the vertical line and dragging it sideways.
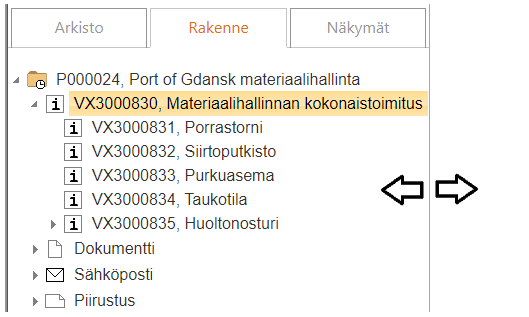
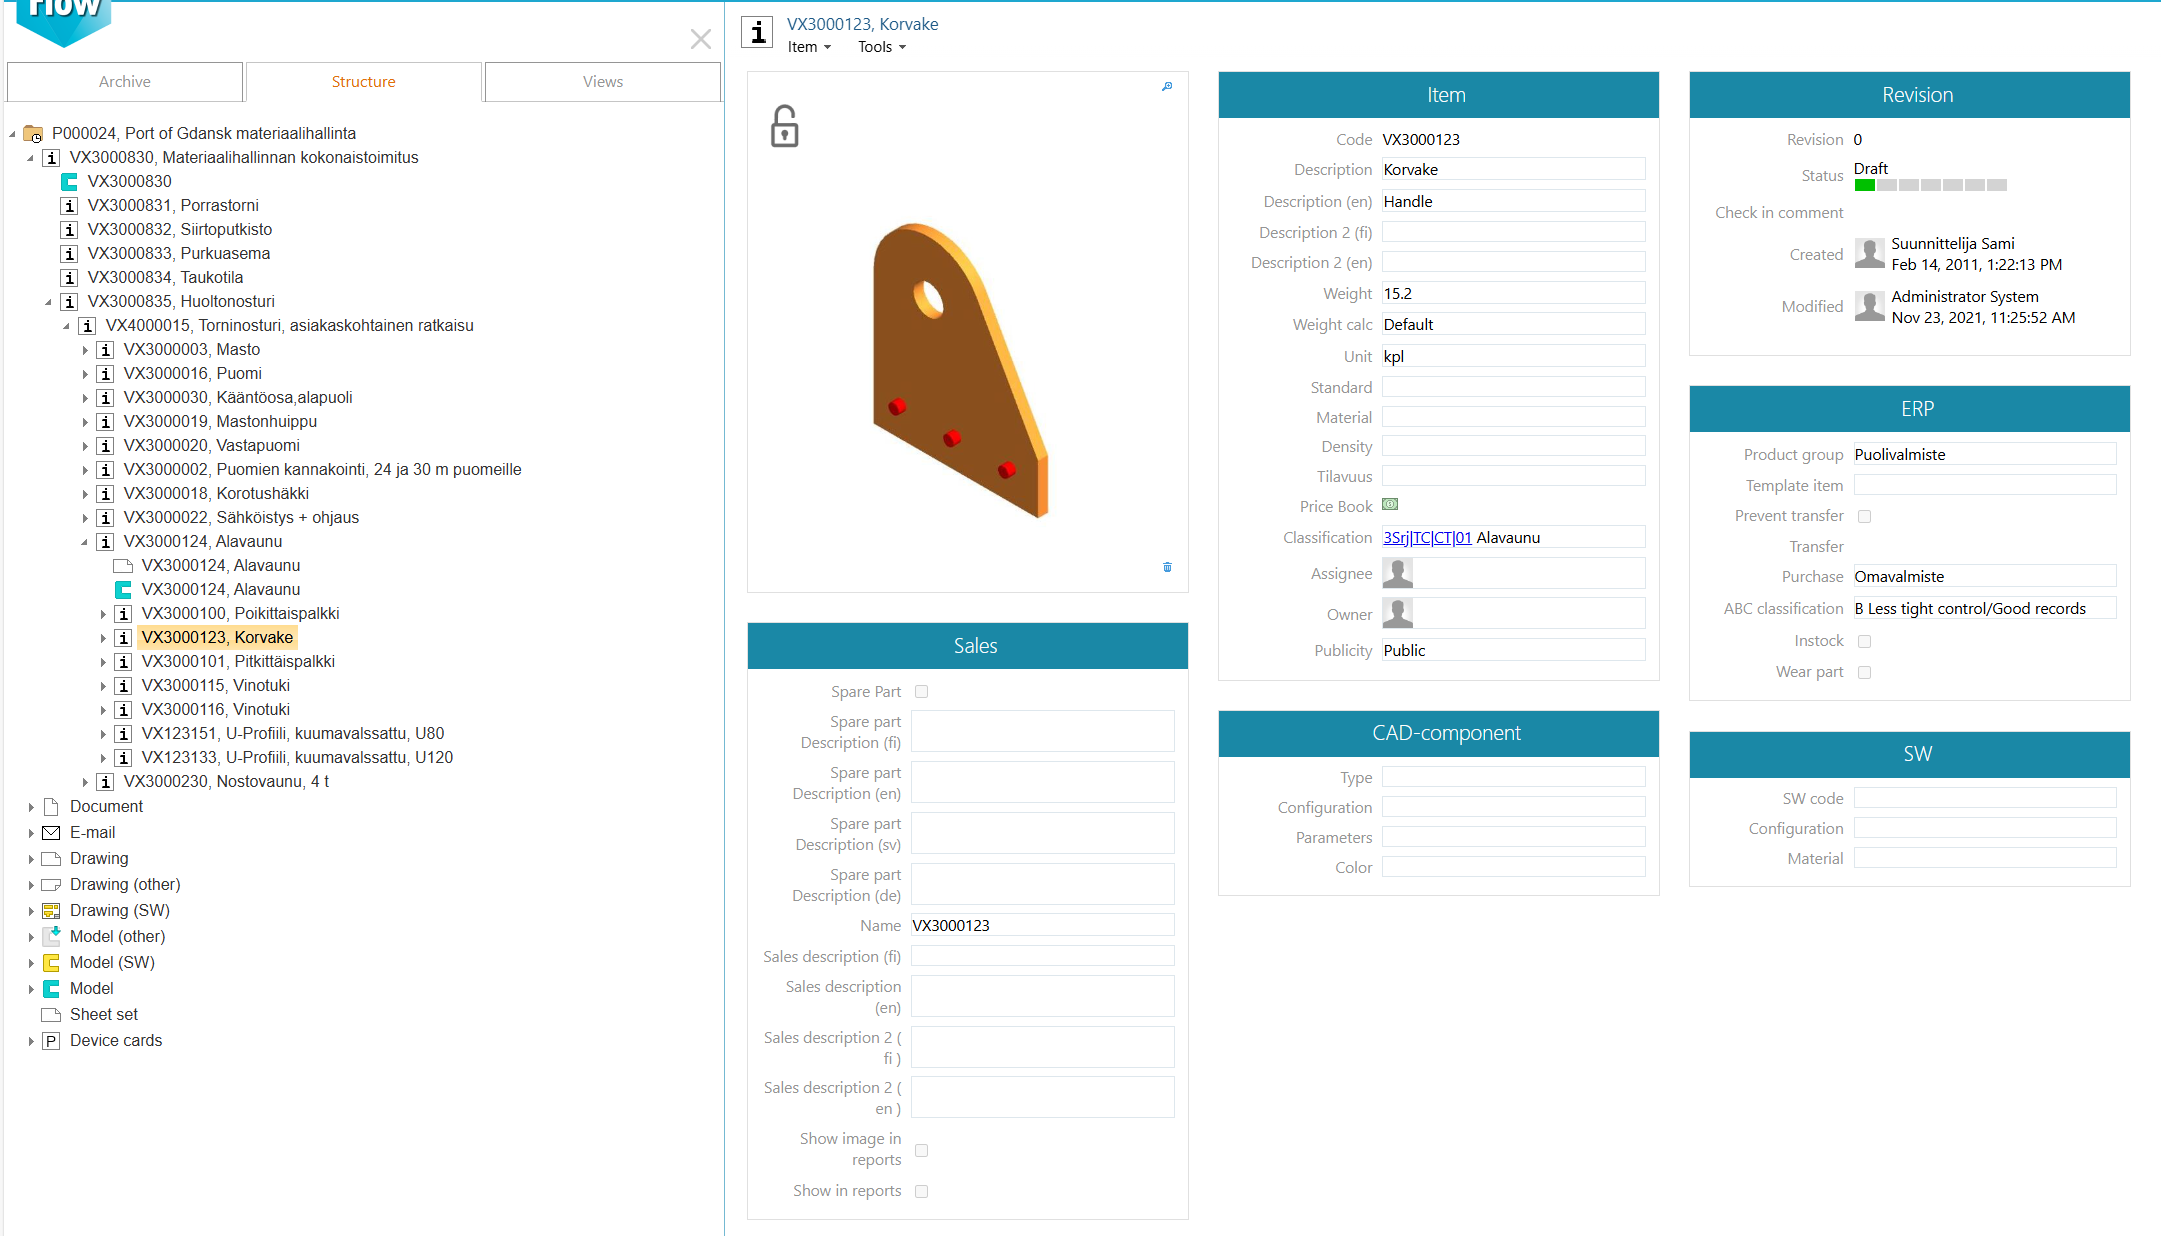
Open the structure of the item by clicking on the items revealed in the structure.
- You will also see models or drawings related to the item in the tree.
Attach documents to the project
Open the project Open the recent project, for example,
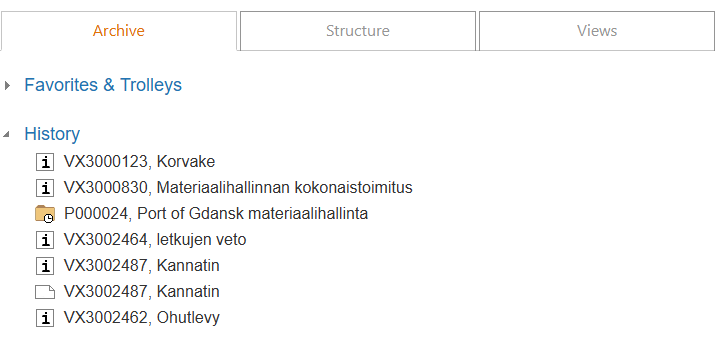
(1) Select the Archive tab
(2) Click to open the History menu.
- There you will see, among other things, the project you opened: P000024, Port of Gdansk material management
(3) Open the project by clicking on the ID P000024.
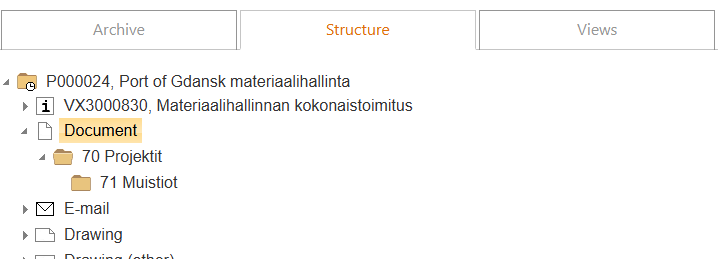
(4) Select the Document classification branch under the project.
(5) Choose the classification to which you want to add the object.
Import documents to the project
Open the Connections block of the project by clicking on the title if the block is closed.
(1) Open the folder containing documents using the Windows file explorer.
(2) Select one or more documents.
(3) Drag and drop the documents onto the yellow dashed area below the Flow's Connections block.

Deploy Flow for production use
Flow containing presentation material can be installed separately for your use, allowing for more extensive testing of Flow's functionality with your own material if needed. At the same time, the testing environment will later remain available for educational purposes and for testing new features.
For actual work, an empty Flow production installation will be deployed, where your own material will be imported during the implementation phase.
- After installation, certain deployment procedures must be carried out before Flow is ready for use.
