This article explains how to assign a color to a profile library’s (2D) fill color and (3D) surface material.
Edit Cross Sections
You cannot edit any system library. You must copy an existing library item to a new custom library before you can continue to edit. In the case of profiles, go to System | Libraries | System Libraries | Materials | Profiles | Wood, for example. Pick a profile code, right-click and select Copy to new custom library. Read more on page Create a New Profile Library.
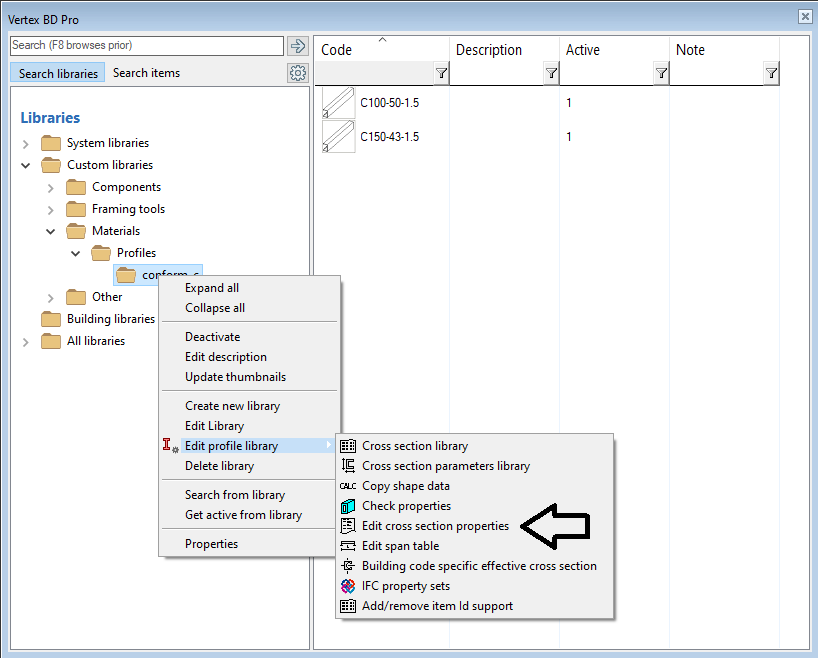
Right click on the profile library to edit and go to Edit Profile Library > Edit Cross Section Properties
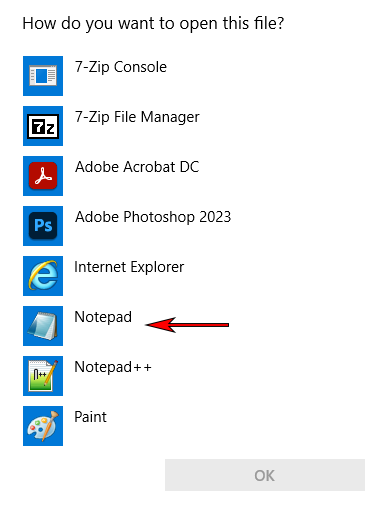
Select Notepad or WordPad when prompted for an application to use when opening the file.
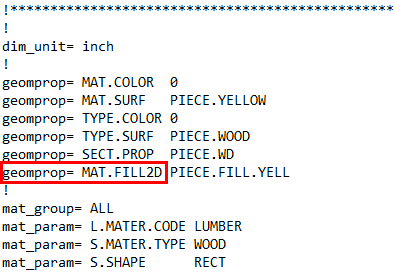
Edit the profprop file MAT.FILL2D parameter
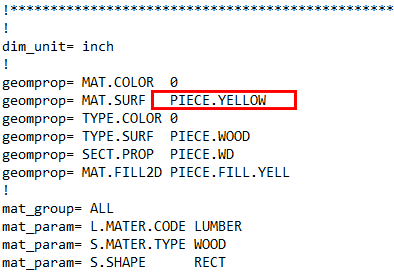
To assign a color fill (2D) to the profile type, add the line geomprop= MAT.FILL2D, followed by the fill color.
In the example below the PIECE.FILL.YELL (yellow color) has been assigned to the profile.
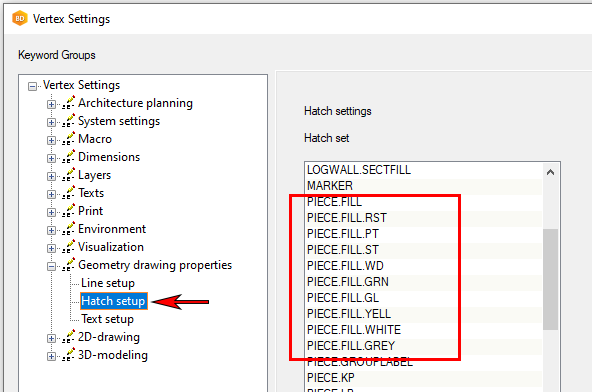
Note: The Vertex system color fills are found in the hatch setup in the system settings. Select File > Preferences > Edit. Open the branch Vertex Settings > Geometry drawing properties, and select Hatch setup.
Edit the profprop file MAT.SURF parameter
To assign a material texture map to the profile type, edit the line geomprop= MAT.SURF, followed by the texture map.
In the example below the PIECE.YELLOW (Yellow texture map) has been assigned to the profile.
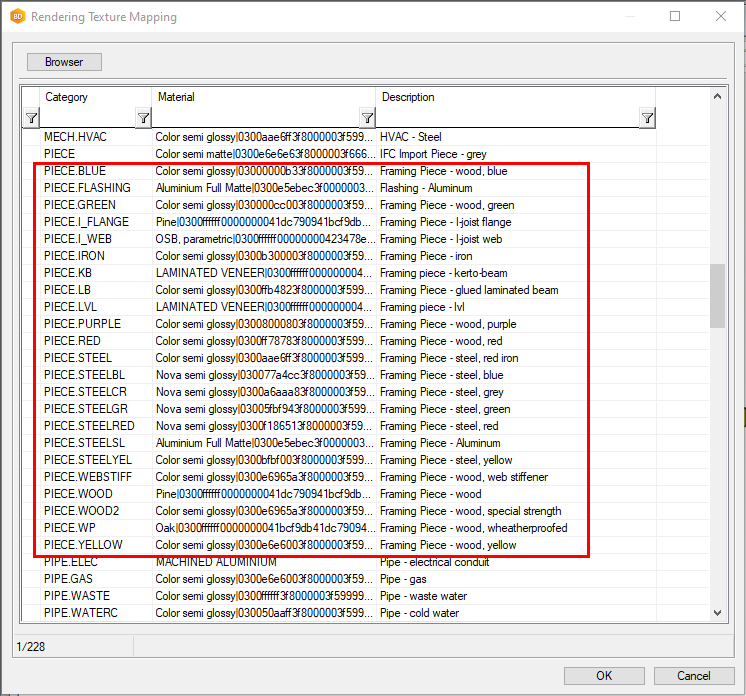
Note: To find available material textures, go to System | Rendering Textures > Rendering Texture Mapping > All, Custom changes included.
In the Rendering Texture Mapping window, scroll to PIECE.* categories.
Save and close the profprop file.
Next, select the X button in the top right of the browser to close the window.
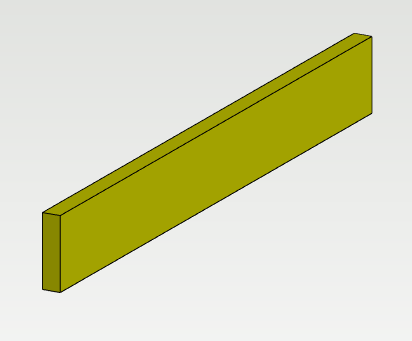
Examples
Profile with yellow color fill assigned to MAT.FILL2D parameter.

Profile with yellow texture map assigned to MAT.SURF parameter.