This how-to tutorial covers the process for creating custom staggered stud walls. Staggered stud walls are built from the ‘Classic’ wall type system which differs from the more recent ‘layer’ based wall type system.
The process for creating ‘Classic’ wall types is slightly different from the process in creating custom ‘layer’ based wall types.
Functionality limitation
Vertex BD can be configured to meet different construction requirements in each country. This article contains information related to Vertex BD Imperial Wood US version. Your Vertex BD version may have different functionality available
Tip
It is important to know the distinction between a Wall Framing Tool Library vs a Wall Library.
• The Wall Framing Tool Library stores wall framing rules for the various wall types. For example, studs, stud spacing, kings, jacks, etc., are items specified under the wall framing rules.
• A Wall Library stores the different wall types. A Wall type consists of assembly layers. For example, siding, sheathing, and drywall are examples of layers. The wall framing tool is a component of the wall type.
Create a Custom Classic Wall Framing Library
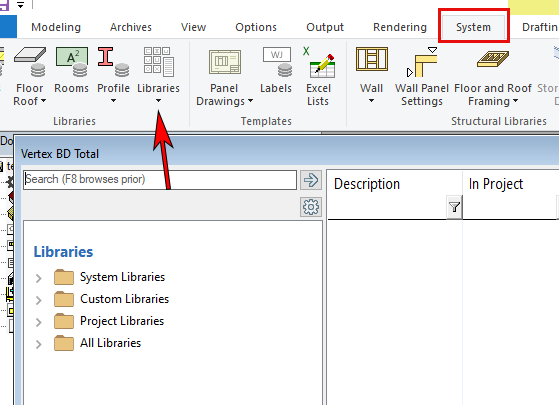
Go to the System | Libraries | Libraries to open the Libraries browser.
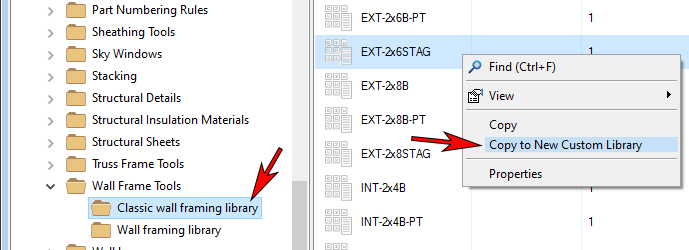
In the left browser pane, select the System Libraries>Wall Frame Tools>Classic Wall Framing Library
-
In the right browser pane, select a staggered stud wall type that closely resembles the wall width required.
-
Right-mouse click and select Copy to New Custom Library
Note: Use Copy if a custom staggered wall has previously been created.
Enter Library Description to assign to the new library.

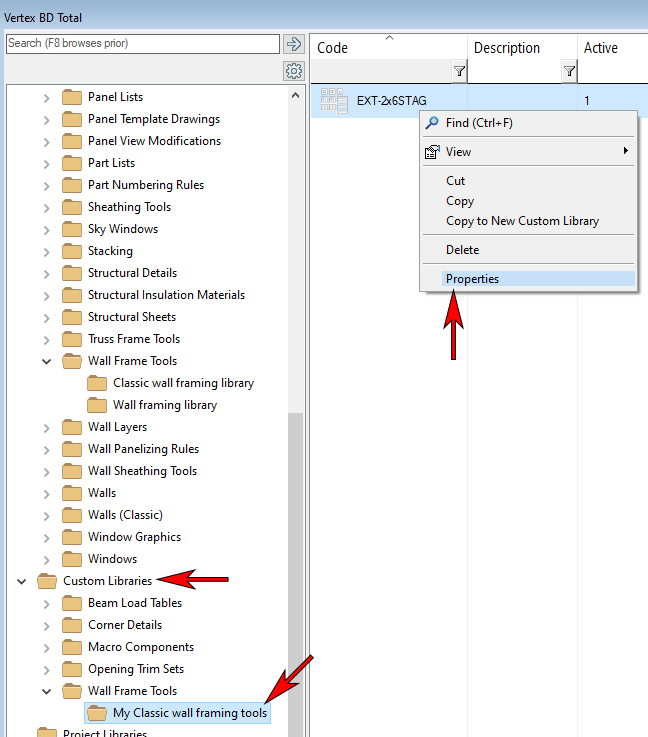
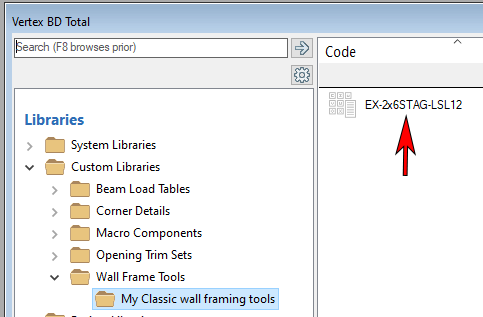
In the left browser pane, navigate to the Custom Libraries and locate the new custom library.
-
In the right browser pane, select the copied wall framing tool, right-mouse click and select Properties from the context menu.
In the Wall Framing Attributes window…
-
Assign a unique Framing Name
-
Make any necessary framing parameter changes under the Frame: Gen, Frame: Plate, Blocks, and Frame: Openings tabs.

The wall framing tool is assigned the Framing Name from the previous step.
Create a Custom Staggered Stud Wall Library
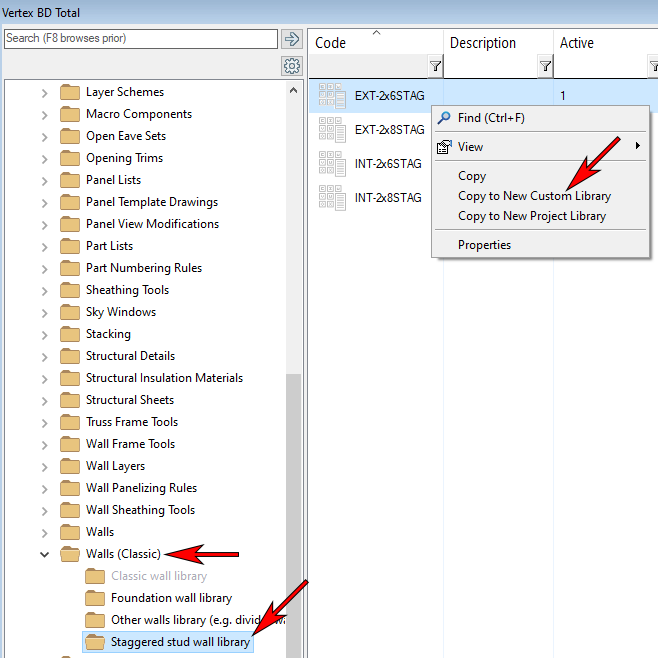
In the left browser pane, select the System Libraries>Walls (Classic)>Staggered stud wall library
-
In the right browser pane, select a staggered stud wall type that closely resembles the wall type required.
-
Right-mouse click and select Copy to New Custom Library
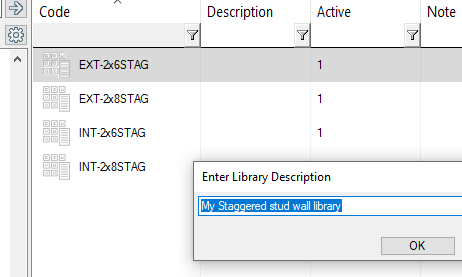
Note: Use Copy if a custom staggered stud wall library exists. Paste it in the existing custom library.
Enter Library Description to assign a name to the staggered stud wall library.
Edit the Wall Type
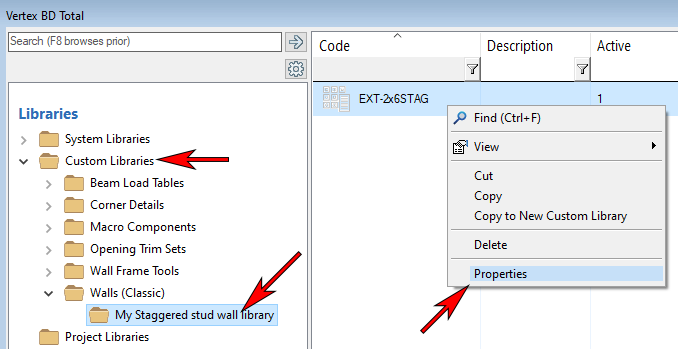
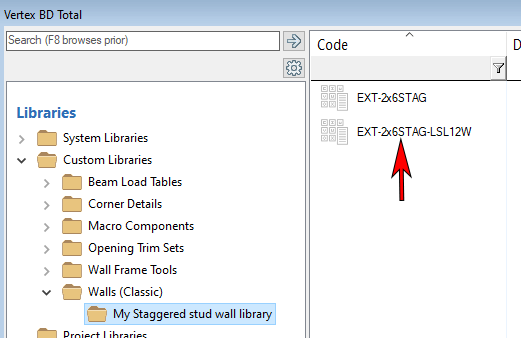
In the left browser pane, navigate to Custom Libraries>Walls (Classic) and select the new staggered stud wall library.
-
In the right browser pane, select the copied Wall
-
Right-mouse click and select Properties from context menu.
The copied wall is used as a template to create similar wall types.
-
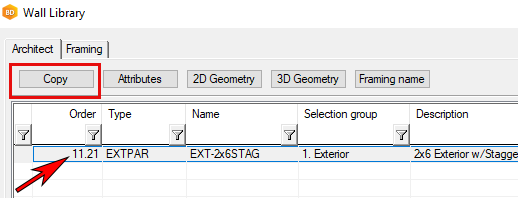
Select an existing wall (row).
-
To create a copy of the wall for editing, select the Copy button. (NOTE: DO NOT RIGHT-MOUSE CLICK AND COPY FROM CONTEXT MENU)
-
Enter a name in the window prompt for the new wall.
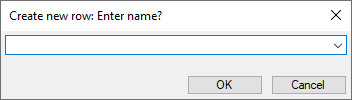
A new row with the wall name is added to the Wall Library.
-
Select the new wall entry (highlighted in blue)
-
Under the Architect tab…
-
Edit the Order field
-
Edit the Description field
-

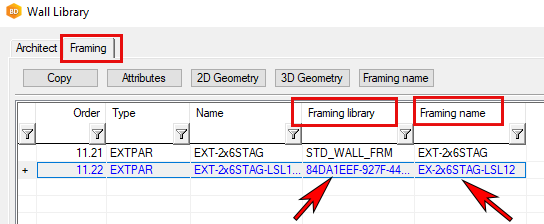
Next select the Framing tab
-
Select the custom Framing Library from the Framing Library drop-down field.
-
In the Framing name field, enter the custom staggered wall framing tool to assign to the wall type.
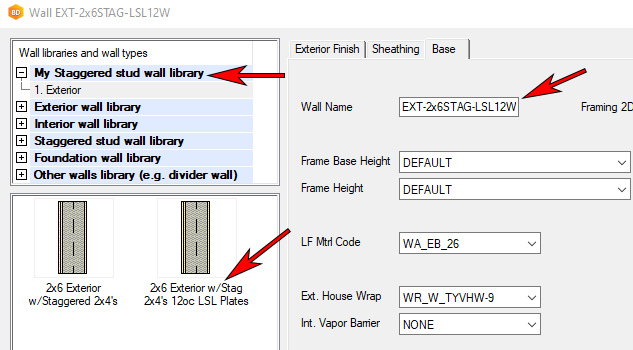
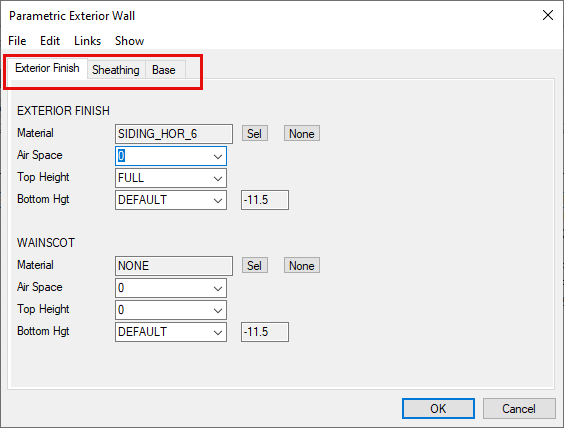
To modify the wall properties, select the Attributes button
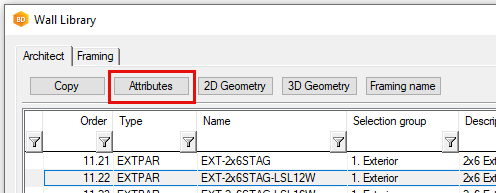
Modify the wall properties as needed. Select OK to close the window
The new wall is added to the library.
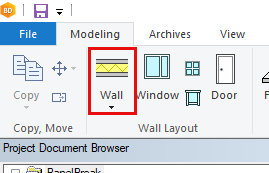
To use the new staggered stud wall, go to Modeling | Wall Layout | Wall
Locate the new staggered stud wall type from the custom library under the Wall Libraries and wall types pane.