
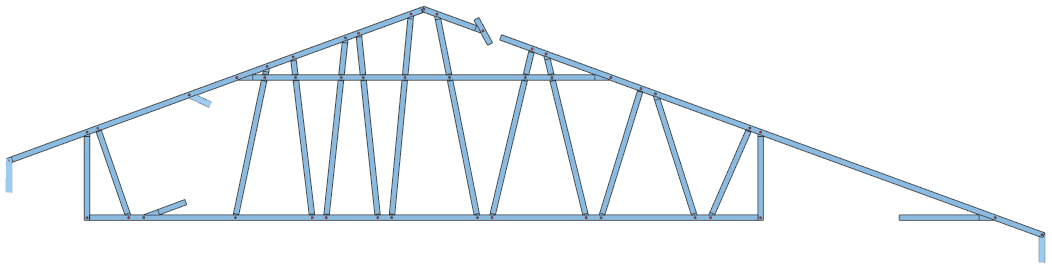
A truss template presents the different situations for forming connections between truss members. When you add parts to a truss envelope, the program generates the parts according to the shape of the envelope and selects suitable connections according to the function of the parts.
The basic software delivery includes truss template libraries with a few examples. You cannot edit the system libraries, but you can create a truss template library of your own, and then copy a truss template from the system library to your own library for editing.
This feature is available in metric versions of Vertex BD for Cold-Formed Steel.
You can edit the component libraries when you have the Vertex BD system administrator rights.
Create a Library of Your Own
-
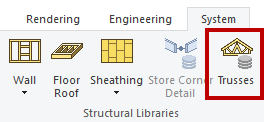
Select System | Structural Libraries | Trusses.
-
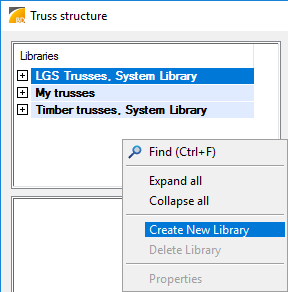
Move the cursor to the library list box.
-
Right-click and select Create New Library.
-
Enter a name for the library.
-
Enter a description for the library and click OK.
Copy a Truss Template from System Library
Copy a truss template from the system library and paste it to your library.
-
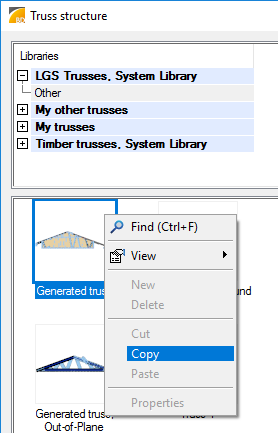
Select a system library and classification.
-
Select the truss you want to copy.
-
Right-click and select Copy.
-
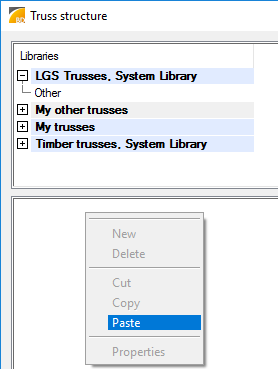
Select your library in the library list.
-
Move the cursor over the area displaying the truss thumbnail images.
-
Right-click and select Paste.
-
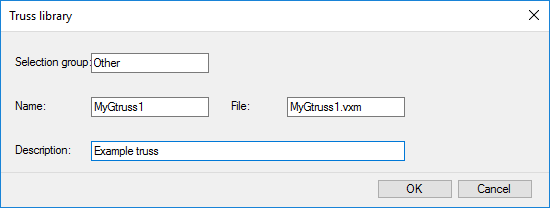
Enter a name for the truss and a name for the model file. The file is saved to the ../custom/complibs/[truss_library_name]. The description text will be displayed for the thumbnail image of the truss.
-
Click OK.
Open the Truss Model for Editing
-
Pick the truss template you want to edit
-
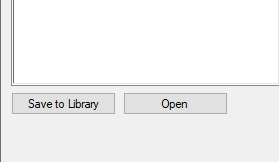
Click the Open button, the truss model opens in the background
-
Click OK to the truss template library to continue
Edit the Connections
-
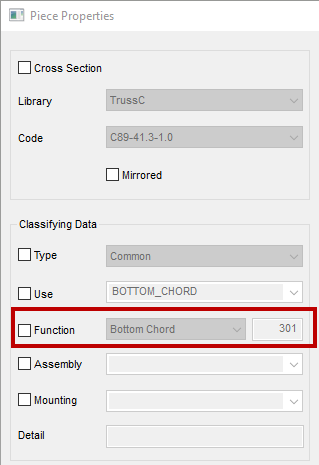
Open the properties of a part, and check the Function property, for example Bottom Chord. When you add parts to a truss envelope, the connections will be determined according to this property of parts.
-
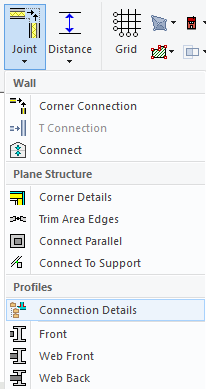
Change the connections between parts. Select Modeling | Connection | Joint > Profiles: Connection Details.
-
Select a suitable connection from the connection detail browser.
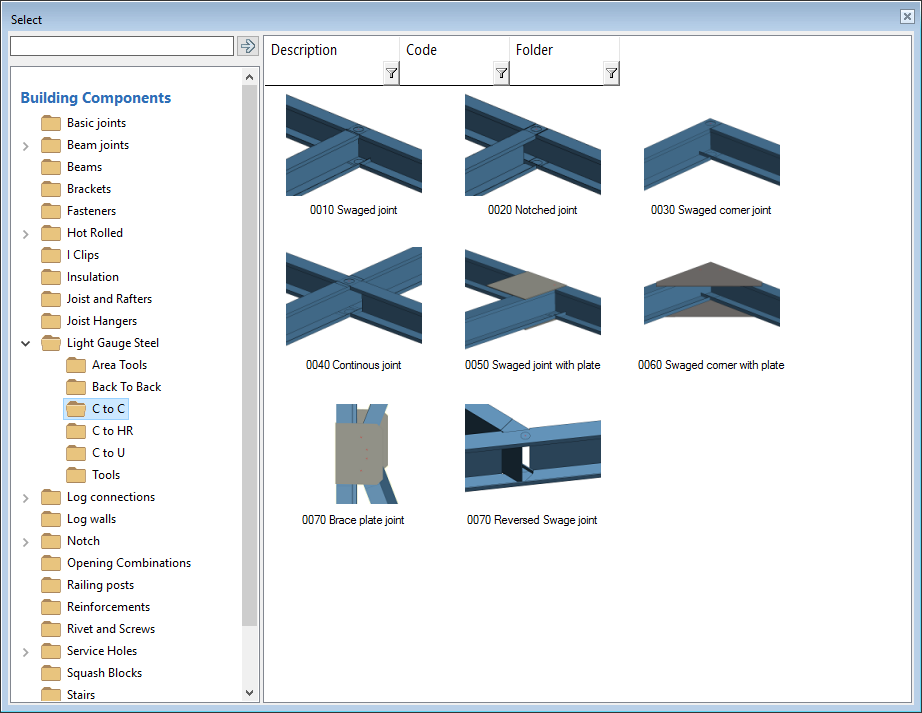
-
You can create connections for various cases that may be presented in a truss. You can create them all in the same model. The program will determine which connection to use, when you add parts to a truss.
-
Save and close the model file.
Edit the Profile Cross Sections
Only the connections are defined in truss templates. The profile cross sections can be changed by editing the template library.
-
Select System | Structural Libraries | Trusses.
-
Select the truss library and truss you created.
-
Edit the cross sections by clicking the Select buttons. Select a cross section from the profile library.
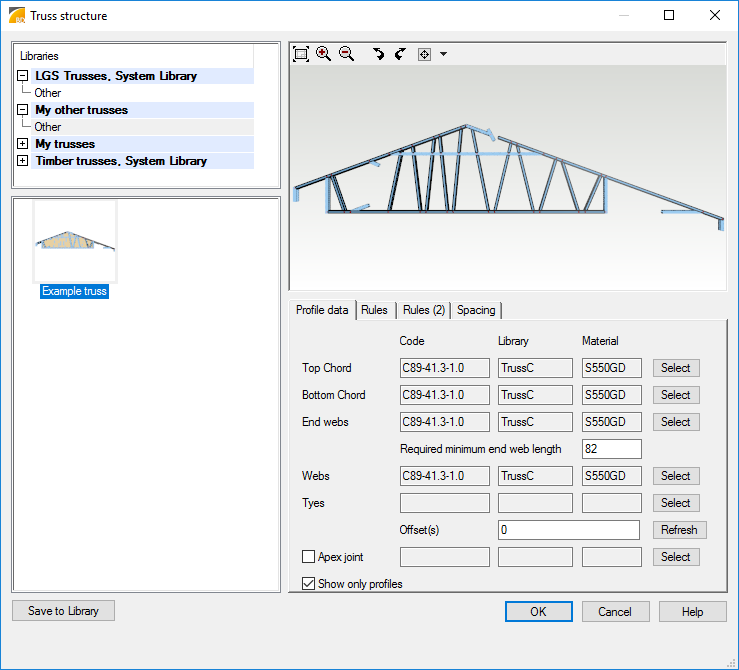
-
Select other parameters for the truss.
-
Click OK.