
Edit the wall frame tool library to create a new tool. You can add new tools to your custom tool library by copying them from the system library.
Edit the Wall Frame Tool Library
Select System | Libraries | Libraries. The library browser opens.
Select the folder System Libraries and the library type Wall Frame Tools.
Select a library. You will see the tools in the library in the right-side browser pane.
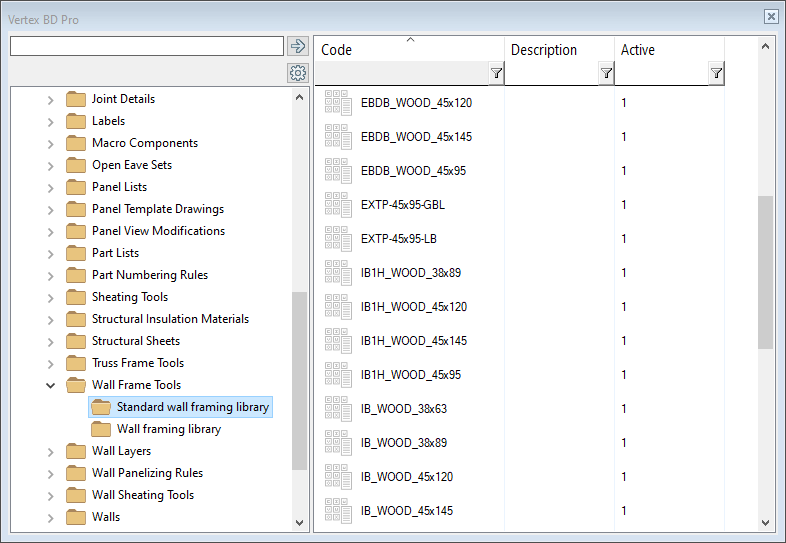
Select one or more tools that you want to copy.
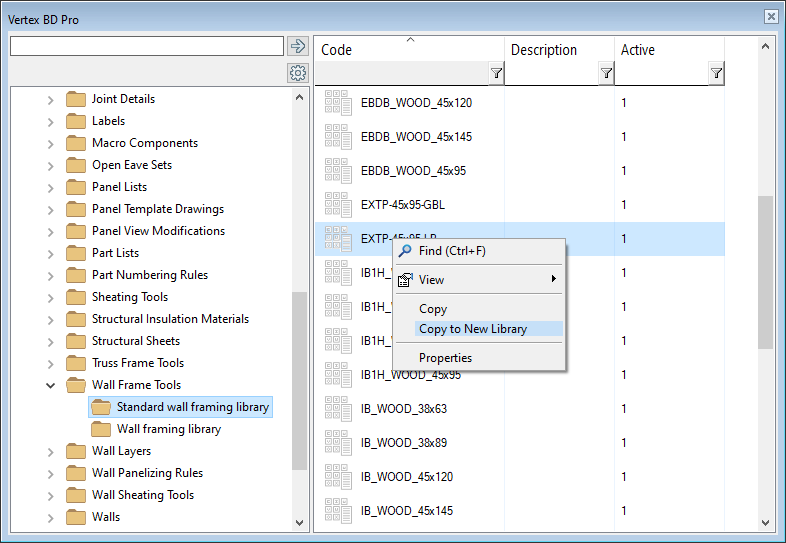
Open the right-click menu and select either of the following:
-
If you want to copy the tools to an existing custom library, select Copy. Then select a library in the Custom Libraries / Wall Frame Tools folder, open the right-click menu and select Paste.
-
If you want to create a new library, select Copy to New Library. Enter a description for the library.
Double-click the tool in your custom library or select Properties from the right-click menu.
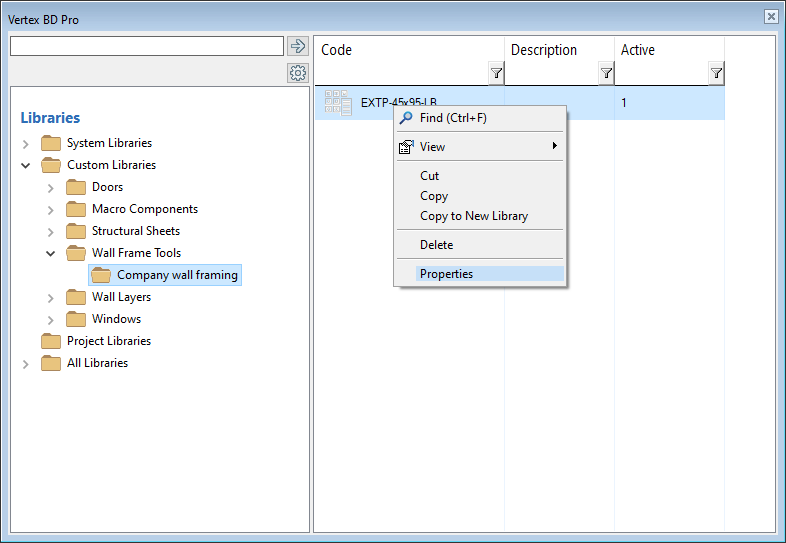
The Wall Framing Attributes database view opens.
Enter a unique name for the tool in the Framing name field.
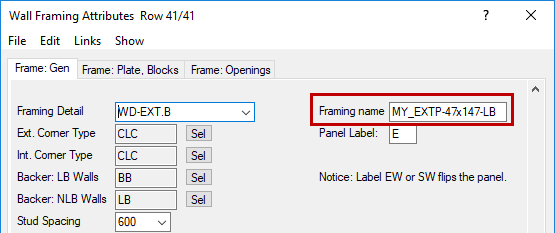
Edit the other parameters on the new row. For example, select the tab Frame: Plates, Blocks, and select the Stud cross section by clicking the Sel button.

Click OK when you wish to save the data and exit the database view.
Set the New Frame Tool for a Wall in the Wall Library
Open the wall library for editing by selecting System | Libraries | Walls.
Select the library and the wall.
Select the frame layer, right-click and select Framing Tools.
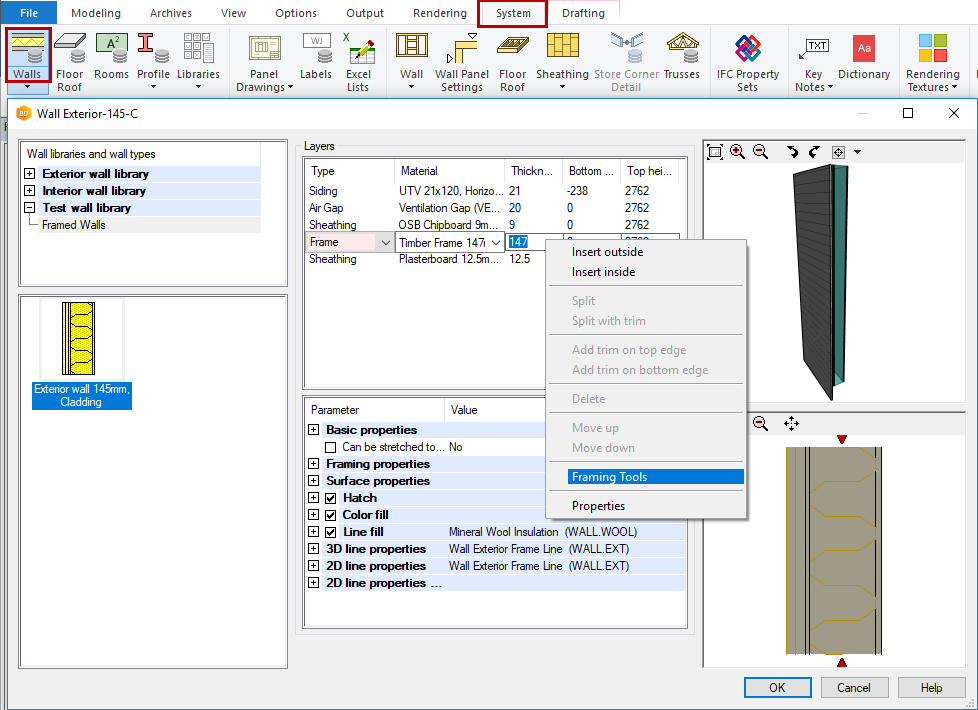
Select the Tool Library in which you added the tool, and select the Tool you created.
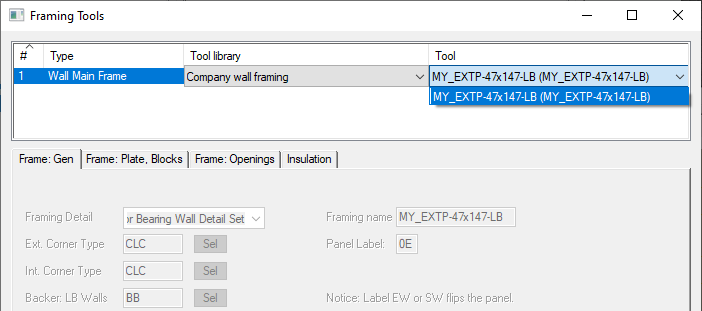
Click OK to close the database view and the dialog box.