
A title block can be drawn with lines and texts directly on a drawing sheet or it can be a drawing file that is added to a drawing sheet as a reference drawing.
This article explains how you can create your own title block and add it as a reference drawing to a drawing sheet. Depending on the product localization, the title block files provided by the software supplier are in in the ../system/macros/dwgtitles folder or in the sheet_dwgs folder of a template project. You can create your own title block and use the title block of the software supplier as an example. Save your own title block in ../custom/macros/dwgtitles folder or in the sheet_dwgs folder of your template project.
You can also add texts directly to the sheet and use text macros as described here.
Copy a title block
In this article, we assume that the title blocks are in the ../system/macros/dwgtitles folder.
In Windows Explorer, navigate to the folder ../system/macros/dwgtitles.
Copy a title block file to the clipboard, for example title_block.vxp.
Open the ../custom/macors/dwgtitles folder. Create the folder if it does not exist.
Paste the title block file from the clipboard.
If necessary, rename the file.
Edit the title block
Open the title block in the Vertex BD program by dragging and dropping.
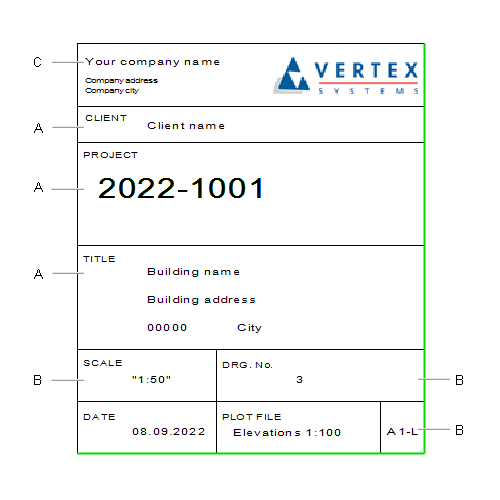
The design information presented in the title block are text macros, the content of which is read from the following sources:
A) Project data card - the database PROREG
B) Document information - the database FILEINFO
C) Company information - the database LOCALDATA
Example:
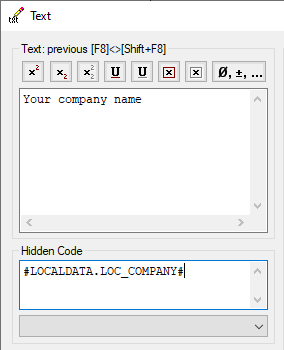
Double-click any text in the title block to open the Text dialog box. The text field displays the text that is now displayed in the title block drawing. In the final drawing, the text is replaced by the content that is specified in the Hidden Code field.
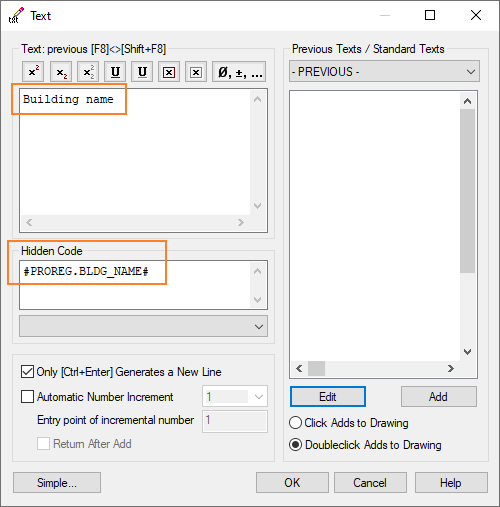
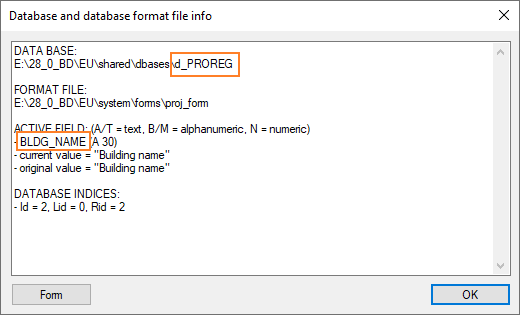
For example, the building name is read from the project archive with the following hidden code:
#PROREG.BLDG_NAME#
PROREG is the name of the database
BLDG_NAME is the name of the field in the database
Add and edit any text you want to the title block.
The name of the database and field
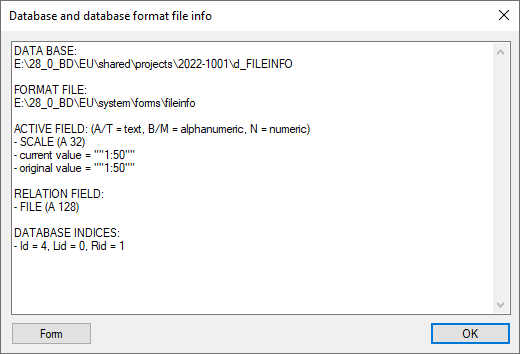
You can find the name of the database and the name of a specific field from the database information.
Project data card (PROREG)
Open the Settings branch in the document browser and double-click Project data card.
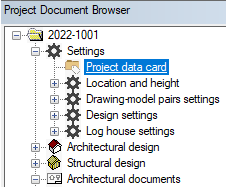
Activate the desired field and select Database info from the right-click menu.
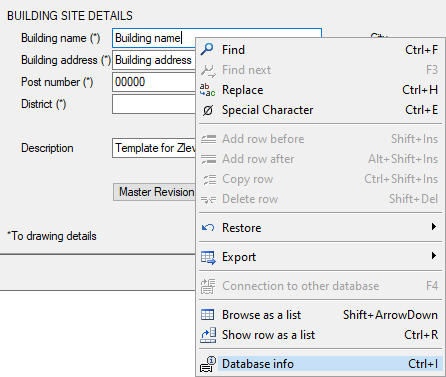
In the database name, the prefix d_ means a database file. The name of the database in the hidden code of the text macro is written without a prefix.
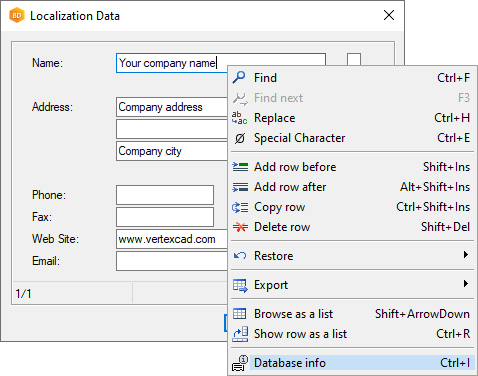
Company contact information (LOCALDATA)
On the System tab, select Local Data.

Activate the desired field, right-click in the field, and select Database info.
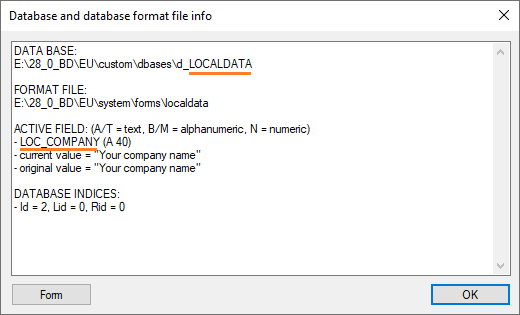
In this case, the hidden code of the text macro in the title block is, for example:
Active document information (FILEINFO)
Open a drawing sheet.
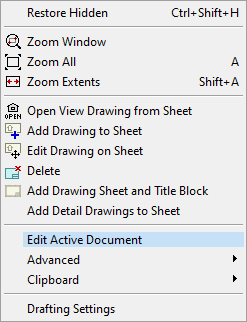
Right-click in the drawing window and select Edit Active Document.
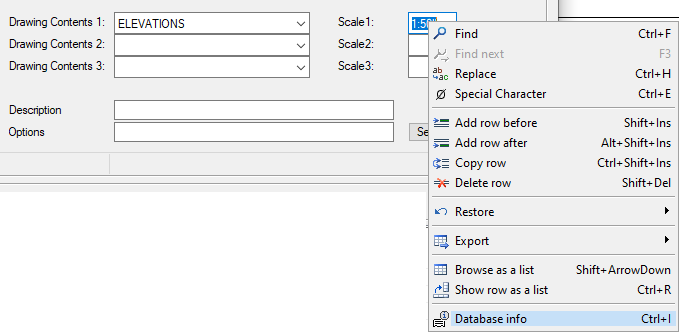
Activate the desired field, right-click in the field, and select Database info.
Add your own logo
You can add a logo as a raster image to the title block. First save the logo on your computer, for example in tiff, png or jpeg format.
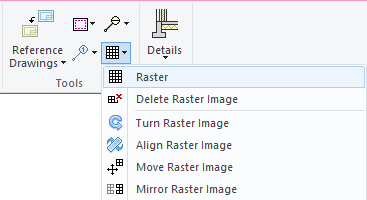
Select Drafting | Tools | Raster Images > Raster.
Select the image file you saved.
If necessary, use the Scale factor function to resize the image. Enter the coefficient in the text window as a decimal or fractional number. For example, 0.5 or 1/2.
Click the position of the image.
You can use the functions in the Raster Images menu to move or delete the image.
Save and close the file.
Add the title block to a drawing sheet
Add the title block to a drawing sheet of a template project. Open the template project. Add the title block to an existing sheet or create a new drawing sheet.
Add the title block to an existing sheet
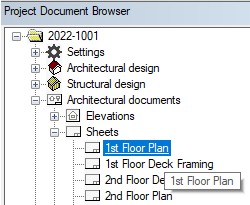
Open the drawing sheet from the project document browser.
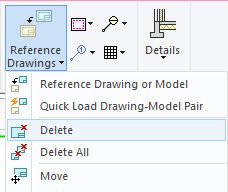
Delete the existing title block. Select Drafting | Tools | Reference Drawings > Delete, and click the title block.
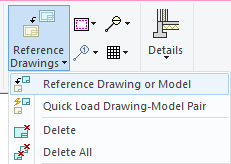
Add your own title block. Select Drafting | Tools | Reference Drawings > Reference Drawing or Model.
Select the title block you have saved.
Select Select location and clear Use reference color.
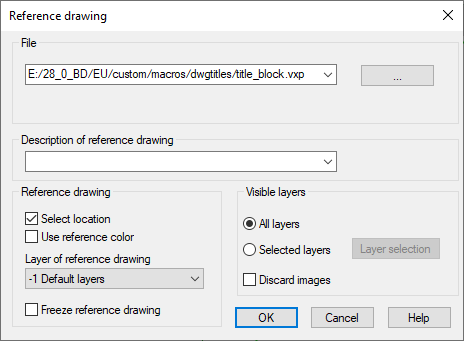
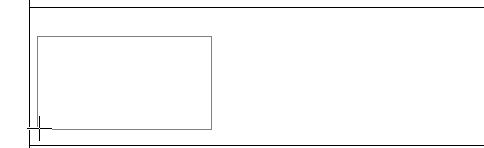
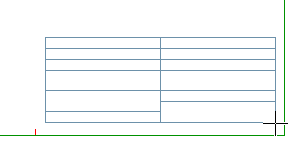
Click the position of the title block on the sheet.
Close and save the drawing sheet.
Create a new drawing sheet
You can also create a new drawing sheet.
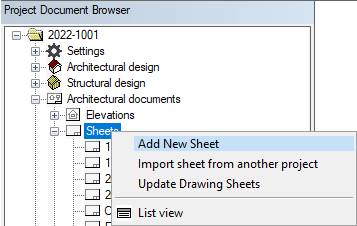
Right-click on the Sheets heading in the document browser and select Add New Sheet.
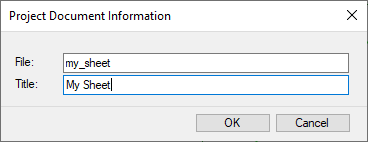
Enter a file name and description for the sheet.
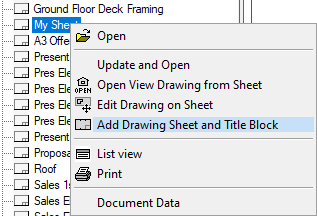
Right-click on the sheet description in the document browser and select Add Drawing Sheet and Title Block.
Select the type of the sheet. Click Sel to select your own title block.
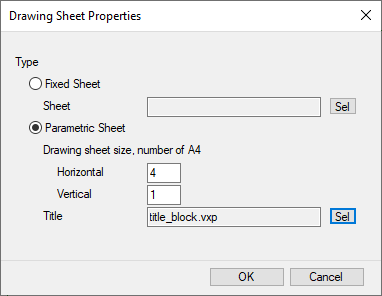
Select the title block from a list. Only title blocks stored in the ../custom/macros/dwgtitles folder are listed.
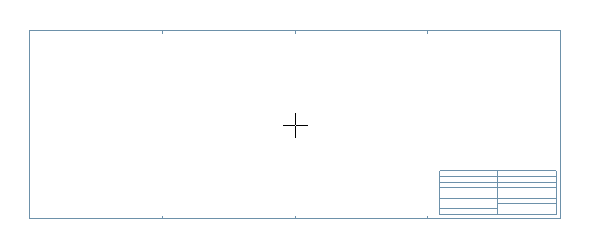
Select the location of the sheet in the drawing window.
Close and save the drawing sheet.
Update the text macros on a drawing sheet
When you have filled in all the necessary project and document data, you can update the data to the title block of a drawing sheet by updating the text macros.
Open a drawing sheet of the active project and do either of the following:
-
Right-click and select Edit Active Document. When you close the document information window, all the text macros on the sheet are updated.
-
Select Drafting | Text > Update and click Yes.
