Add Drawing-model Pairs to Project
The template project included in the basic software delivery has pre-defined drawing-model pairs for a ten-story building. If you need more, you can add new drawing-model pairs to your project. If you want to use the same drawing-model pairs in all projects, add them to the template project.
Add a New Drawing-Model Pair
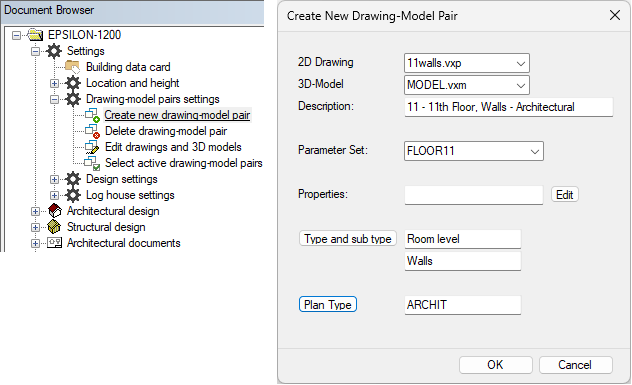
In the project document browser, open Settings > Drawing-model pairs settings and double-click Create new drawing-model pair. Enter the drawing-model pair data.

Edit the Drawing-Model Pair Properties
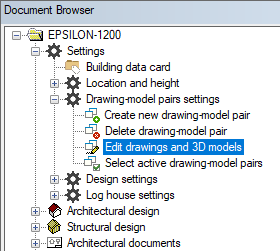
Set the order and FRAMING=order_number, if it is a pair for architectural design. Double-click Edit drawings and 3D models.

Enter a number in the Order field and FRAMING= framing_order_number in the Properties field.
The framing_order_number is the Order number of the corresponding framing drawing-model pair.
In the figure below, the framing drawing-model pair for the 11th floor walls has already been created and the number 129 has been set for it.

Save the project. The new pairs are updated in the document browser.
Add Parameter Sets for the New Pairs
Add parameter sets for the new pairs.
Open the project's PARAMETERS file to Notepad.
Copy an existing set, name it as FLOOR11, and change the necessary parameter values.
Changes to parameter sets will take effect when you reopen the building.
Add Bitmaps to the Drawing-Model Pair Button Menu
The basic software delivery includes a button menu definition for a 13-story building. The bitmaps are automatically added to the button menu for the drawing-model pairs that you set in use.
If you need bitmaps for more than 13 stories, you will need to add them to the button menu.
The button menu is defined in the system/setup/mousec file. Copy the file to custom/setup folder, and open the file for editing in Notepad.
Add rows for the buttons:

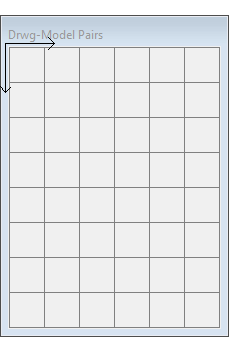
The bitmaps are 34 x 34 pixels in size. The button menu grid starts at the top left corner and goes right in the X direction and down in the Y direction. The position of each button is specified by X/Y offset, for example d34 d34.
The position of the first button is 0 0. The position of other buttons in the same row is d34 d0 (offset 34 to the right in the X direction, 0 down in the Y direction).
A new row is started by giving the button an offset of d34 d34. For other buttons in the same row, the offset is d34 d0 (34 to the right in the X direction, 0 down in the Y direction).

Restart Vertex after editing the custom/setup/mousec file.
The basic software delivery includes bitmaps for drawing-model pairs from basement to roof, and 20 stories in between them. If you need more stories than that, you will also need bitmap files (bmp) for these drawing-model pairs.
You can copy an existing bitmap file from the system/bmp/dwg folder and paste it to custom/bmp/dwg folder.
Edit the bitmap files and add them to the mousec file.
