
-
Add Column and beam similar to that shown below
Add Column:
-
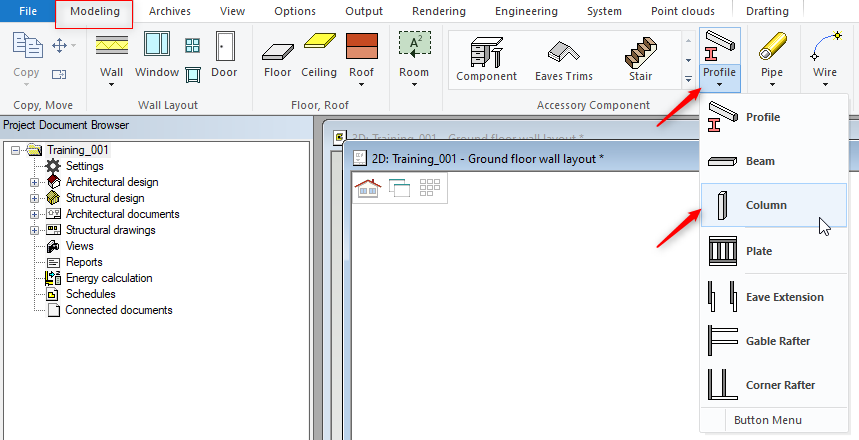
In 'Modeling' tab go to 'Profile' icon and form the drop down menu click Column.
-
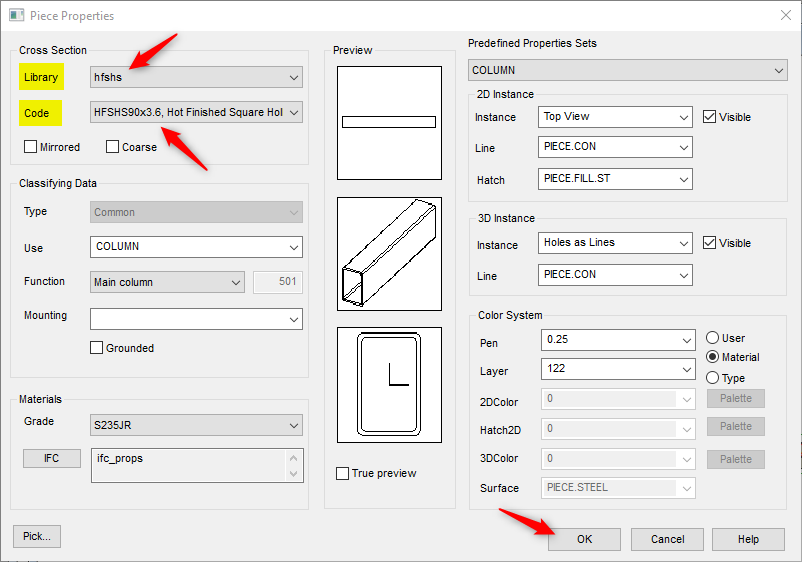
Piece properties menu pops up. In the Library field select ‘hfshs’. Then in Code field select a SHS 90x3.6.
Click on OK
-
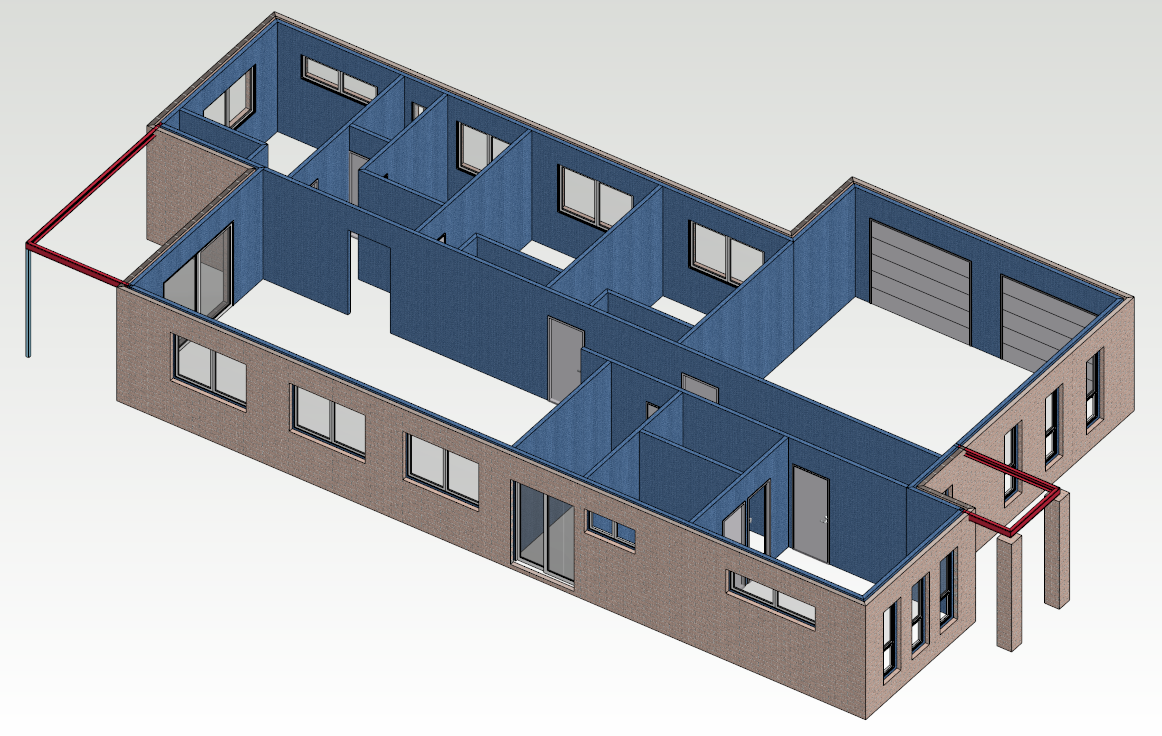
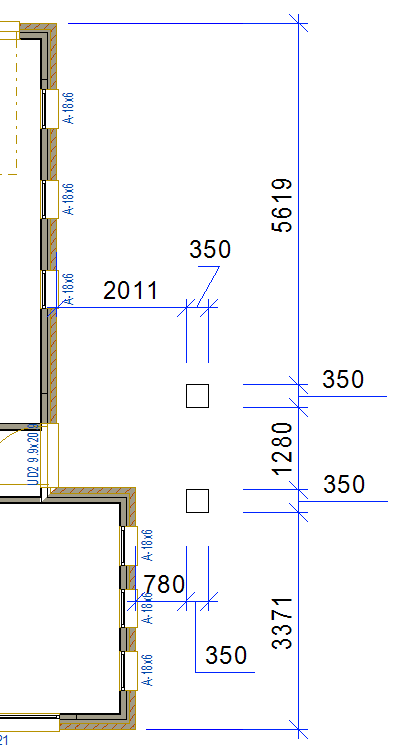
Position the column in line with the end wall as shown

-
Concrete / brick column can be added. ( but not Necessary )
-
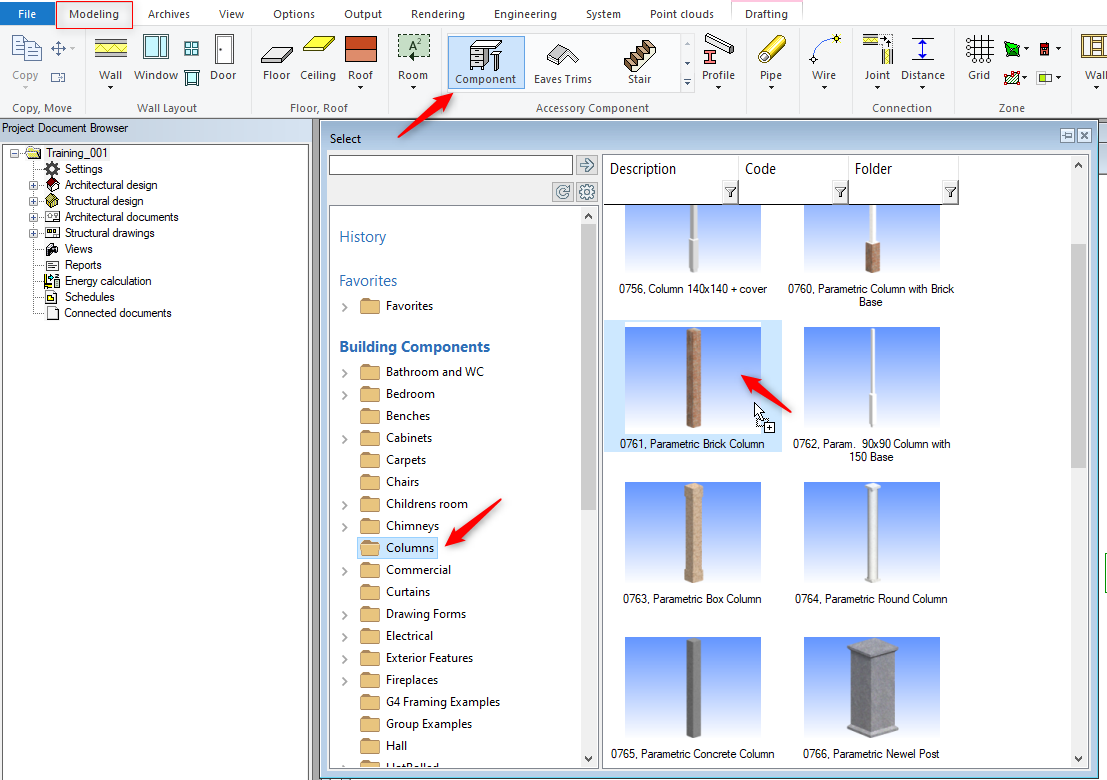
Go to Modeling Tab → Component → Columns folder and double click on 'Parametric Brick Column'
-
Position the column as per the dimensions shown
Add beam :
-
Now add some beams in 2D view. Since we are using 89mm external walls, so the beams need to be extended into the wall by 89mm.
-
In 'Modeling' tab go to 'Profile' icon and form the drop down menu click Beam.
-
Piece properties menu pops up. In the Library field select ‘hfpfc’. Then in Code field select a 150x75x18PFC and "Instance" field change to box
-
Click on OK.

-
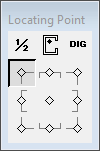
Before you position the beam ( in line with the end wall ), select the locating point option from the menu
-
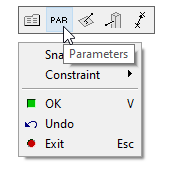
Now right click and from the contextual menu select ‘PAR’.
-
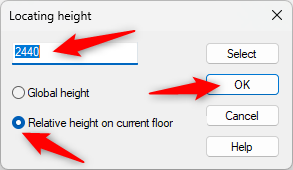
Locating height Menu pops up that let you manipulate the height position of the beam.
-
Click on OK and draw / position the beam ( in line with the end wall ) similar to as shown below
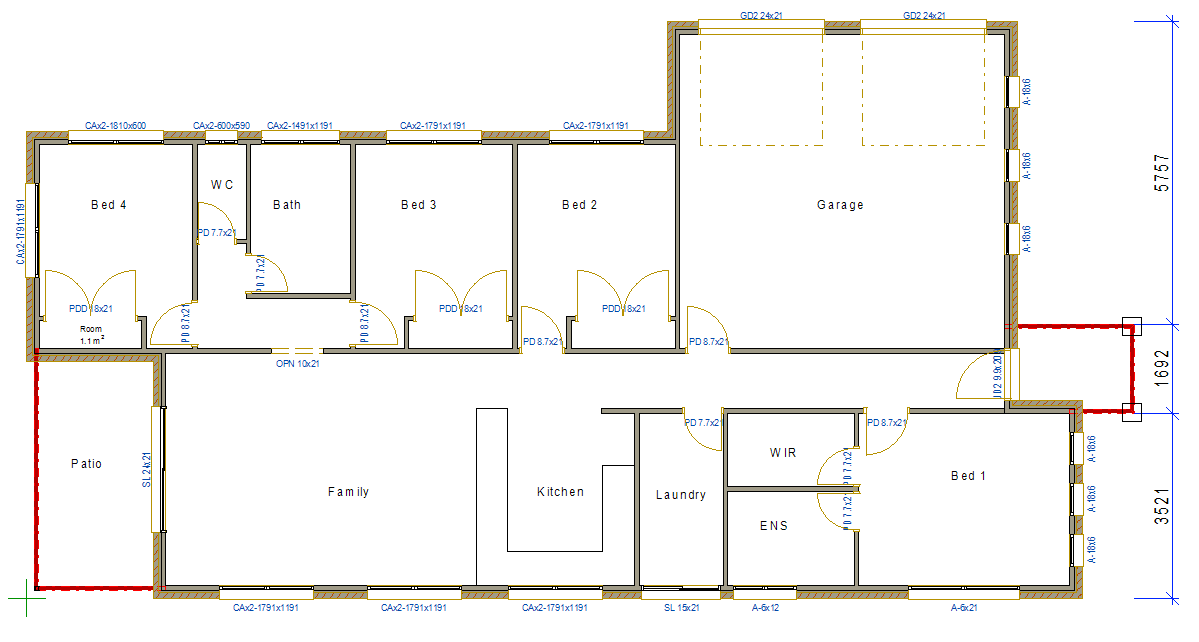
We need to create beam pockets in the frames to accommodate the beams to support Patio roof at the rear and the Entry roof of the house
We also need to create Base plate and connections ( We will do them in later exercise )