
Before adding users to your organization, define the roles for the users. User roles are permission groups that define which permissions the user has to items in Vertex Sync and which actions the user can perform.
You can use groups to manage users in your organization who need the same permissions. By creating groups, you can control access to confidential information for multiple users.
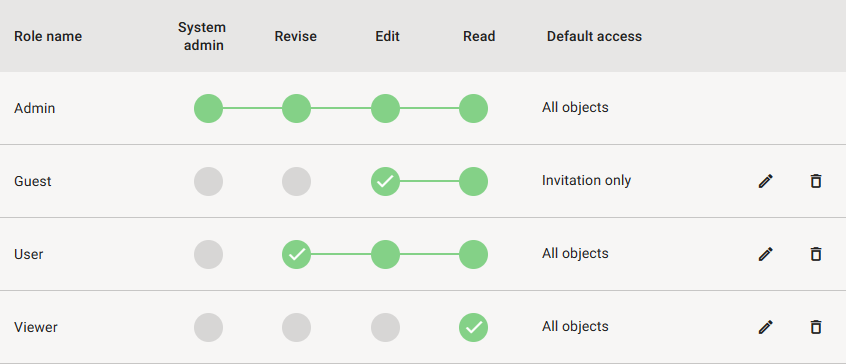
Roles and Permissions
The user's permissions to the items in Vertex Sync are determined by the user role. User role defines what actions the user can perform. Vertex Sync has three levels of permissions:
-
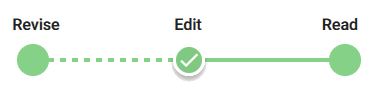
Read - The user can see the item and its contents.
-
Edit - The user can create, edit and delete items.
-
Revise - The user can create new revisions.
By assigning roles to users, you can simplify and streamline permission management and ensure that users have sufficient permissions to the resources they need.
Navigate to Admin tools and select Roles to view the current table of rows.
Add a New Role
-
Click the + button at the bottom right corner.

-
Type a descriptive name for the role and adjust the permission level.
-
Click Create.
Edit a Role
-
Click the pen icon at the end of the desired row.

-
Edit the name of the role and/or the permissions of the role.
-
Increase permissions

-
Decrease permissions
-
Delete a Role
-
Click the trash bin icon at the end of the desired row.

-
Click Remove.
The system prevents the removal of a role that has been assigned to a user. If you try to delete such a role, the system opens a warning message showing the user who has that role.
Users
Add users one by one or import a large group of users from a CSV file.
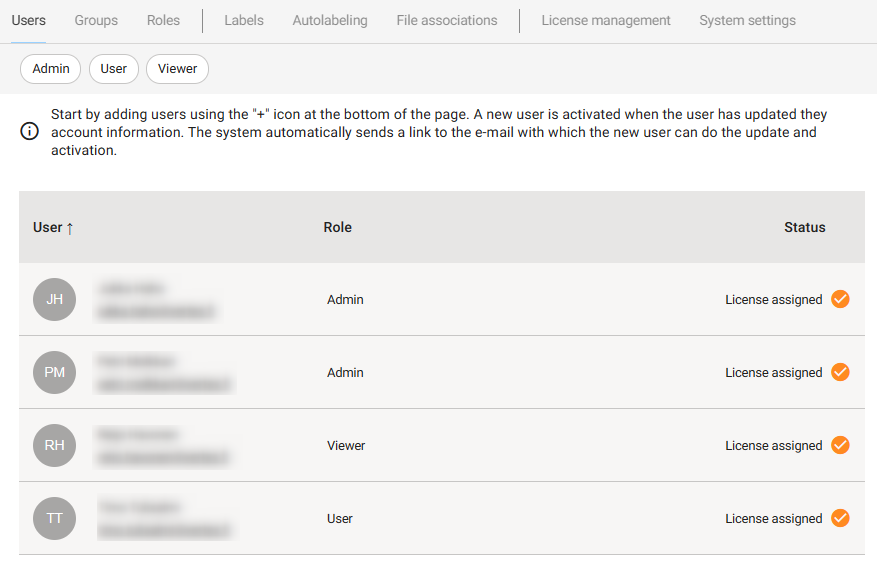
Navigate to Admin tools and select Users to view the current table of users.
Add a New User
-
Click the + button at the bottom right corner.
-
Enter the user data and click Add.
Please note:
-
The Email will be the user’s Username when the user logs in to Vertex Sync.
-
You must select a Role for the user. The Add button will not activate until you have selected a role.
-
There cannot be multiple users with the same email address.
The system sends an email to the user, asking the user to update the account by setting a password and profile name. At this point, the user is shown as Invited in the Active column.

When the user has logged in to Vertex Sync and set the password and profile name, the user is shown as Active.

Import Users from a CSV File
-
Click the + button at the bottom right corner.
-
Click Import Users.
-
Drag a CSV file or browser the file from computer.
-
Click Add. The user data is filled in separate rows. You can:
-
Complete the data.
-
Delete unnecessary rows by clicking the trash bin icon at the end of the row.

-
-
Click Add.
Filter and Sort the User Table
If there are many users, you can filter the user table by selecting the roles according to which users are shown in the table.
When all roles are selected, all users are shown in the table.

You can sort the table by clicking the column headings.
Edit User Data
-
Click the desired row in the user table.
-
Click the pen icon at the top right corner.

-
Edit the data.
-
Click Save.
-
Go back to the user table by clicking the arrow at the top left corner.

Assign or Unassign a License for a User in Sync user interface
The user’s actions remain in the history data of the object. The user cannot be deleted, because then the history data would be distorted. Instead, you can assign or unassign a license for the user. If the user has no license, the user’s status is deactivated, but the history data will remain.
-
Click the desired row in the user table.
-
Click the pen icon at the top right corner.
-
Click the License switch to assign or unassign a license:
-
User has a license: The user is active.

-
User does not have a license: The user is inactive.

-
-
Click Save.
-
Go back to the user table by clicking the arrow at the top left corner.
Important Notes:
-
A user without a license is considered inactive. This means they cannot access the system, but their historical data remains intact.
-
Inactivating a user by unassigning their license does not delete their historical actions. This ensures that all past activities and records remain accurate and complete.
Sync license management
Every Sync user must have a license assigned to their account to access Sync. For new users, a license is automatically assigned when they are invited to the Sync organization. For existing users, you can assign licenses from the Licenses view (see Manage licenses).
Groups
You can use groups to manage users in your organization who need the same permissions. All the users in a group can access a certain object, for example. By creating groups, you can control access to confidential information for multiple users.
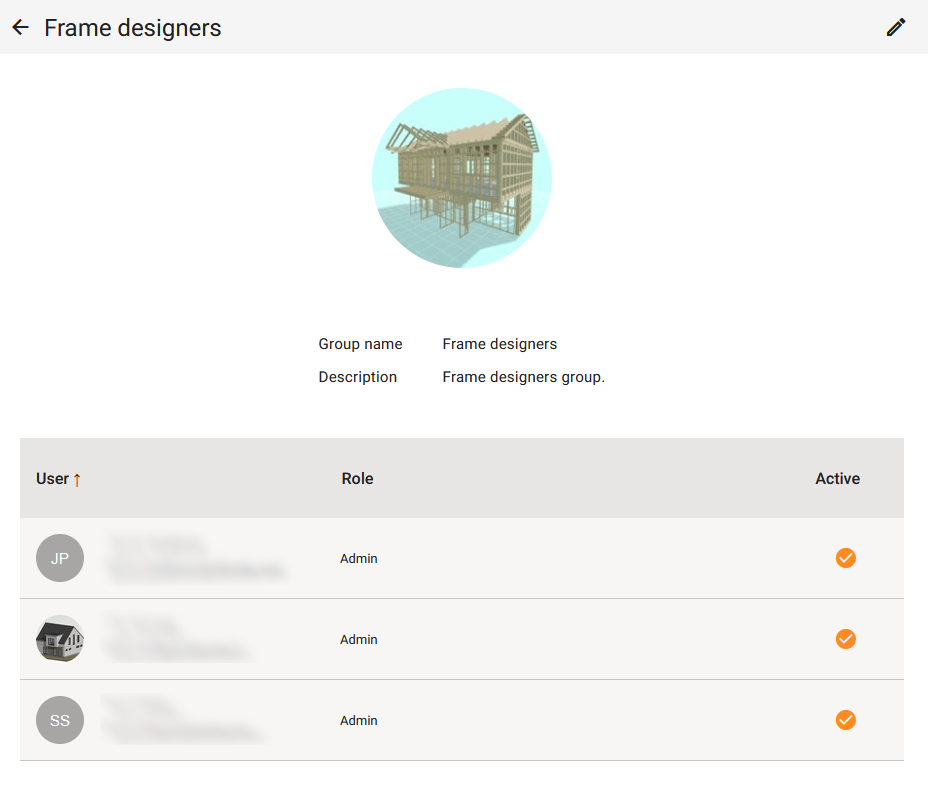
Navigate to Admin tools and select Groups to view the current table of groups.
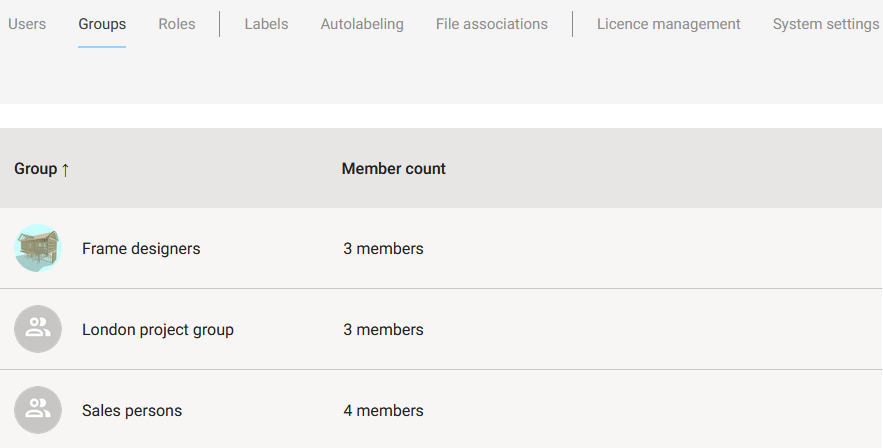
Click a group to view the group details.
Add a New Group
-
Click the + button at the bottom right corner.
-
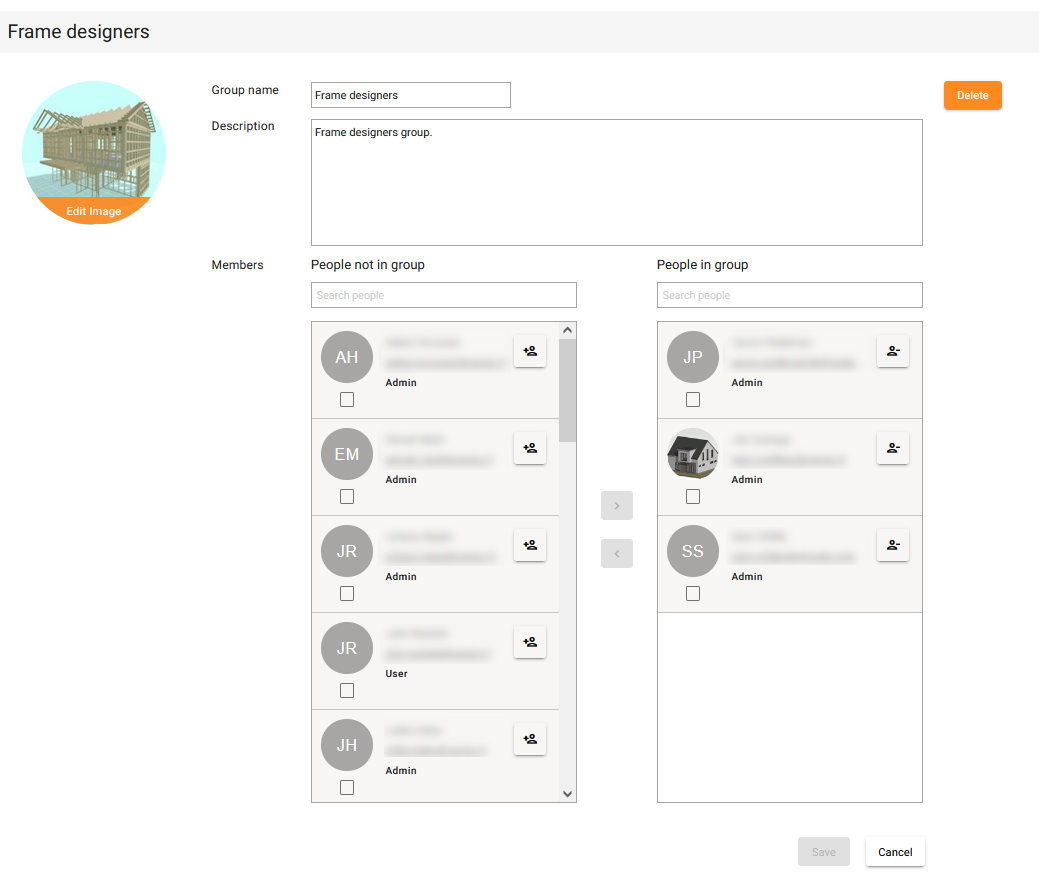
Enter the group name and description.
-
Select the members.
-
To search for a user, start typing the name or email address in the search box.
-
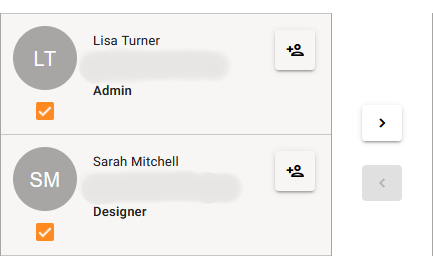
Select users one by one by clicking the button next to the user.

-
Select multiple users by clicking the check boxes and then the right arrow.
-
-
Click Save.
-
Go back to the group table by clicking the arrow at the top left corner.
Please note:
-
A user may be added to a maximum of 100 groups.
Manage the Users in a Group and Modify Group Details
-
Click the desired row in the group table.
-
Click the pen icon at the top right corner.
-
Edit the details and add or remove members.
-
Add or edit the profile image of the group.

-
Click Save.
-
Go back to the group table by clicking the arrow at the top left corner.
Delete a Group
-
Click the desired row in the group table.
-
Click the pen icon at the top right corner.
-
Click Delete at the top right corner.
-
Click Remove. You will return to the group table view.