
Labels allow Vertex Sync users to search, categorize and filter objects.
Labels have two states: active or inactive. Users can only add active labels to objects. If a label added to an object is set to inactive, it will remain on the object.
You can use an inactive label to filter objects. For example, you can add a label to obsolete objects and set the label inactive. You can find objects by the label, but users cannot add the label to new objects.
Add a New Label
-
Click the + button at the bottom right corner.

-
Type a name and description for the label.
-
Click Create.
Edit a Label
-
Click the pen icon at the end of the desired row.

-
Edit the name and the description of the label.
-
Change the activity of the label.
-
Active label

-
Inactive label

-
-
Click Save.
Delete a Label
If you try to delete a label that has been attached to objects, the system will notify you and allow you to select another label for these objects.
-
Click the trash bin icon at the end of the desired row.

-
If necessary, select Apply another label to objects, and select the label from the list.
-
Click Delete.
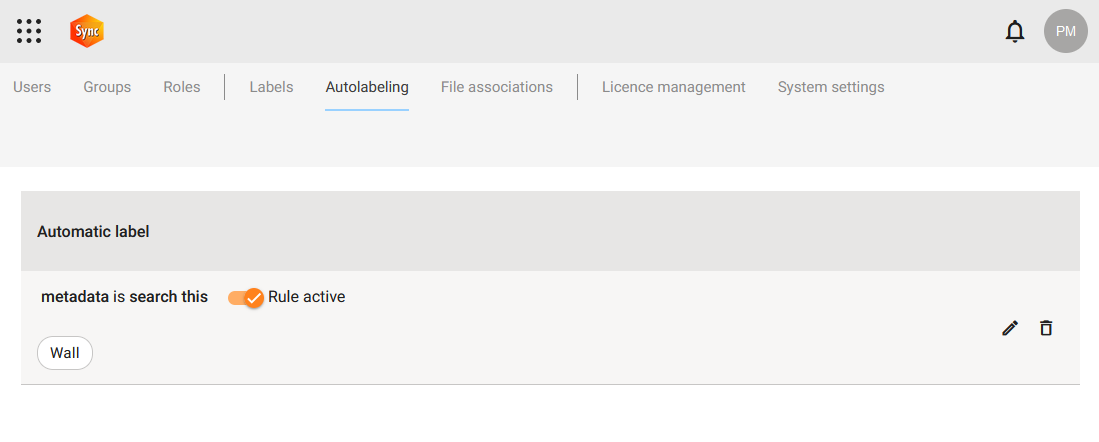
Auto-labeling
Automatic label rules are applied when objects are added to Sync. Labels defined in the rule are added to object if the object's data matches. Only active labels defined on the Labels tab can be added with rules.
Add a New Rule
-
Click the + button at the bottom right corner.
-
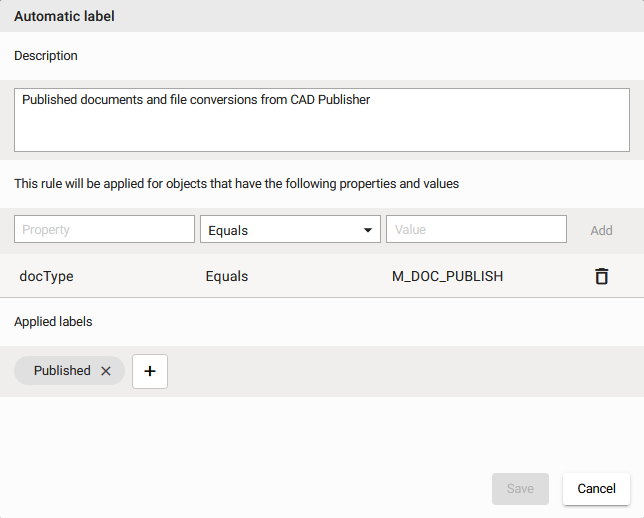
Type a description for the auto label rule.
-
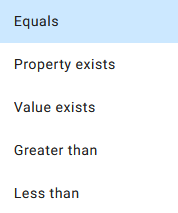
Select the rule type from drop down menu.
-
Fill Property and/or Value values depending on the selected rule type.
-
Add labels by clicking the + button. Selected labels are applied to an object when it fulfills the rule.

-
Click Save.
You can use Vertex BD’s document classification to create new rules.
Edit an Auto-label Rule
-
Click the pen icon at the end of the desired row.
-
Edit the rule.
-
Click Save.