We presented these reforms in the major version 30.0.0 (2024)
New features and improvements for insulation handling
We diversified the choice of color for insulation and covering to rendering materials.
You can now preview the insulation and coverings to be added to the line during the definition phase.
We made it possible to add insulation already during routing.
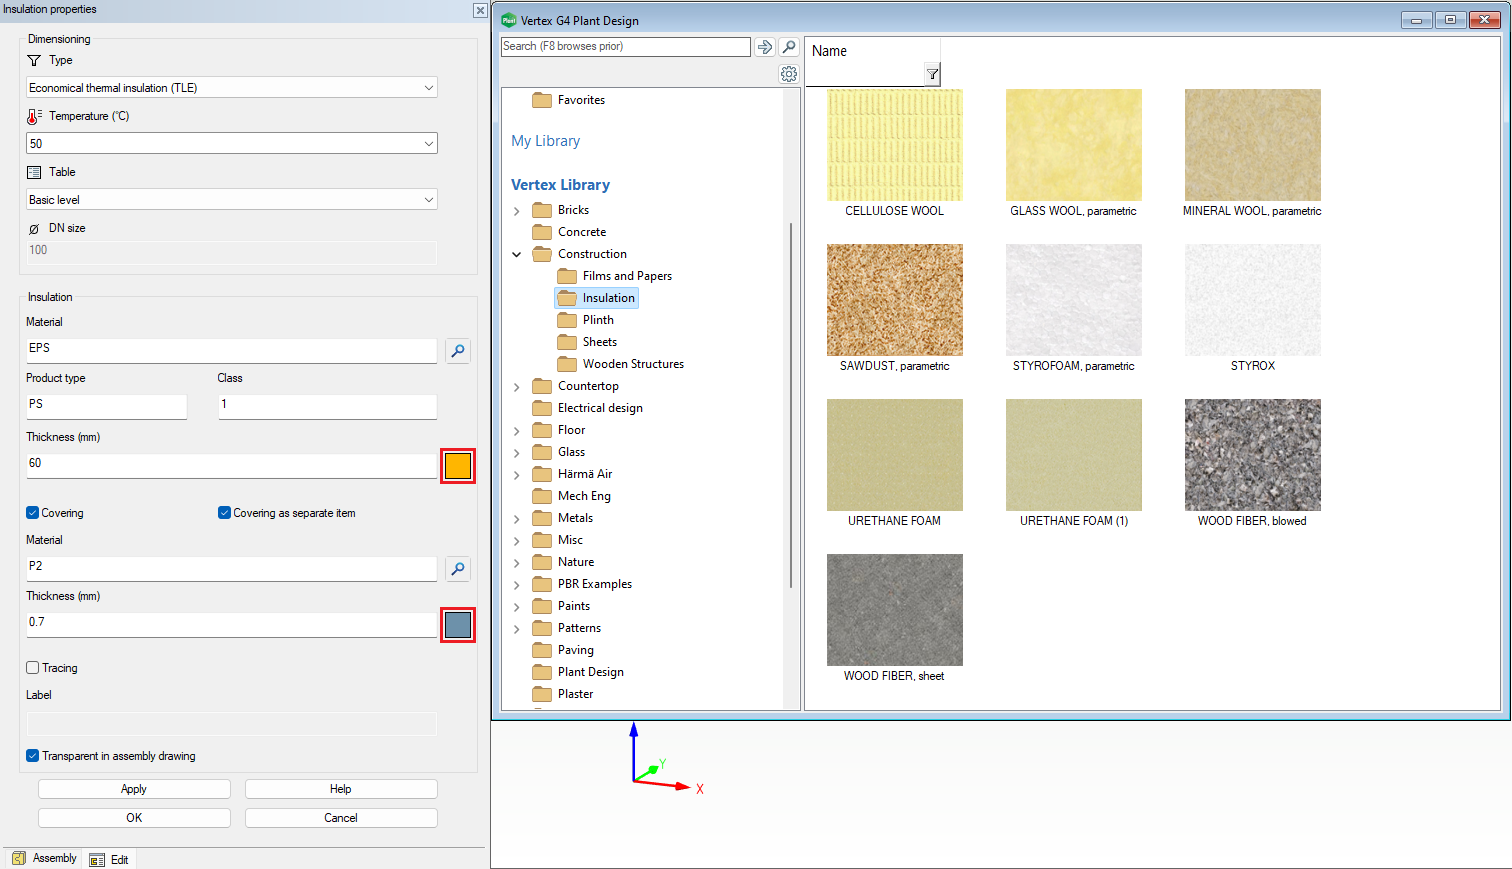
Surface material selection instead of simple color selection in insulating actions
You can now select a rendering material for pipes' and ducts' insulation and covering materials while adding insulation. You can still find the simple Vertex palette colors among the rendering materials. The same functionality is available in the user interface of the feature Add other insulations.
Define the default rendering material for insulation and covering materials in their databases. The program will use that rendering material for the selected insulation or covering material. Modify and browse the databases from the sheet System > Materials. (Vertex ID: PLANT-4576)
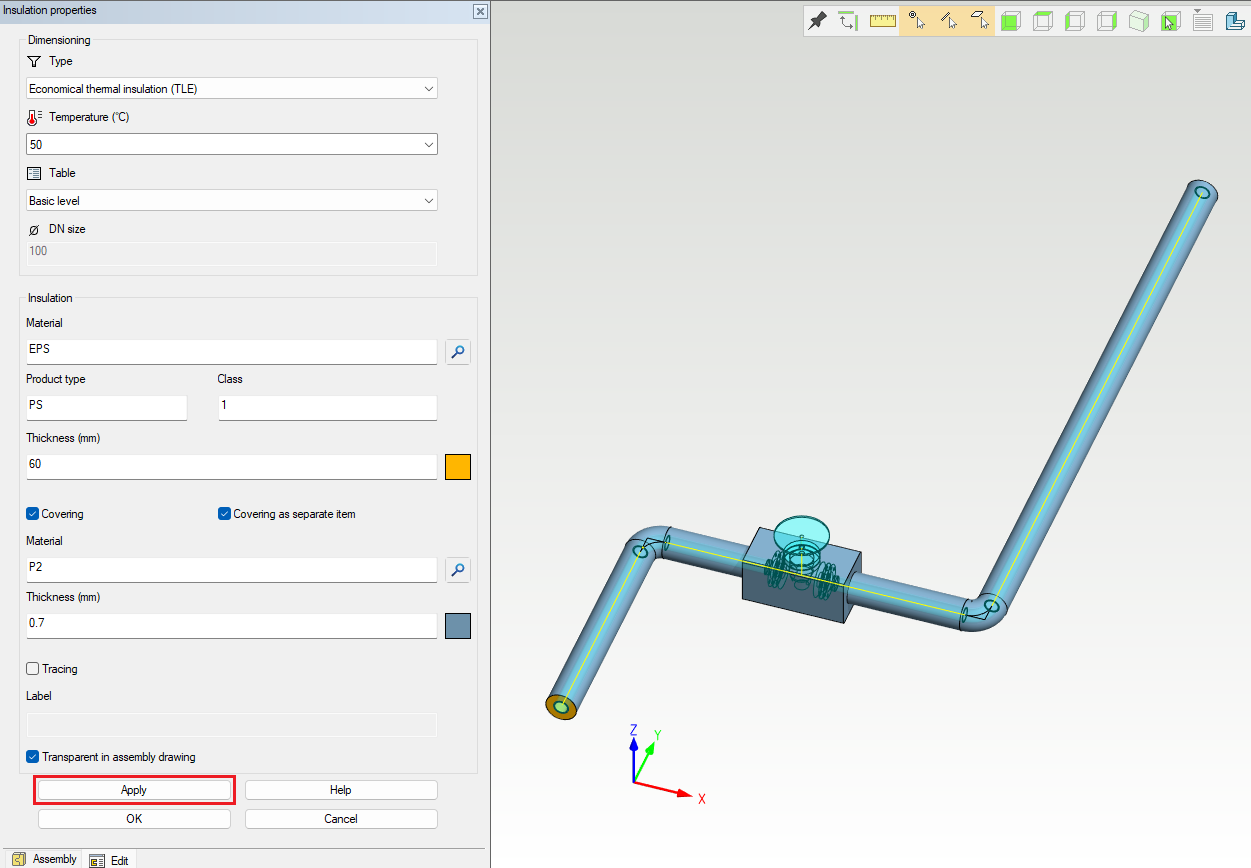
Preview the appearance of insulation and covering
We added a new button Apply to the dialog of the insulation properties. You can preview the appearance of the insulation and covering during the definition of the properties. (Vertex ID: PLANT-4590)
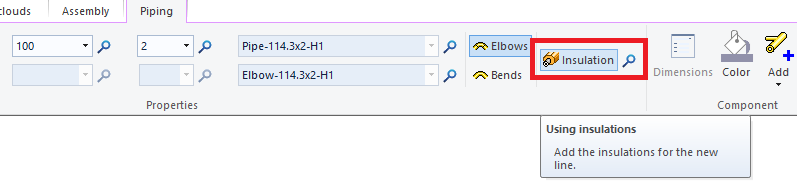
Add insulations during the routing of pipelines and duct lines
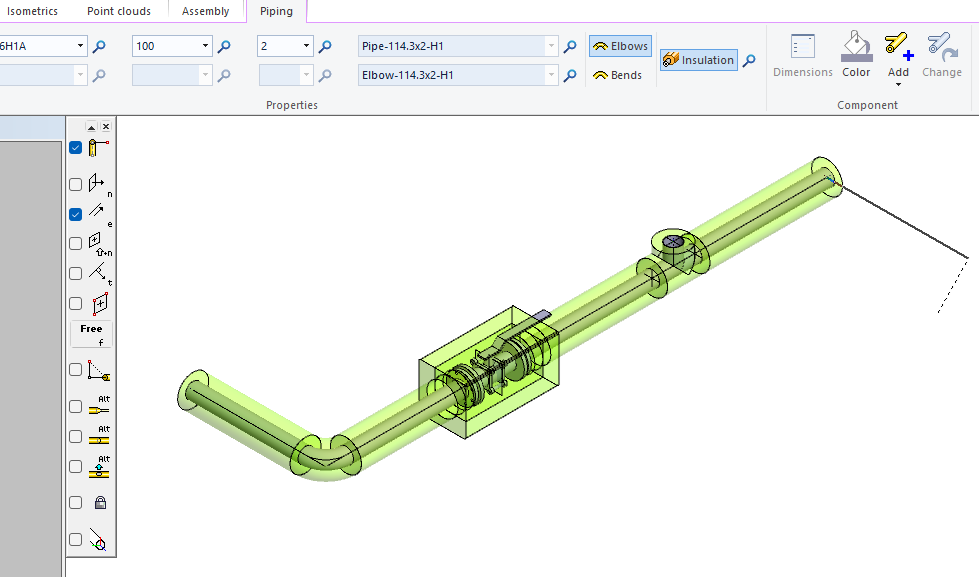
You can now add insulations and coverings for pipelines and ducts during the routing. Adding insulations and coverings also works with single components. You can activate this new function from the tab Piping with the button Using insulations (Insulations). Define the correct insulations and coverings with the opening dialog Insulation properties just like you do with the function Add pipeline insulations. The program inherits the properties from the chosen pipeline automatically and also from the pipeposition data if you have added data there.
After confirming the insulation properties the program adds insulations when you add pipes, elbows, and other pipe components to your model. You will see the insulation on the flange connection when you confirm the flange pair or end your routing to a single flange. It's possible to modify the defined insulation by pressing the Select button on the right from the button Using insulation.
The program automatically opens the Insulation properties dialog when the pipe size changes after the reducer. You need only to confirm the proper insulation and continue routing. If you start the routing from an uninsulated straight pipe and you have activated the option Using insulation, the already existing pipeline will have insulations. The same thing happens if you end your routing to the uninsulated straight pipe. If you continue routing from a straight pipe with insulations, the program won't activate the option of Using insulation. Partial insulation of pipes is possible only through the function Add pipeline insulations.
Adjust the Insulation transparency to make the routing with insulations easier. You can then see through the added insulations of your pipe components.
Adding or editing insulation is not possible when using the Change size function for a pipe or duct line or individual components. Edit insulations by using the function Edit pipeline insulations. (Vertex ID: PLANT-44)
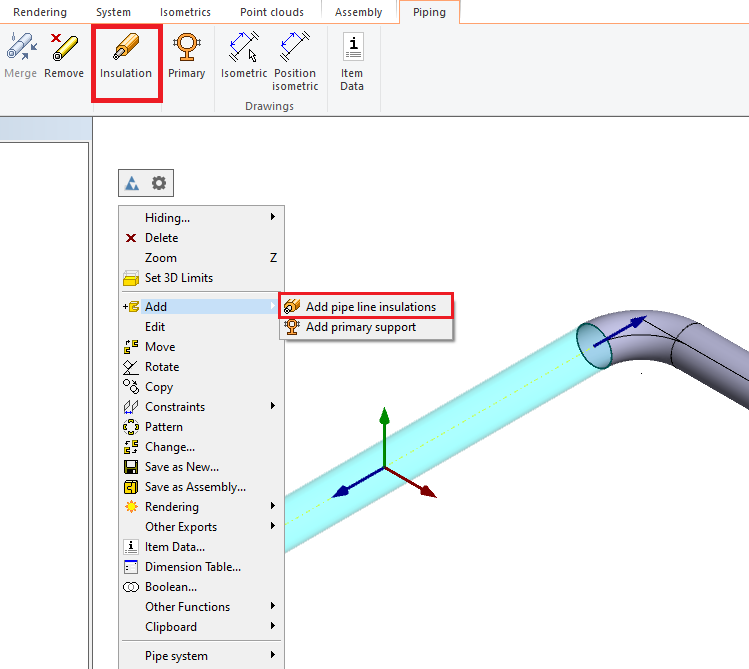
New methods to add insulations to the pipelines
You can now select the Add pipeline insulation function from the tab Piping or the context-sensitive menu behind the right mouse button when one pipe section is selected. The program automatically selects the whole associated pipeline and opens the Insulation properties dialog when you start the function through this.
You can also find the functions Add pipeline insulation and Add other insulation in the context-sensitive menu when nothing is selected. (Vertex ID: PLANT-90)