Managing company users
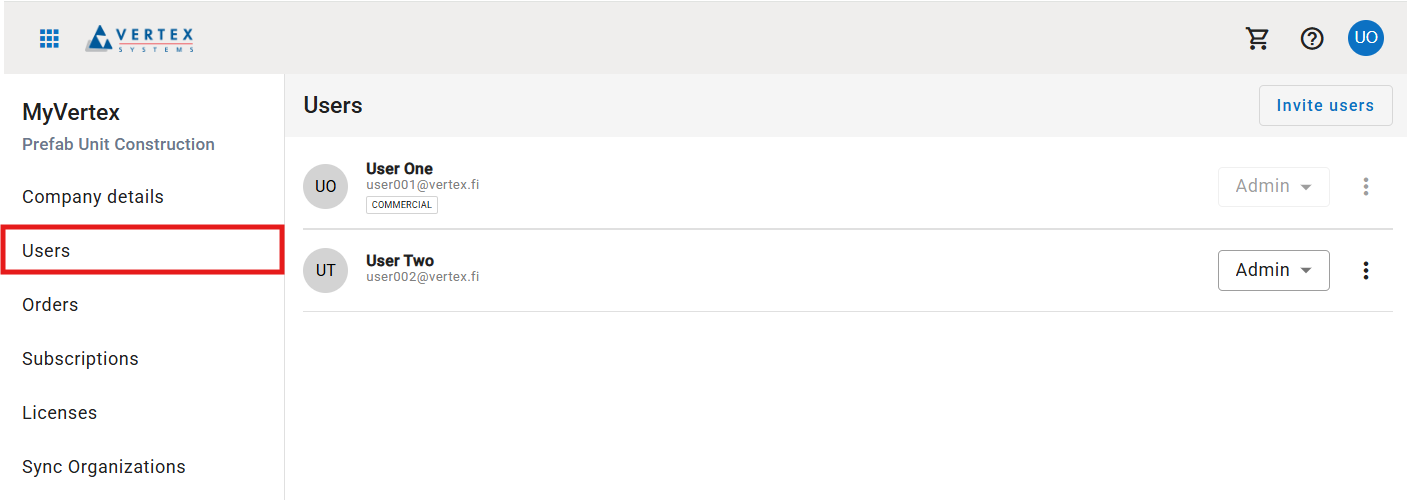
The Users view provides an overview of your company’s VertexID users. From here, you can invite new users, change user roles, and delete users if necessary.

Inviting users
You can invite new users to the company from the Invite users button in the top right corner.

Clicking the button opens a dialog where you can enter the email address of the person you want to invite.

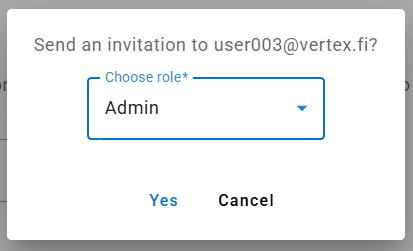
After clicking Invite, a dialog opens allowing you to specify the role of the new user.
Role can be either a regular user or an admin user. Admin users can make purchases for the company, modify existing subscriptions, and invite new users. Regular users can only view company details and cannot access or modify the company’s subscriptions.

Selecting Yes will send an invitation to the new user, including all the necessary instructions to complete and finalize their VertexID account. If the invited users already have a VertexID account, they can access the company immediately after the invite. Completely new users will appear in the user list with an "Invitation sent" status.
The invitation email is valid for 14 days. If the user does not activate their account within that timeframe, they will need to be re-invited.
After the new user successfully verifies their VertexID account, they will appear in the user list in this format.

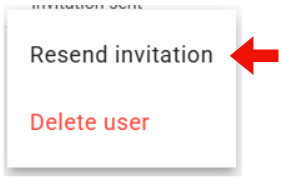
If the user fails to verify their account within the 14-day timeframe, they will get an “Invitation expired” status. In this case, you can resend the invitation by clicking the menu icon.

It opens a menu with an option to resend the invitation. Selecting this option will invite the user again.

Although the original invite email is active for 14 days, users can be re-invited before that period ends. Once a re-invite is sent, the original email will be deactivated, and the newly sent email must be used for the account verification.
Deleting user
Users can be deleted to remove their access to your company and its associated services. Deleting a user also revokes all assigned licenses, making them available for reassignment.
All user history is preserved after deletion. For example, if a user previously used Vertex Sync, their actions will still appear in the event history.
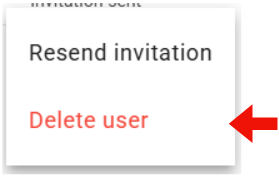
Deleting a user is available to admin users in the user-specific menu, which opens by clicking the menu icon.

Then, select the option to delete the user.

After the deletion has been successful, the user is removed from the user list.
To restore a deleted user, simply invite them through the normal invitation process. This allows them to log in to your company and regain access to its services.
