Shared Trolley
General
You can share your trolley with other users. You can restrict access to the shared trolley by preventing changes to its contents.
Sharing a Trolley
(1) Select the desired trolley and choose Trolley > Settings from the menu.
Make sure your trolley contains at least one object for the Settings option to appear in the menu.
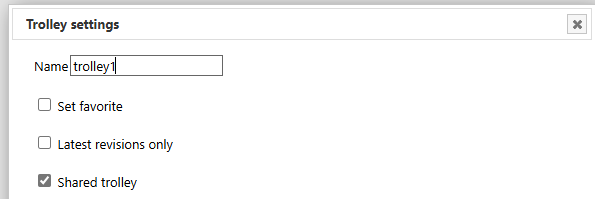
(2) Select Shared Trolley and press OK.
(3) On the trolley page, click the newly visible Shared Trolley Settings button.
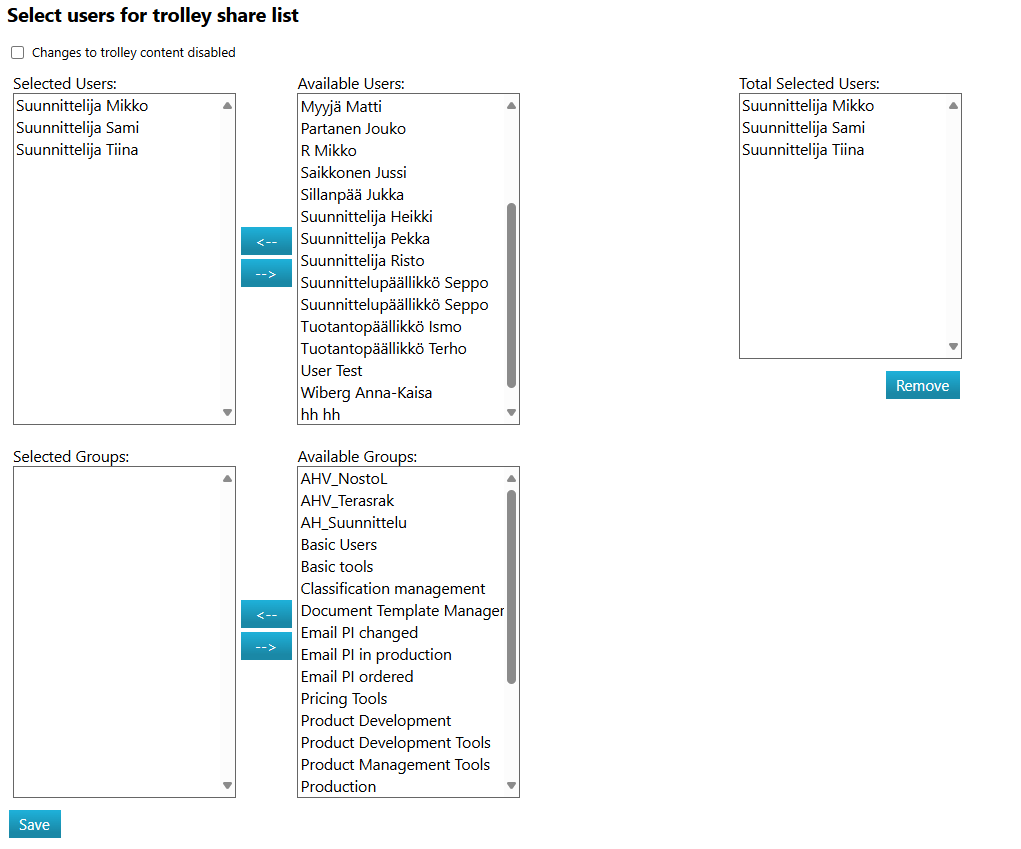
(4) A view will open displaying a list of users. Groups are listed under the users. Select the users or groups you want to share your trolley with.
(5) The All Selected Users window on the right will list the names of those you have shared the trolley with. You can remove individual names from the list by clicking Remove.
(6) If you select Prevent Changes to Trolley Contents, only you will be able to add or remove objects from the trolley.
(7) Finally, save the settings by clicking Save. The selected users will now be able to view your trolley.


Using a Shared Trolley
You can recognize a shared trolley by the owner's name displayed in parentheses after the trolley's name.
If you have been granted access to a shared trolley with the Prevent Changes to Trolley Contents setting enabled, you can view all objects in the trolley and perform operations on them within the limits of your permissions, but you cannot add or remove objects.
You cannot delete a shared trolley that has been assigned to you, but you can hide it from view. See instructions for hiding a trolley [here].
You can remove yourself from the trolley's sharing list by using the Leave Sharing List function. See image and image.

