Export the contents of the trolley
General
This feature allows you to collect attachments along with their archival information (i.e., metadata) from drawings, models, or documents and export them as a compressed ZIP file.
When you extract the ZIP file, a Personal_Trolley.xls file is created alongside a folder named FILES, which contains the actual attachments if you chose to include them in the export.
This feature is more versatile than the Tools > List function.
Export Trolley Contents
(1) If needed, select Select Entire Trolley.
(2) Choose the objects to be exported.
(3) Select Trolley > Export.
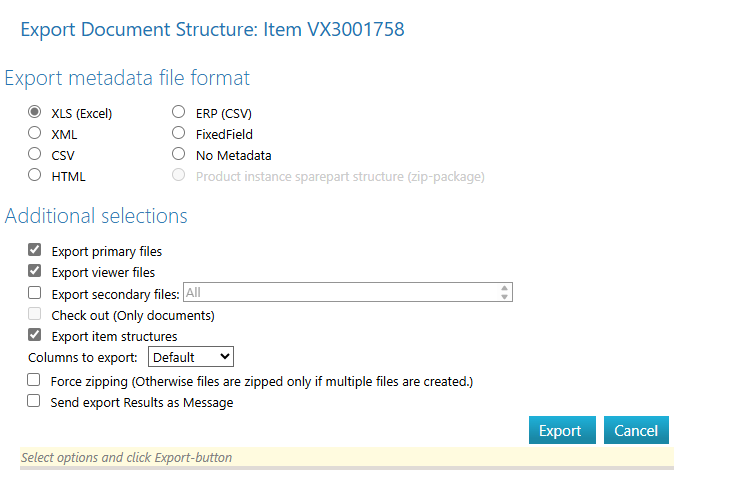
Flow will open a dialog window titled Export Trolley Contents.
(4) Choose the file format for archival information:
XLS (Excel) = Excel-format file.
XML = XML-format file.
CSV = CSV-format file.
HTML = File format used by web browsers.
ERP (CSV) = CSV file adapted for ERP (Enterprise Resource Planning) systems.
Fixed-length = Text file with fixed-length fields.
No archival data = Only attachments will be exported, without metadata.
(5) Select or deselect additional options:
Export the main file (e.g., a Vertex model or Word document).
Export viewing files (usually a PDF file).
Export alternative file formats – Choose one or more alternative file formats.
check-out (Documents only) – This option check-outs objects in Flow, preventing others from modifying them. Useful when exporting attachments for editing in environments where Flow is unavailable, such as meetings.
Export item structures – Relevant only if items are listed. If enabled, each item's first structure level is saved in a separate XLS file. If multiple files are created, they will be compressed into a ZIP file.
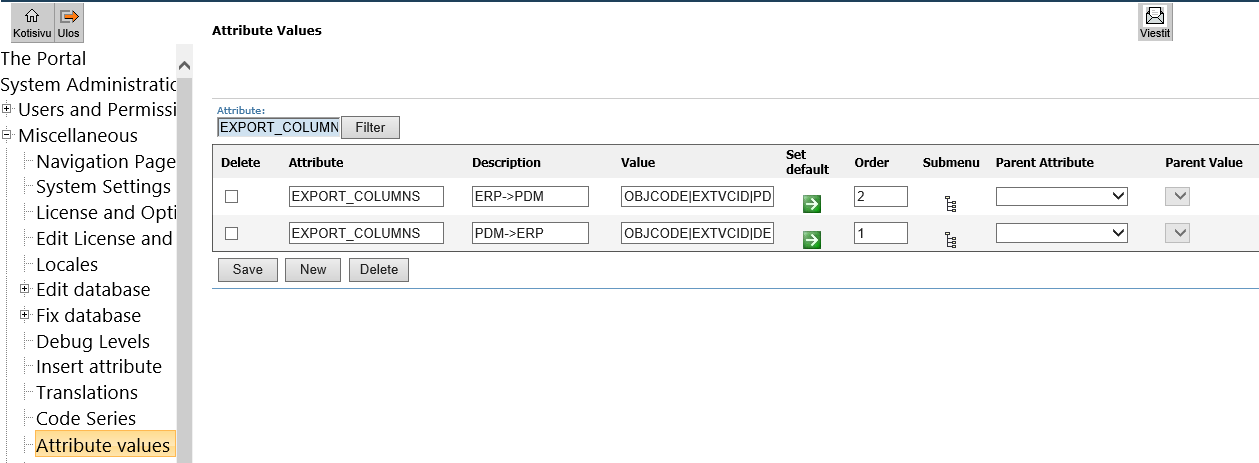
Fields to be exported – By default, all essential attribute fields are exported. To limit them, use the Fields to be exported menu.
Always compress – Attachments are compressed even if there is only one. Multiple files are always compressed regardless of this setting.
Send export results as a message.

(6) Select the Export function.
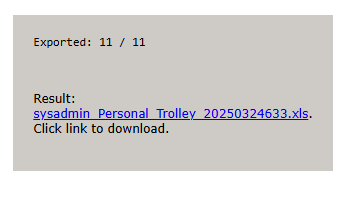
Flow will create a ZIP file and display it on the desktop.
(7) Download the file by clicking the link filename.zip.
The file will be saved in the browser's download section.


