
There are alternative ways to design a two-story high wall panel:
-
One wall - one wall panel
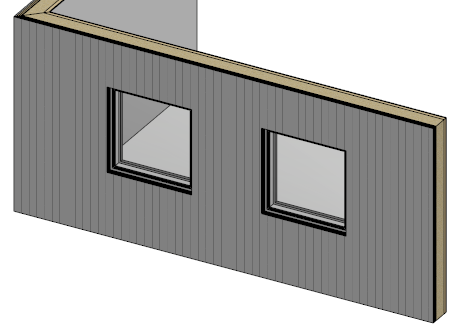
In the architectural model, add a wall to the first floor, two stories high. Set the wall visible in the floor plan of the second floor, or reflect the wall geometry on the second floor. Design as usual by adding windows, etc. Create a wall panel and add parts.
-
Two walls - one wall panel
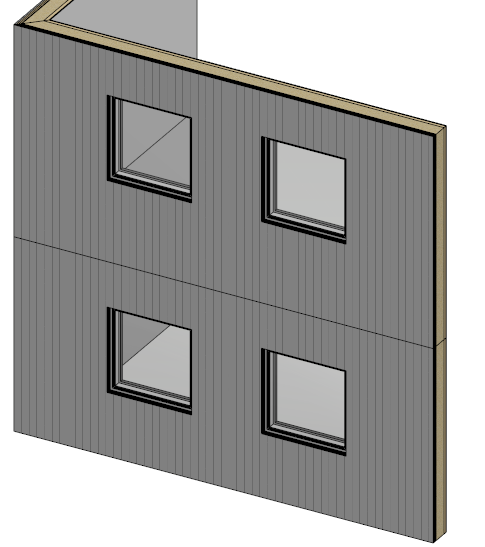
In the architectural model, add a wall and windows to the first floor. Design the second floor in the same way. Connect the walls to each other. Create panels of both walls and merge them together. Add parts.
The terms "first floor walls" and "second floor walls" are used in this article without considering what are the actual names of the drawing-model pairs.
One Wall - One Wall Panel
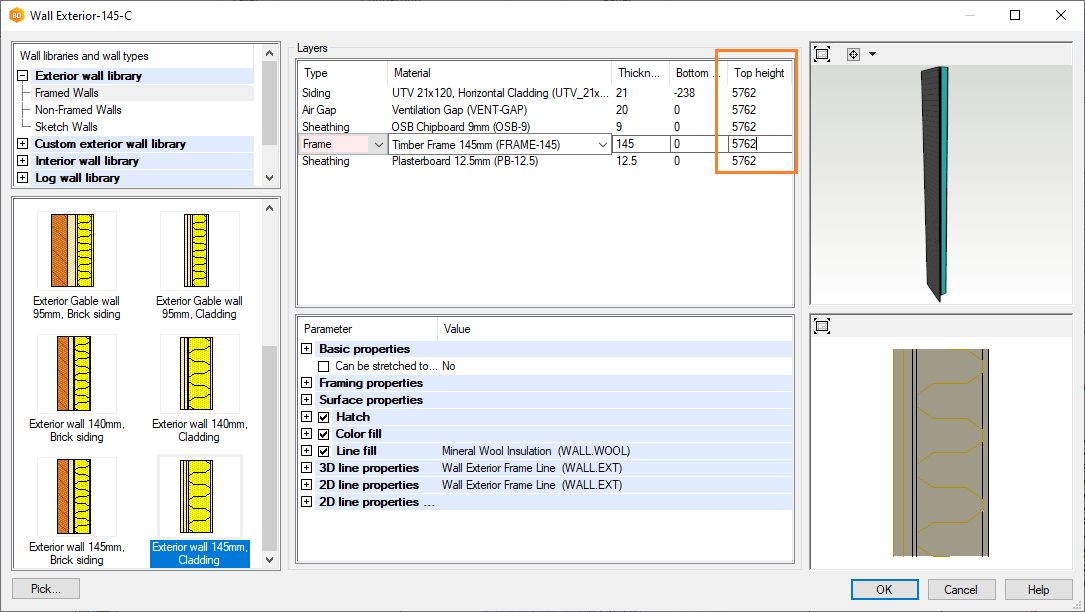
Add a wall to the first floor, two stories high. Set the top height of the wall in the wall properties:
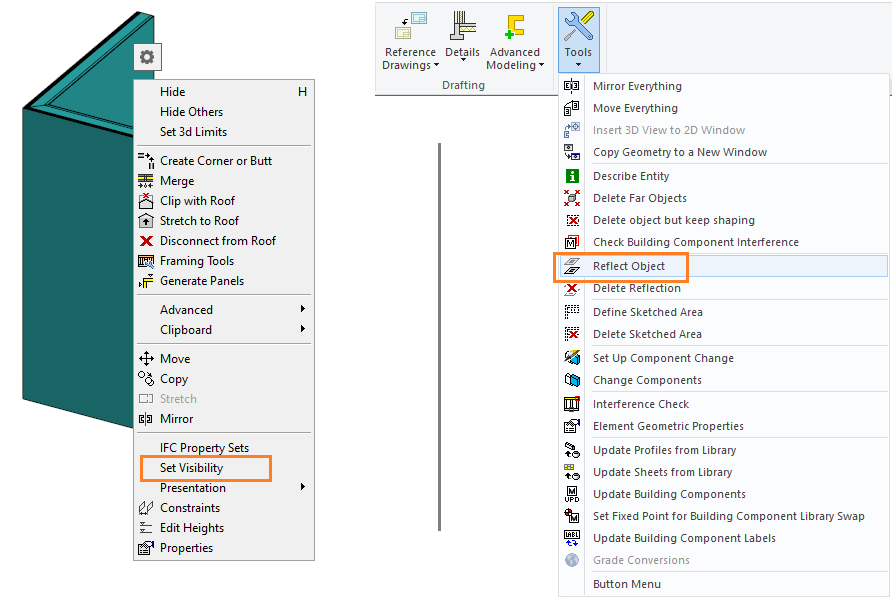
Set the wall visible in the second floor, or reflect the wall geometry to the second floor.
Add windows to the wall on the first floor.
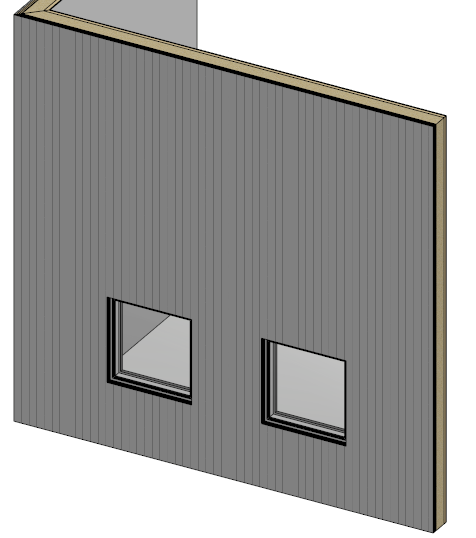
Activate the drawing-model pair of the second floor. Add windows to the wall on the second floor. As the wall belongs to the first floor, the program asks if you would like to move to the drawing-model pair of the first floor (in the example figure below, the first floor drawing-model pair is "Ground floor wall layout"). Select No, and add the windows.

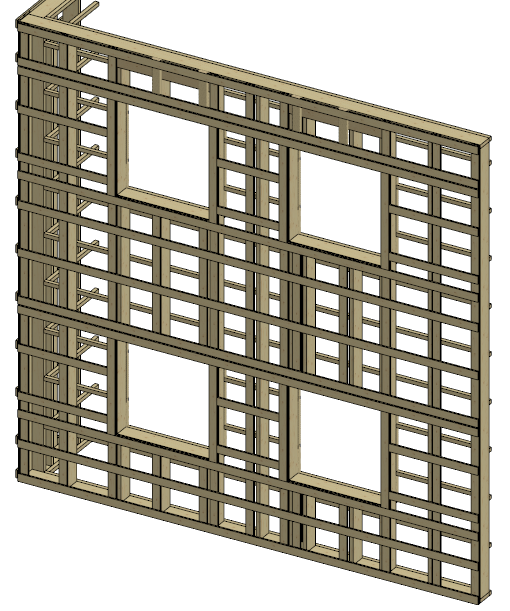
Generate panels and add parts. Activate the framing model.
Two Walls - One Wall Panel
Add the wall and windows to the first floor in the architectural model.
Design the second floor in the same way.
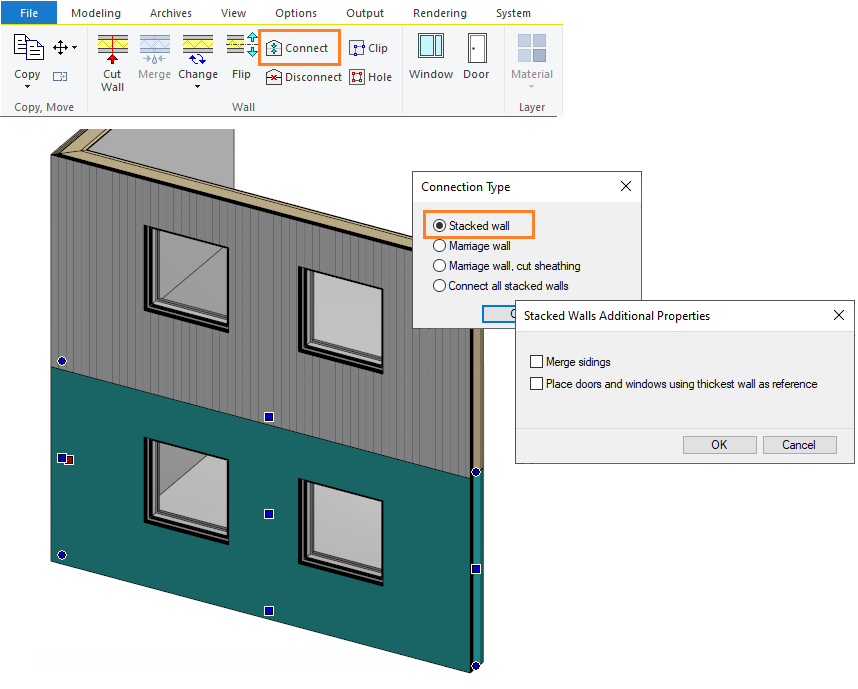
Connect the walls to each other. Click the wall in the 1st floor, and select Connect on the Wall tab. Select the connection type Stacked wall, click the wall to be connected on the second floor, and select Confirm. You can leave the additional property options empty.
Generate wall panels on both floors and activate the framing model.
Select the panels on top of each other, and Merge in the Volume group on the Panel tab.
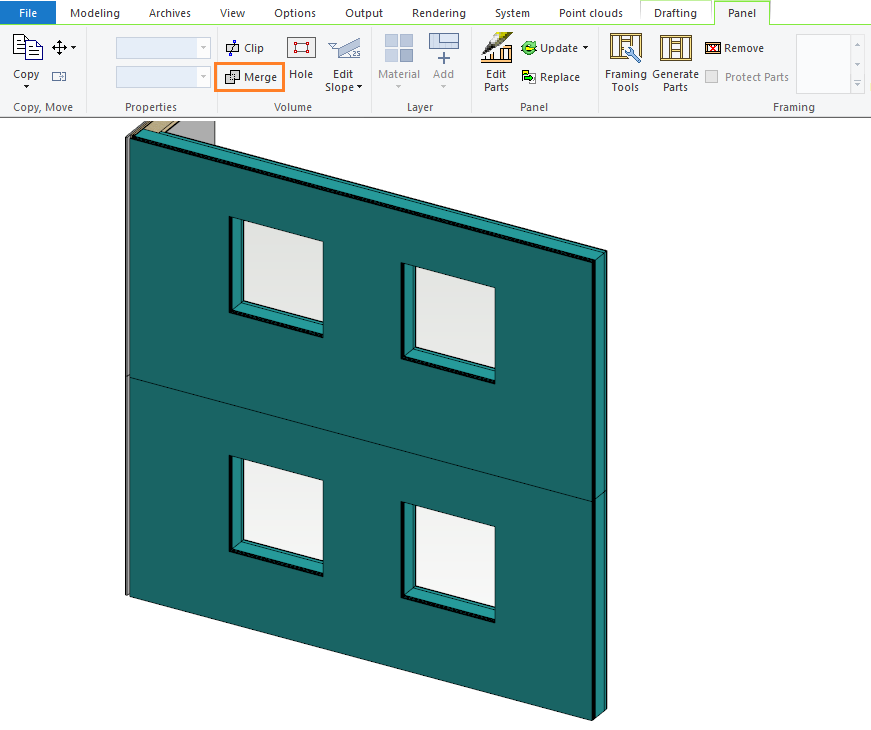
The edges of the panels must meet. If necessary, move the edge of either panel before merging.
If necessary, you can move the merged panel to the drawing-model pair of the desired floor.
Add parts to the panel.
