This document outlines the process on how to flip staggered wall studs to the opposite side of the wall while maintaining the existing o.c. spacing.
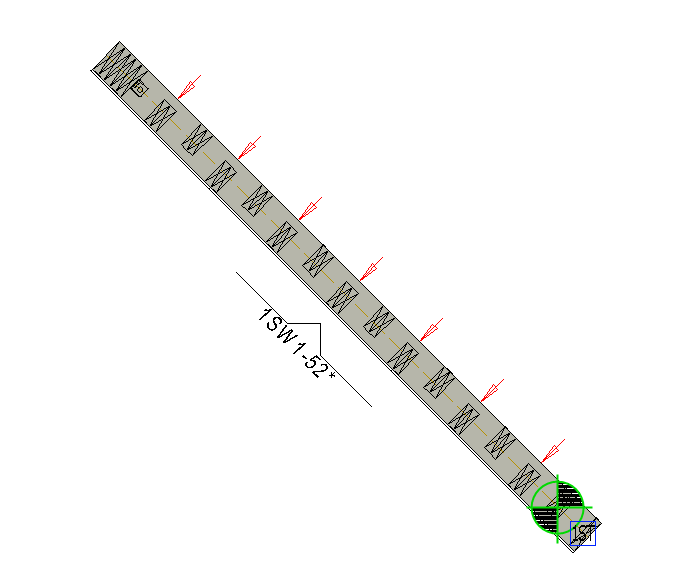
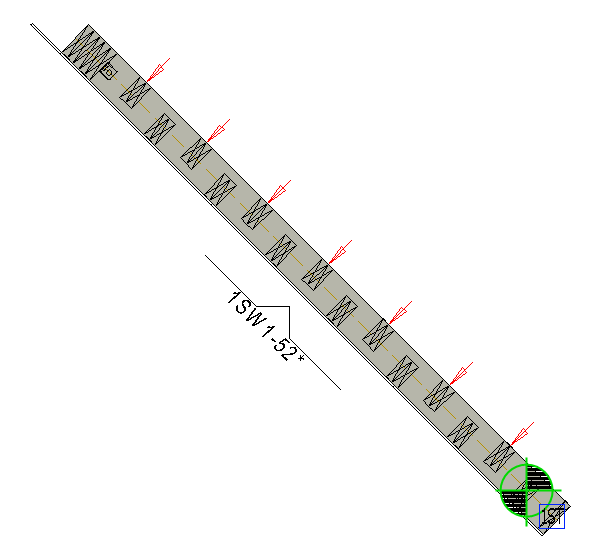
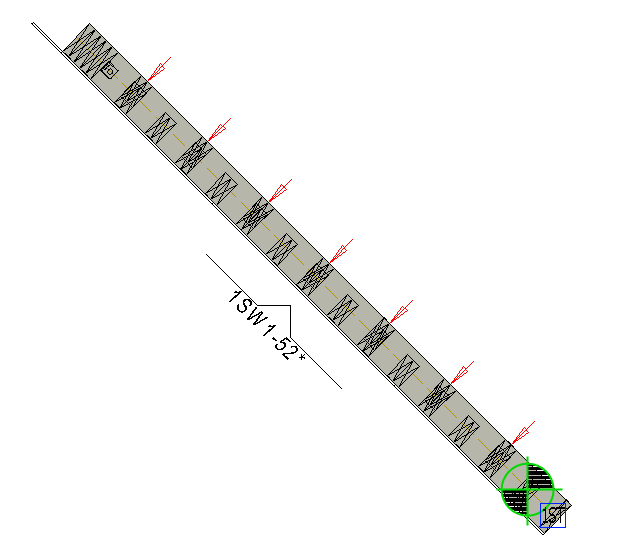
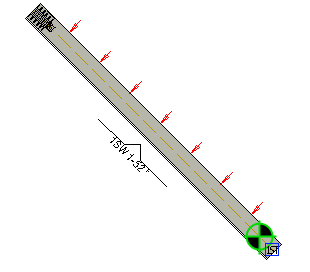
The red arrows in the example images below are for tutorial purposes only. They indicate the original location (interior) of the studs. At the end of the tutorial, studs will be located on the opposite (exterior) side of the wall.
Only one side of the staggered stud wall requires adjustment as outlined below. The alternating studs will automatically adjust to the opposite side of the wall.
Insert Wall 1st Stud Macro
To keep the studs from shifting when generating new parts, confirm a Wall 1st stud macro is assigned to the wall.
If there is no Wall 1st Stud macro, the macro can be added by navigating to the Modeling | Panel | Wall > Set Wall 1st Stud
-
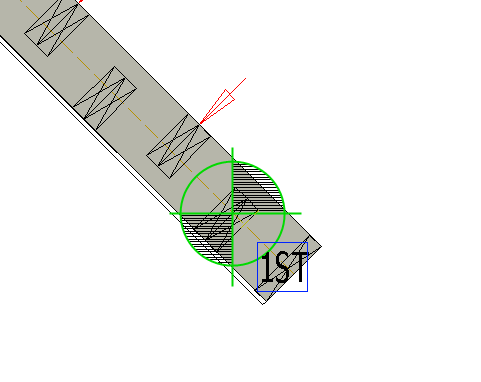
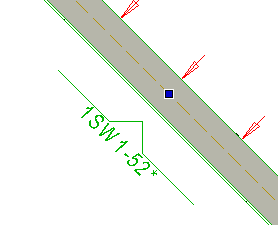
Select location to set Wall 1st Stud on the wall.
-
Select a point which falls on the existing stud o.c. spacing.
-
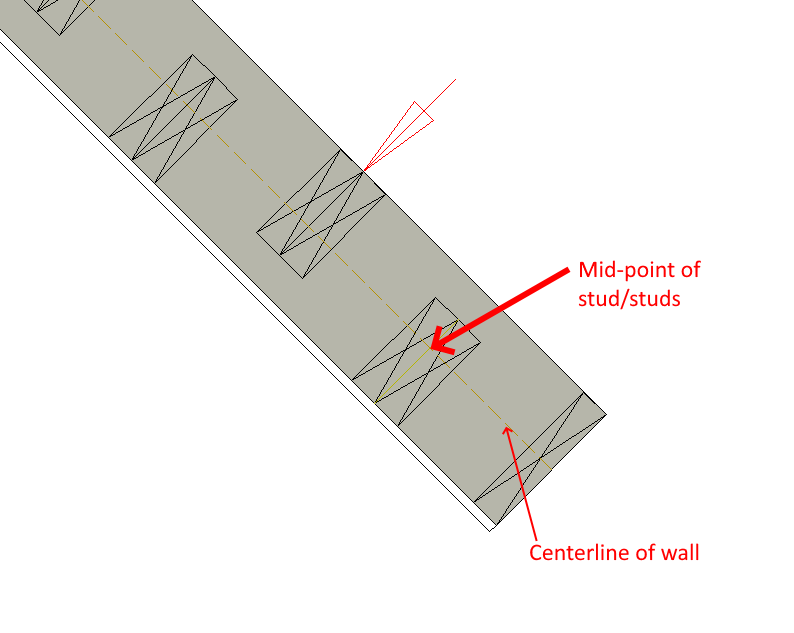
Place the macro on the centerline of the wall and in line with the middle of the stud or double studs as indicated on the image below.
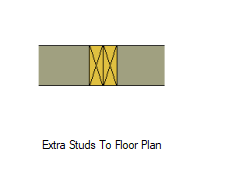
Add Extra Studs to Floor Plan
The Extra Studs to Floor Plan macro will overwrite the location of the existing wall studs.
-
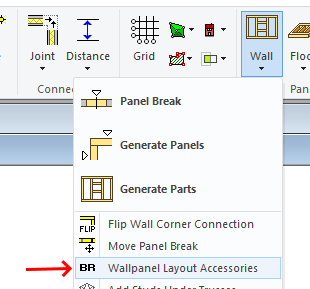
Select Modeling | Panel | Wall > Wallpanel Layout Accessories
-
Select
Wall Panels > Extra Studs to Floor Plan
-
Select the wall to edit
-
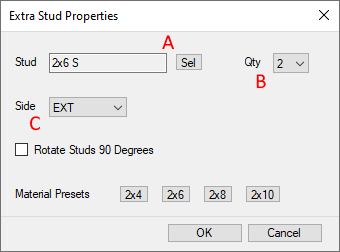
In the Extra Stud Properties window make any necessary adjustments…
A. Change Stud
B. Change the Quantity of studs. (In the example, a Qty of 2 is selected for double studs)
C. Select a Side of the wall to link the stud to: (EXT – Exterior, INT – Interior, CENTER…)
(Select the opposite side of the existing studs. In this example, Studs will be set to the exterior side)
-
Select
OK
and select the wall.
-
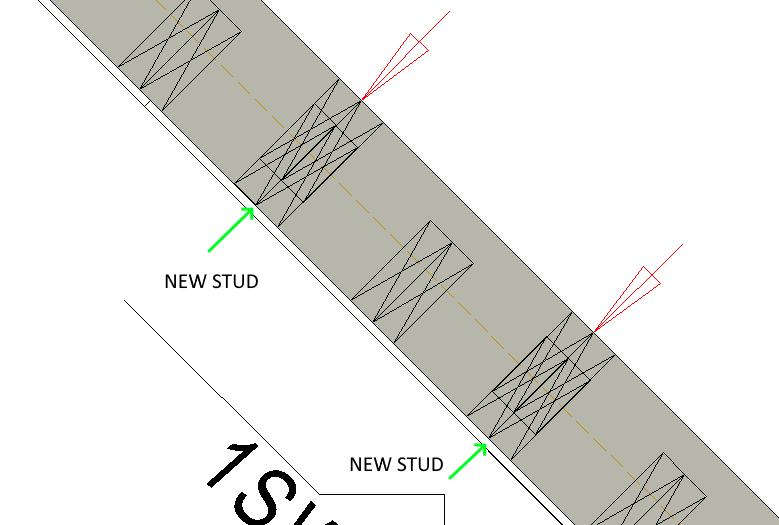
Insert new studs in line with the original studs. (Note: Depending on the wall width, studs may overlap as shown below.
-
Confirm
(V-key) and exit.
Remove Parts
For the wall panel to frame correctly, the existing wall framing must be removed.
-
Select the wall panel to edit
-
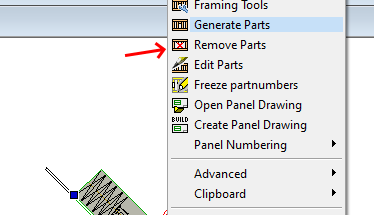
Right-mouse click and select Remove Parts from the context-sensitive menu.
-
Select ‘Yes’ to Remove Parts.
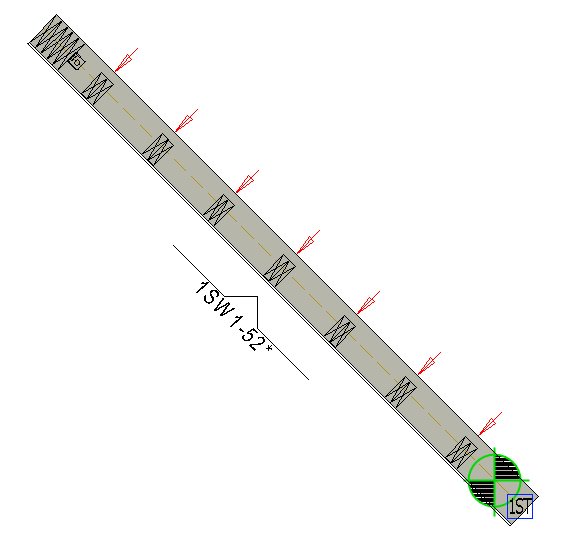
Note: The original wall framing is removed but the recently added studs remain
-
Select and delete the remaining new studs only.
-
Select the wall panel
-
Right-mouse click and select Generate Parts from the context-sensitive menu.

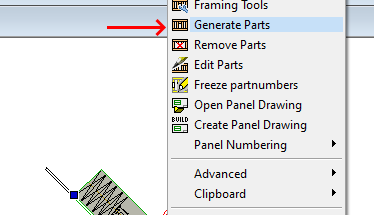
New wall framing will place studs on the opposite side of the wall.