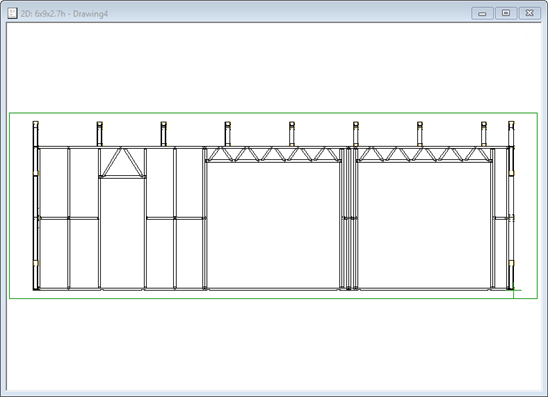
In this scenario we want to see all the frames from internally
-
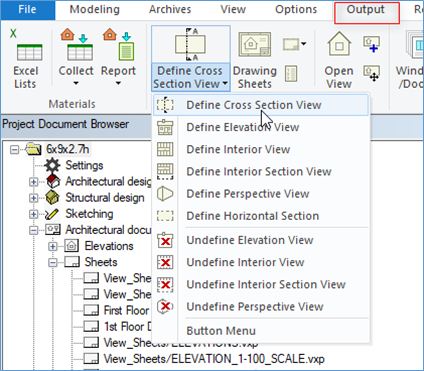
Go to output tab → Define cross section view and follow the prompt. ( at the bottom left corner of vertex window )
-
Select the start point, end point to define section line and press V to confirm.

Arrow indicates the viewing direction.
You can change the viewing direction by selection first to second point from left right, or right to left or top to bottom or bottom to top and you will notice that the viewing direction arrow changes accordingly.
-
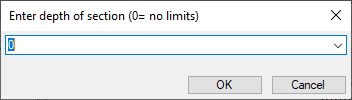
0 indicate that you can view all the way through till the end of the structure ( depth can be changed as per the requirement )
-
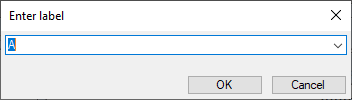
Label can be entered as per your choice. But vertex automatically determine the label
-
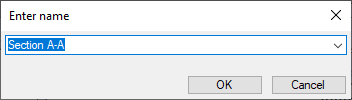
You don’t need to enter name, vertex automatically determine the name based on the label we use
-
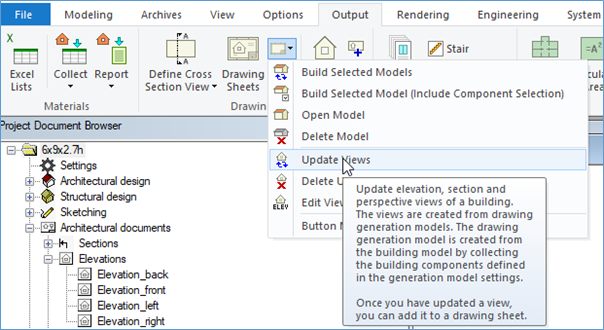
Now that we have created the section. We can update the view by going to Output tab → Update Views
-
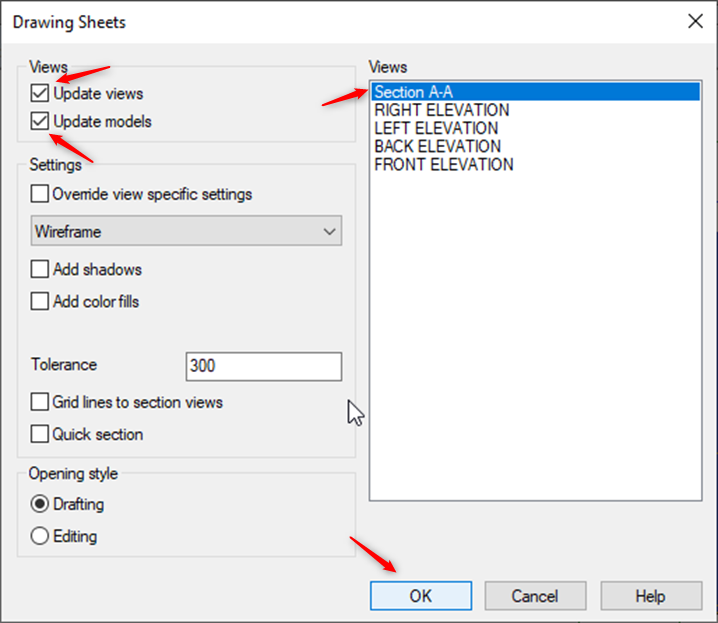
This will give us the list of the drawings. We want to update Section AA and make sure you tick both Update View & Update model and click OK
-
Now section view have been created, that is looking at the frames from the inside, outwards.
-
Note: You can add dimensions, text to it and later it can be imported to the layout as reference