How to add Logo to title block
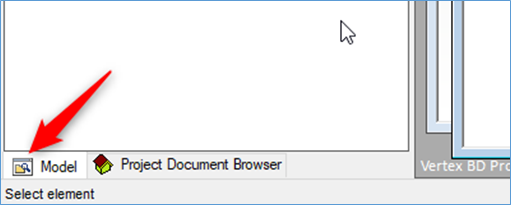
1. Open the panel drawing and add the company LOGO to the panel drawing. At the bottom left of the vertex window, click ‘Model’ tab.
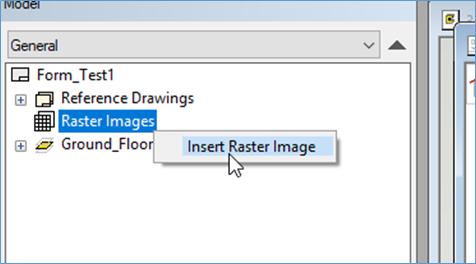
2. Select 'Raster image' in the model browser. Right click and form the contextual menu select 'Insert Raster Image'
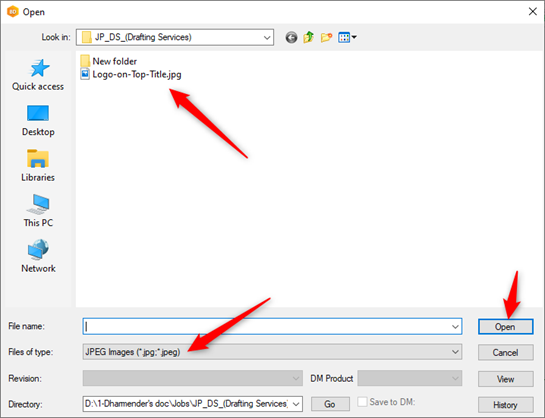
3. In the pop-up ‘file browser window’, find the logo image you want to add to the Title block template and click ‘Open’, Pay attention to the correct file format.
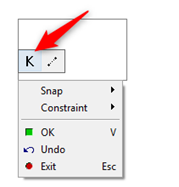
4. Right click and from the contextual menu click on ‘K’ mark to adjust the scale of the picture. Click 'OK' when the adjustment of scale is complete.

5. Move the mouse to place the logo image to the intended location just by clicking the left mouse button.
6. If you need to change the scale and position of the image, you can find the image you just added from the model browser.
Select the image and right click to select ‘Mobile Image’.
Then click on the logo image in the drawing and adjust the image scale and position according to the method in steps 4-5.
7. Save the drawing template after the modification is complete.
TIP
Any information that you want, to be filled automatically form the Project Data card, the text must have a hidden code that refer to the PROREG database.
For Example if you double click Job Identification ‘Name’. Text window will popup. Hidden code refer to PROREG database
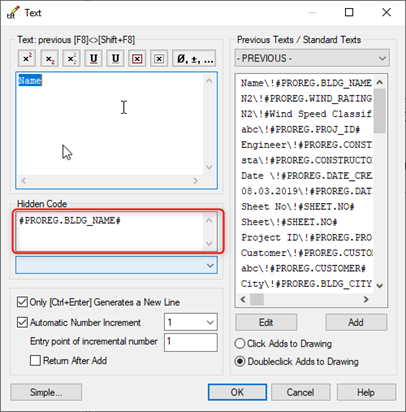
- After you have finished with all the required modification, Save the drawing. Drawing get saved in Shared / Project / Project name/ View_Sheets/ XYZ.vxp
- In order to save this XYZ.vxp file (title block) for the future reference, it must be saved in Custom /macros / dwgforms / XYZ.vxp
- Note: If client already have title block as .Dwg format, that can be imported in vertex and saved as .vxp file ( vertex format )
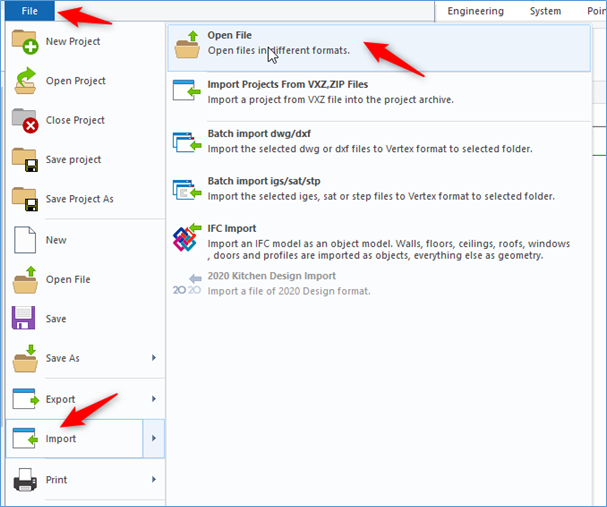
- Drawing sheet can be created based on that template ( Title block )
- Drawing sheets are generally stored in the Shared/template/project/template project and are copied whenever you create a project based on that template
