How to save 3D framing model as 3D PDF
1. Exporting model to 3D PDF, you have to be in 3D view of your model.

2. Go to File → Save As and it is important that you select Save as
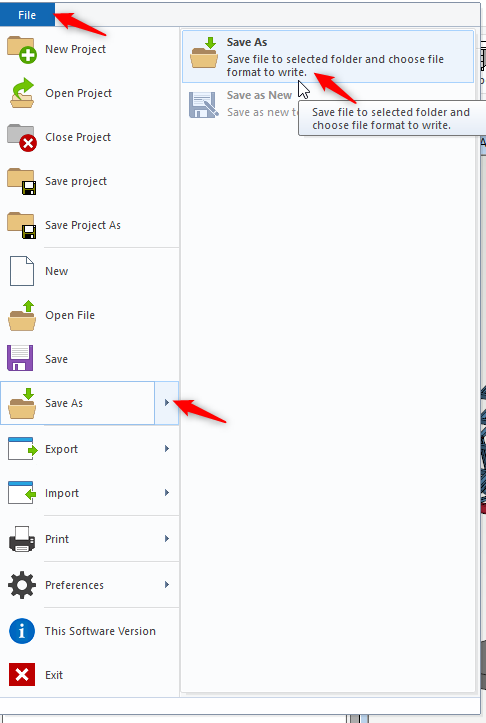
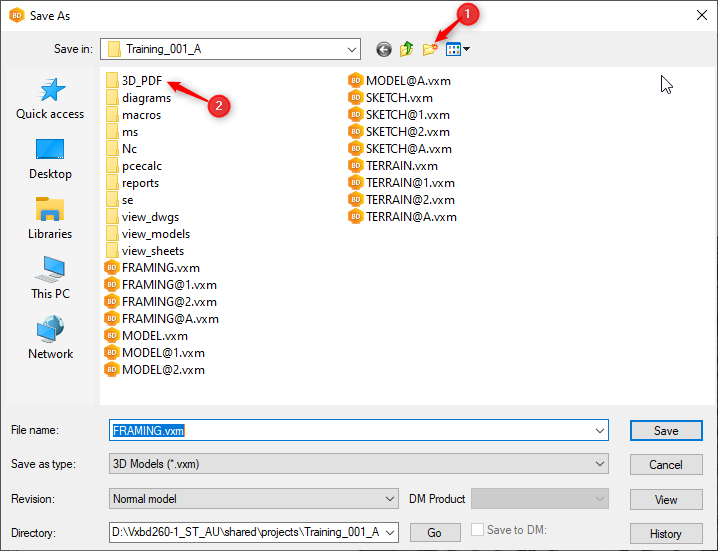
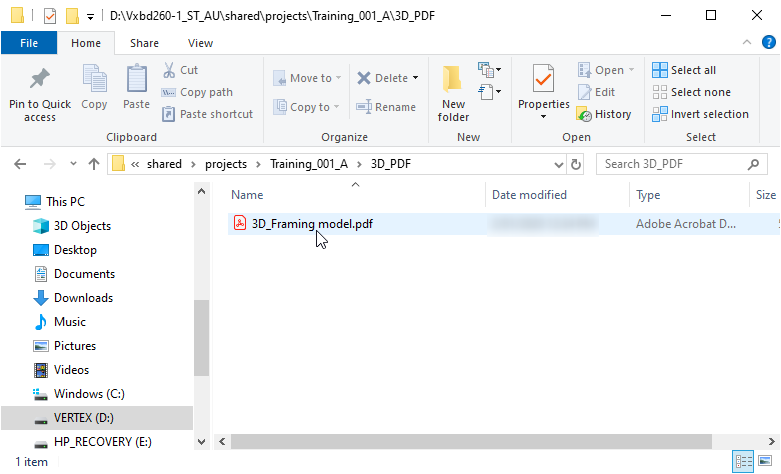
3. You can select destination folder or you can create a new folder called '3D_PDF'
-
Generally it is a good idea to save the 3D PDF model under the same project.
-
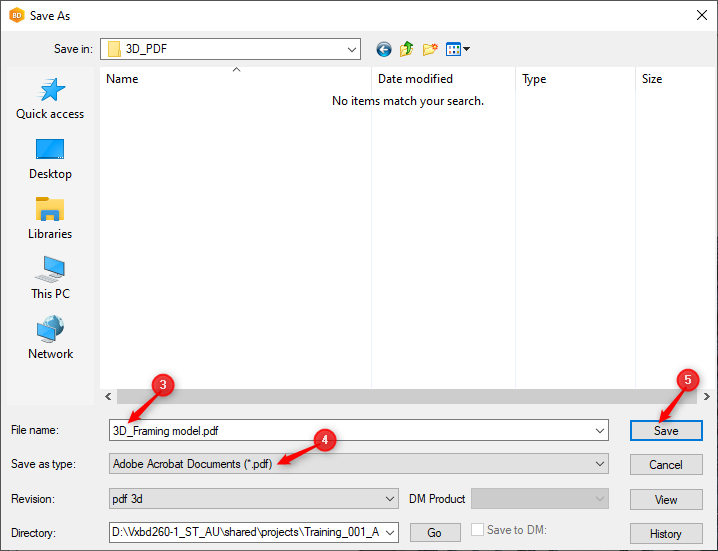
File name : type the file name for example '3D_FRAMING'
-
Save as type : it is imperative to select 'Adobe Acrobat Documents (*.pdf)' and Revision 'pdf 3d' get filled automatically. and the file name extension alos changes to .pdf
-
Click on Save.
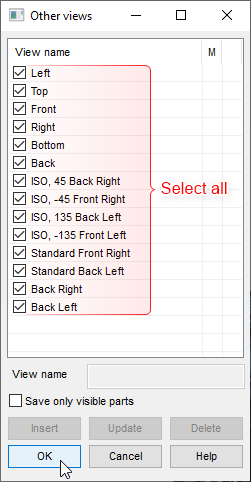
4. Tick all the views ( so Later when you open 3D pdf model, all these views will be available under Views tab ) and click OK .
-
Now 3D Framing Model has been created.
Open 3D PDF model
-
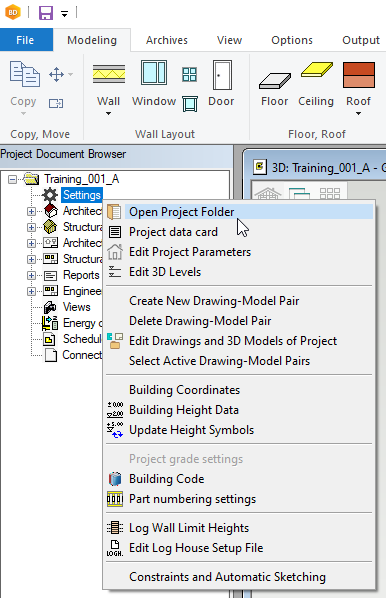
To open the model go to 'Project Document Browser'→ click on Settings right click and from the contextual menu click on 'Open Project Folder'
-
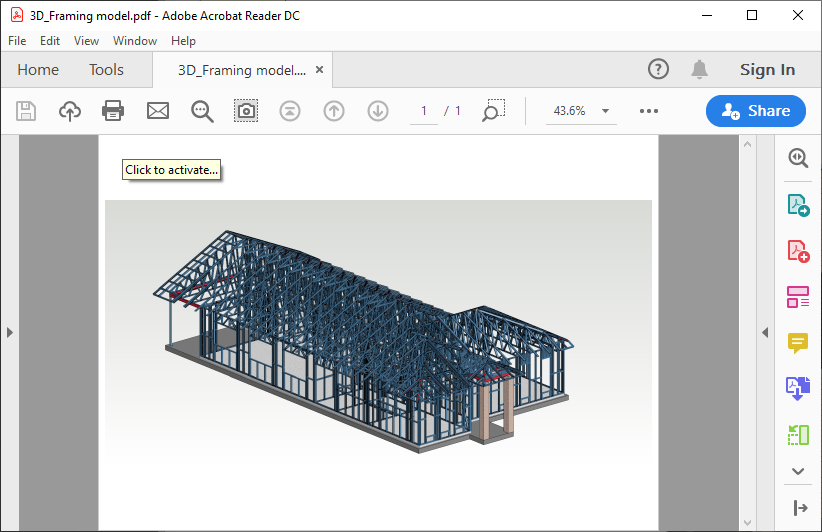
Click on the 3D model to activate it
-
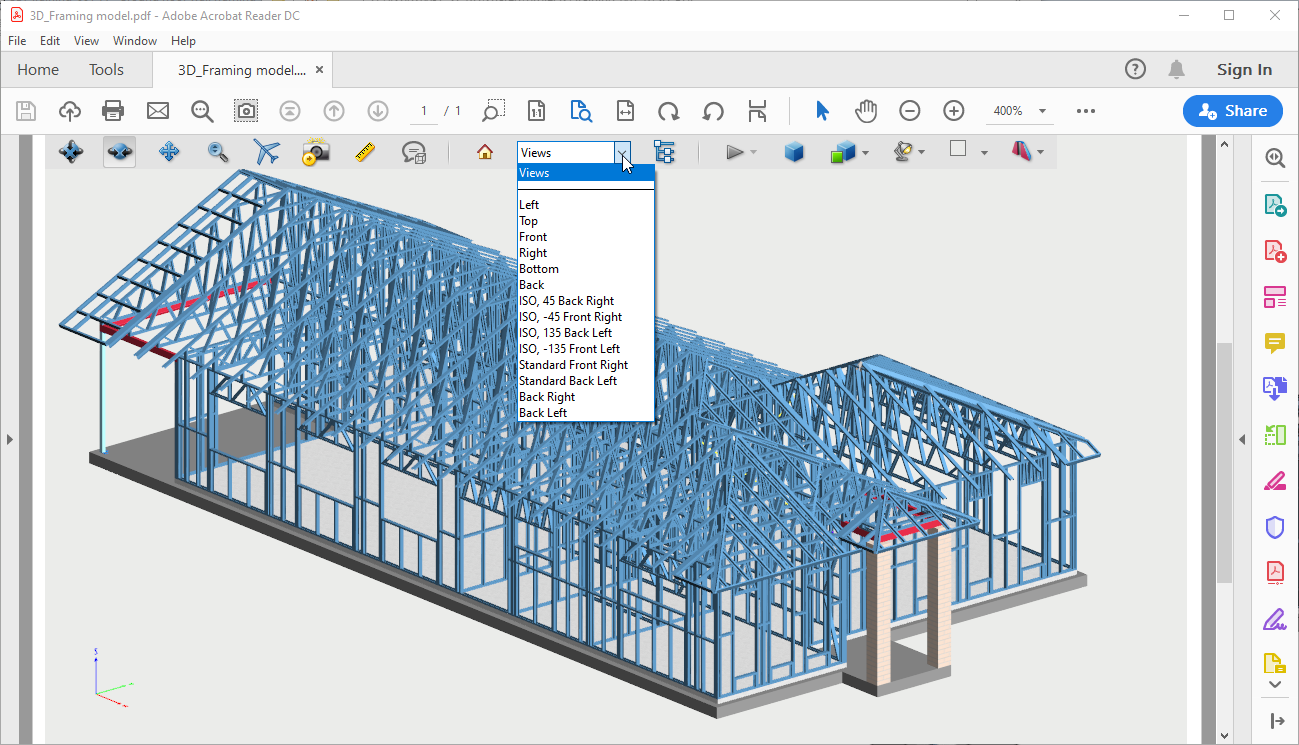
All these views ( shown below ) are available under 'View tab' and of course you can also rotate the model freely
-
To rotate the 3D model freely, hold down the left mouse button and move your mouse.
-
To pan the 3D model, hold down the CTRL key on the keyboard and move your mouse.
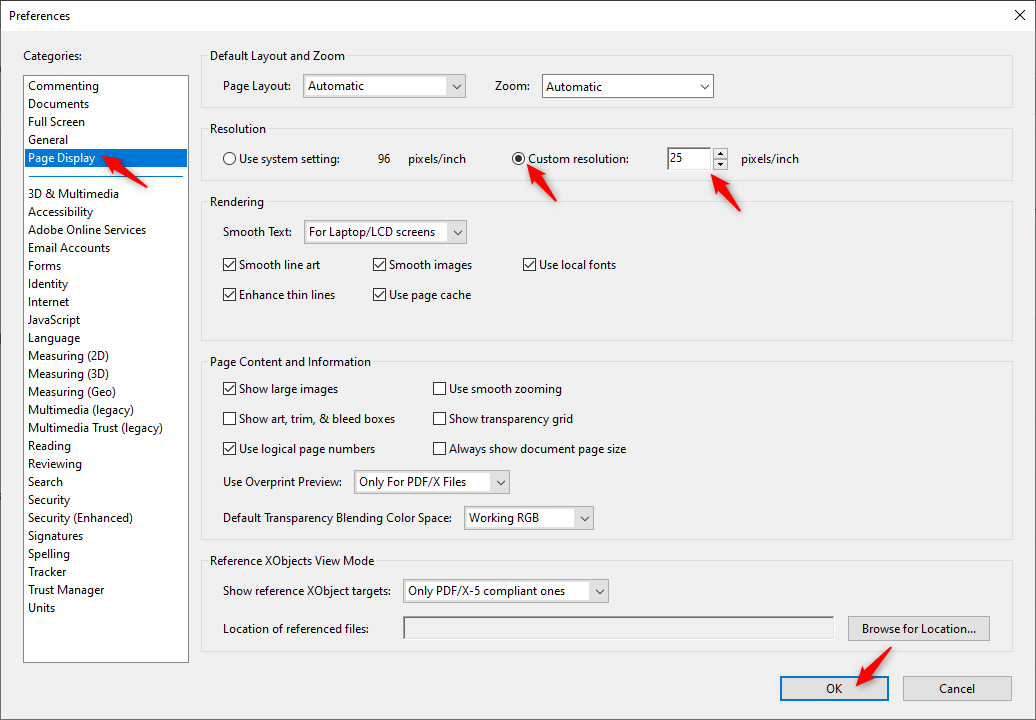
How to Change 3D PDF Resolution
-
You can change 3D PDF resolution to suit.
-
Open the 3D PDF model.
-
Click on 'Edit' and from the drop down menu click on Preferences → Page Display
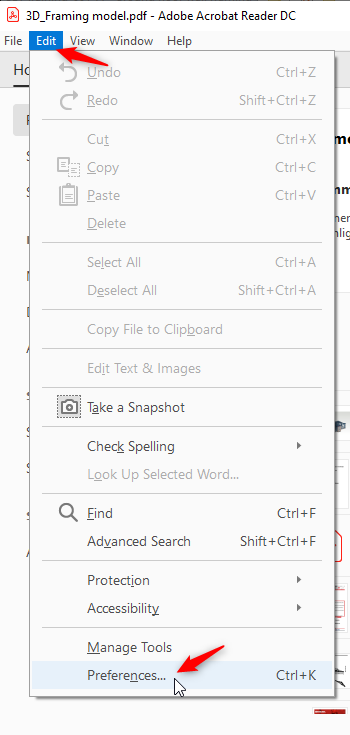
-
Select 'Page Display'