
General
All object types (drawings, items, etc.) are imported using the same Import function.
If you are only importing attribute data (e.g. items, structures, customers, projects), the most common import format is an Excel file.
-
Other supported import file formats include XML, CSV, and FFF.
If you are importing objects that include both attribute data and actual files (models, drawings, items describing components and profiles), the attribute data is imported via, for example, an Excel sheet, and the files are placed in a FILES folder alongside the Excel file.
-
The file containing attribute data and the FILES folder must be compressed into a ZIP file.
-
You can also import files without attribute data (e.g. JPG-format photos); in this case as well, the files must be compressed into a ZIP file.
-
Alternatively, you can copy the files directly into the appropriate location in the Flow server's directory structure. This avoids delays caused by large ZIP files. See the section "light import" below.
You can also import multiple Excel files at once by compressing them into a ZIP file and importing that into the Flow system. A zip file can contain either objects or structures, but not both. Importing multiple structure files via a zip file is supported starting from Flow version 25.0.4.
Excel file format
The format of the Excel file depends on the type of object being imported.
The column names (i.e., the values in the first row of the Excel file) must match the field names of the corresponding object in Flow.
A row in the Excel file where the first column contains the word END and all other columns are empty signals to the import function that the import should stop. You may add comments or other notes after the END row. See examples at the bottom of this page. If the END row is missing, the import will read all rows.
The fields for each importable object type are described in the following guides:
-
Customer Register Import
-
Document Import (version 2024)
-
Item and Structure Import
-
Project Import
Import data into Flow
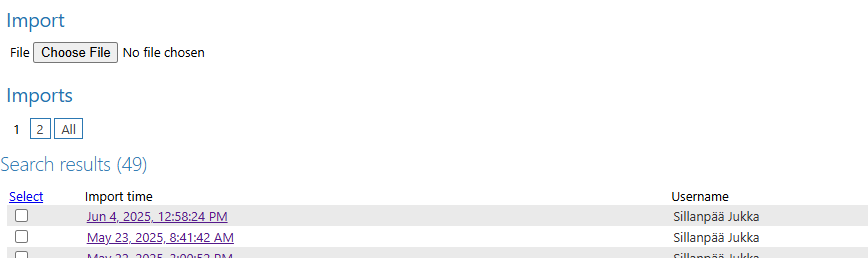
(1) Select the Archives tab.
(2) Choose the function Tools > Import and Export.
(3) Select the Choose File option.
(4) Browse and select the file to be imported.
-
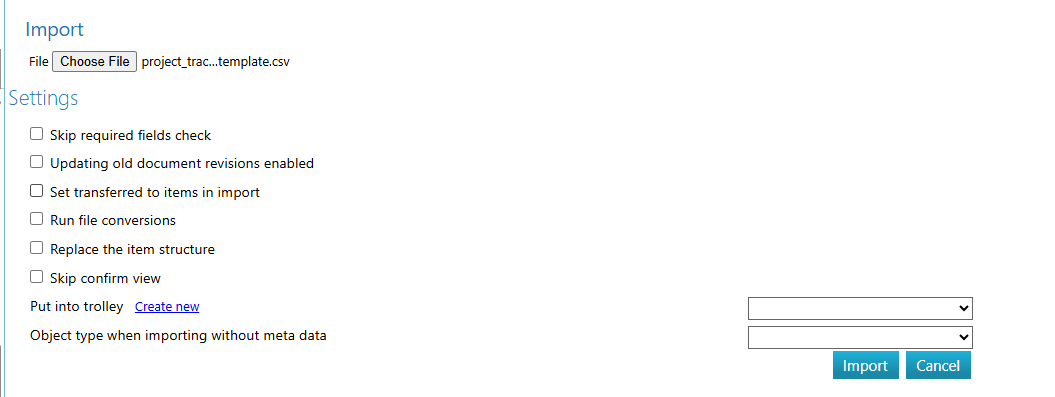
Flow will open a dialog window titled Import Settings.
(5) If needed, select Skip required field check
-
Normally, the import process verifies that all required fields (e.g., classification and description) are included in the import file.
-
However, you can choose to import the data as-is without validation.
-
This option is useful if you want to update information on existing objects.
(6) If needed, select Allow import into previous document revisions
-
By default, Flow only allows changes to the latest revision.
-
If the goal is to update data in earlier revisions, enable this option.
(7) If needed, select Set "Transferred" status for imported items
-
Automatic transfer of Flow items to the ERP system is always enabled when ERP integration is installed.
-
If the items have been exported from the ERP system into Excel, there's no reason to send them back.
-
During import, enable the Transferred status for each item so that they are not re-sent to ERP.
(8) If needed, select Perform file conversions
-
This option applies only to documents (e.g., models, drawings) that typically include an attached file.
-
File conversion is a licensed feature; if it's enabled, derivative files such as PDFs will be generated during import.
(9) If needed, deselect Replace item structure
-
This option only applies when importing item structures.
-
Turn it off if you want to add components to the existing structure. Otherwise, the structure will be replaced by the imported one.
(10) If needed, select Skip confirmation view
-
This option skips the next step—the confirmation page—where you can exclude certain objects from import and review whether each object will be updated or created.
-
Enable this if you are importing:
-
a large number of objects (thousands at once),
-
simultaneously items and structures (BOM) in single zip file.
-
(11) If needed, select an existing trolley or create a new one if you want the imported objects to be placed in a trolley.
-
Use a trolley to perform further processing on the imported objects in Flow.
-
Mass editing of object attributes is easy in the trolley.
-
See Trolleys for more information.
(12) Select the object type when importing without attribute data
-
If you're importing only files (in ZIP format) without attribute data, use this dropdown to choose the object type.
-
The system will automatically assign IDs to the objects.
-
Also, choose Add to trolley so you can later review and edit the imported objects' attributes if needed.
(13) Select the Import function.
-
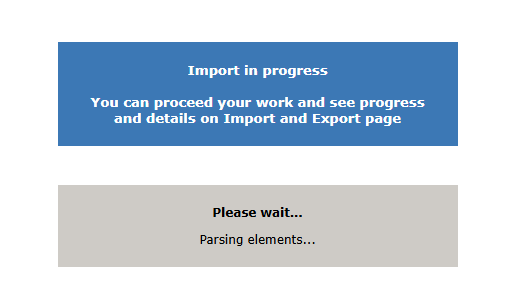
Flow will display the progress of the import along with the estimated remaining time.
-
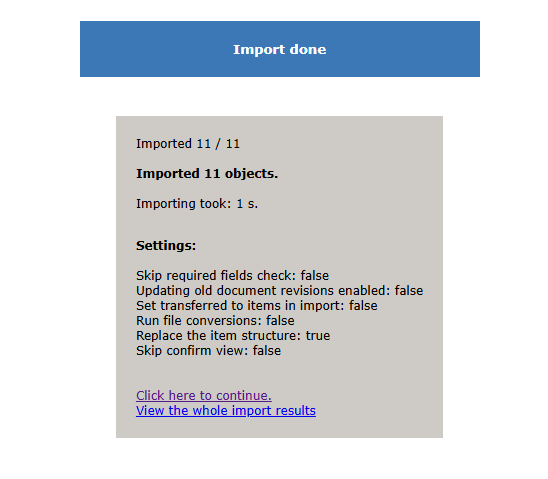
Once finished, Flow will show the results of the import.
Confirm the import
Before creating or updating the imported objects, Flow displays a summary of what the import will do. The confirmation page shows, for each object:
-
the object's ID, description, and classification
-
any existing revision of the object already in Flow, if applicable, or
-
an indication if no object of the same type with the same ID exists in Flow
-
the revision that will be created during the import
At this stage, you can still exclude individual objects from the import using the Select column.
The images below show examples of the confirmation pages for item import and item structure import.
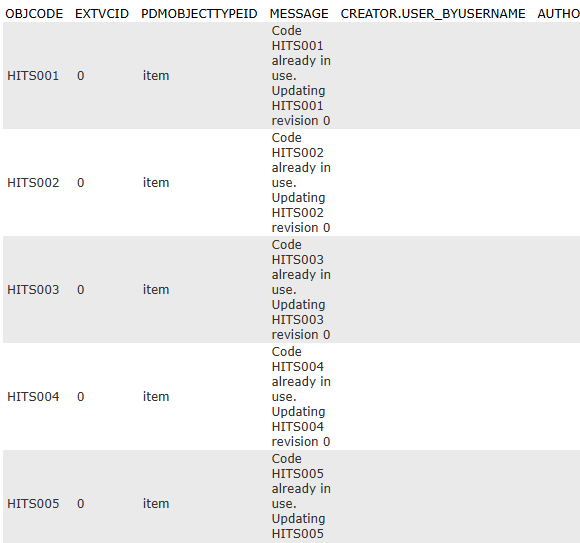
Import results
Flow presents a summary of the import results.
-
The summary includes any failed imports, if applicable.
-
If the import failed, review and correct the errors, then try again.
If needed, select the Show import results link.
Light Import for Documents
A ZIP import package can grow uncontrollably large if there are many files to import or if the files are large in size.
If you copy the files directly to the correct location on the Flow server’s disk, there is no need to zip the Excel import file. In this case, the import operation will be fast.
See an example import file where the value in the PATH column specifies the name of a subfolder under pdmfiles/imp/.
For more details, refer to the guide Light Import for Documents.
Examples
Item Import, Simple Example. This includes the items that are referenced in the other examples below, so it is recommended to import this into Flow first before testing the other examples.
Item Import with Links to Models and Drawings
Item Import with Links to Models and Drawings.
The previous example split into two import files, combined into a single ZIP package.
Structure Import. Two import files: the first creates the items, and the second is the actual structure import file.
Item Dictionary Tagging
Project Import
Subproject Import
Supplier Import
Product Import with Item Link
Customer Import with Project Link
Drawing Import. In this example, a drawing is linked to one or more items.
Alongside the Excel file, there must be a folder named FILES containing the drawing files referenced in the Excel sheet. The folder and the Excel file must be compressed into a single ZIP file, which is then imported into Flow.
G4 Model Import. Alongside the Excel file, there must be a folder named FILES containing the model files referenced in the Excel sheet. The folder and the Excel file must be compressed into a single ZIP file, which is then imported into Flow.
Document Import. Alongside the Excel file, there must be a folder named FILES containing the document files referenced in the Excel sheet. The folder and the Excel file must be compressed into a single ZIP file, which is then imported into Flow.
Document Import with Automatic ID Generation from Code Series. Flow will automatically generate document IDs from a code series when a hash symbol # is entered in the OBJCODE column. Otherwise, this example is similar to the previous one.
Read more about the hash symbol syntax [here].
Light Document Import, where the document files have been pre-copied to the Flow server's disk into the folder pdmfiles/imp/folder/. The folder name is specified in the PATH column of the Excel file.
In the example provided, the files are located at pdmfiles/imp/LEVYNKULMA/X650.vxm and pdmfiles/imp/LEVYNKULMA/X651.vxm.